
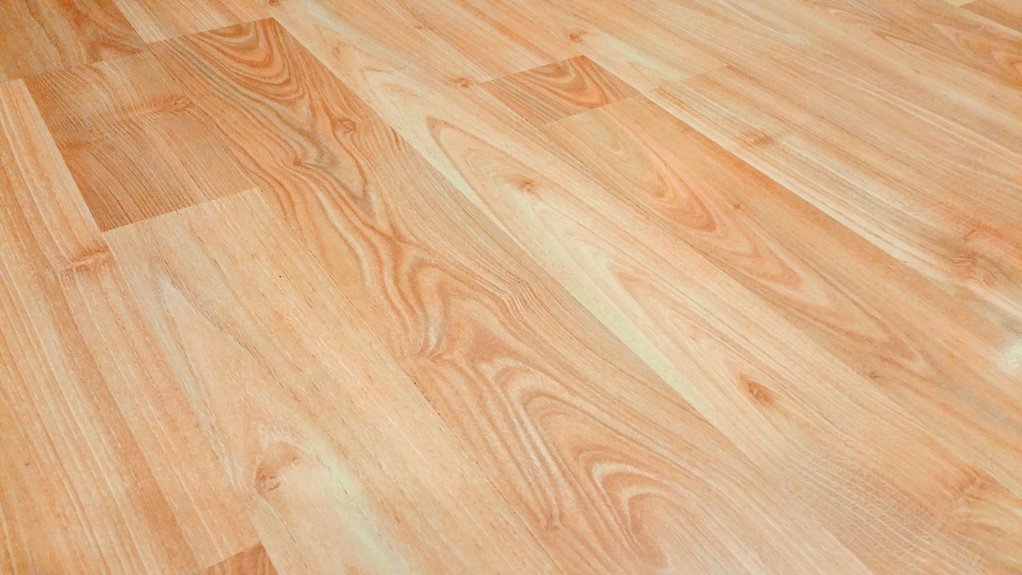
I’ve rescued vinyl floors from the brink more times than I can count, and dullness is just residue buildup.
First, I sweep away grit, those tiny particles that scratch surfaces, then I attack sticky film with diluted white vinegar, working in small sections so nothing dries unevenly.
I rinse thoroughly, buff minor scuffs with a tennis ball, and seal everything with two thin coats of non-slip acrylic finish.
Five minutes daily, consisting of sweeping, damp mopping, and drying, keeps that shine maintained.
Your floors have more potential than you’ve been led to believe.
I’ll show you exactly how each step transforms that dull surface into something worth displaying.
Why Your Vinyl Floor Looks Dull (And How to Fix It Fast)
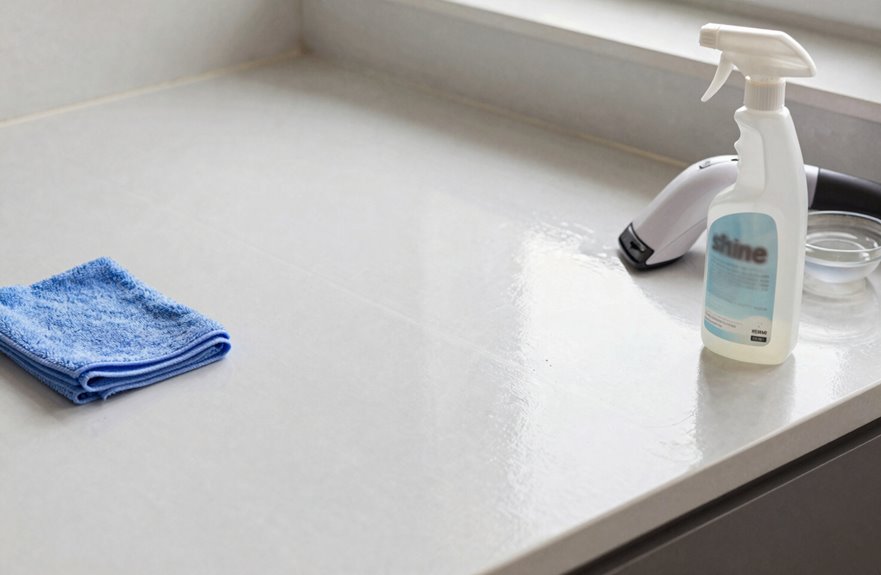
Why does my gorgeous vinyl floor look like it’s given up on life. I’ve been there, staring at my once-gleaming vinyl floors wondering where I went wrong.
Turns out, I’m probably the culprit. I used to drench my floors in cleaner and never rinse properly. That sticky residue kills shine by trapping dirt like a magnet. The grit I tracked in creates tiny scratches everywhere, scattering light ineffectively. Harsh cleaning products like bleach, ammonia, and steam mops strip the wear layer, leaving a hazy finish. Skipping sweeping allows dirt to pile up and dull the surface gradually. Eventually, even the best vinyl floors thin out and lose their natural gloss.
The good news is that dull vinyl floors can be restored with proper maintenance and cleaning techniques.
Remove the Hidden Residue Blocking Your Shine

Before polishing vinyl floors, I need to strip away the invisible gunk that sabotages shine. No amount of elbow grease will make a sticky, residue-coated surface gleam.
Residue buildup is the sneaky culprit behind dull floors. Here’s what I’m tackling:
Residue buildup is the sneaky culprit behind dull floors. Here’s what I’m tackling:
- Excess cleaning solution that leaves a sticky film, scattering light everywhere
- Fine dirt and grit acting like sandpaper, creating micro-scratches
- Skipped rinsing that turns my mop into a scratchy mess
- Harsh cleaners stripping the wear layer into a hazy nightmare
- Ignored maintenance letting grime pile up like a bad habit
I’m sticking to gentle cleaners, rinsing thoroughly, and keeping up with regular care. Proper maintenance prevents residue buildup and restores the floor’s natural reflective finish.
Restore Vinyl Floor Shine by Removing Stubborn Film the Right Way

How do I know when I’ve actually won the battle against that sneaky film. I run my hand across my vinyl flooring, and finally no tacky drag, no gray smudge on my palm.
Stubborn film builds up when I get lazy with rinsing, leaving cleaners behind that attract dirt like a magnet. Now I work in small sections, scrubbing that visible haze with white vinegar diluted in warm water, or a baking soda paste for the really stubborn spots. Think of it as a gentle exfoliant for your floor. I rinse thoroughly with clean water, because leftover residue scratches during the next mop session. Then I dry completely with a microfiber cloth, chasing away water spots that fake dullness. My vinyl flooring develops a genuine, consistent shine.
Fix Scratches Before You Seal the Floor
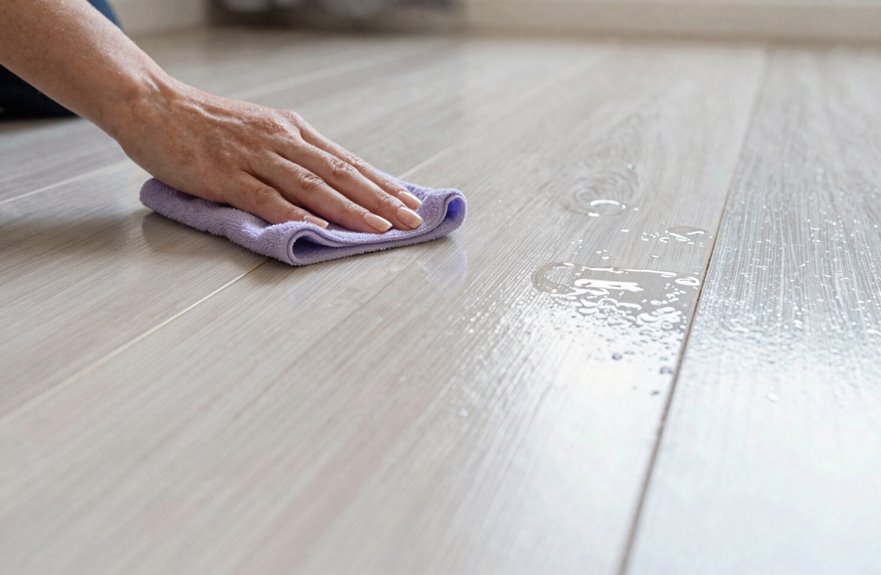
I’ve learned the hard way that sealing over scratches is like painting over a crack in the wall. It doesn’t work, and you’ll regret it later. First, I run my hand across the damage to feel if it’s a shallow scuff I can buff out with a tennis ball or a deep gouge that needs professional help. Once I know what I’m dealing with, I pick the right fix: oil for light marks, a low-speed buffer for bigger areas, or a phone call to the pros when the damage exceeds my skill level.
Assess Scratch Severity
Three types of scratches appear every time I prep a floor for sealing, and skipping this assessment step is like painting over a dented car. The surface looks shiny, but the damage remains visible underneath.
Floor care requires identifying what you’re dealing with before proceeding. Here’s how to sort the different types:
- Minor scuffs that vanish with a quick tennis ball massage
- Light scratches hidden under a dab of jojoba or mineral oil; always test a corner first
- Deep gouges that require professional repair
- Mystery marks needing manufacturer-approved buffing at low speed only
- Any damp spots requiring thorough drying, because hazing compromises the seal
Assess the damage accurately before choosing your repair method.
Choose Repair Method
That tennis ball trick is my go-to for minor scuffs and makes me feel like a flooring wizard every single time. Just rub that fuzzy yellow hero gently, watch the black marks lift away, with no scratches and no drama.
For light scratches, jojoba oil works magic. Dab a tiny bit on a cloth, buff in circles, and your vinyl improves noticeably. Test somewhere hidden first; I learned that lesson the hard way.
Deeper damage cannot be fixed with surface fillers. Call the professionals or replace the floor.
If you’re buffing, check manufacturer approval, keep it low-speed, use non-abrasive methods, then dry thoroughly. Hazing is a common problem.
Clean thoroughly after buffing, feel for smoothness, then seal. Your floor will be protected.
Apply Non-Slip Acrylic Finish for Lasting Shine
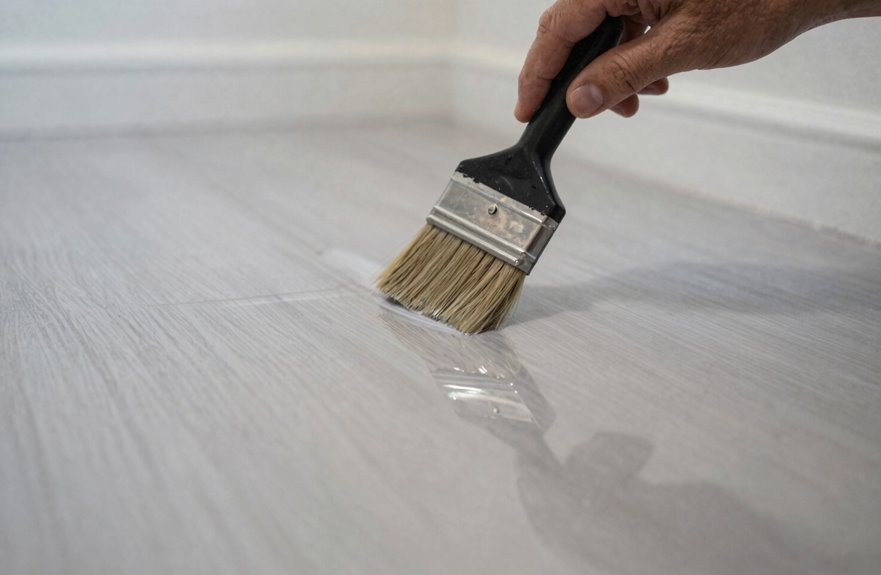
I’ll pick an acrylic finish every single time. Wax can’t compete for that mirror-like glow that lasts. Before applying the product, remove every speck of dirt and ensure the floor is completely dry, since trapped grime becomes a permanent feature. Two thin coats with a sponge mop, letting each layer dry about 45 minutes, delivers a salon-floor shine without the slip hazard.
Product Selection Tips
- I always grab acrylic-based finish, never wax. Wax turns my floor into a slippery ice rink, and I’ve got the bruises to prove it.
- I check the label for “non-slip,” because shiny shouldn’t mean dangerous.
- I match the finish to my traffic level, heavy-duty for my chaotic kitchen.
- I sniff out low-odor options. My cat judges me enough already.
- I buy enough for 2–3 coats. Running out mid-project is my personal nightmare.
Your floor is about to look incredible.
Application Best Practices
Why does the actual application feel so much scarier than the prep work. Standing there with a sponge mop, you might suddenly worry you’ll ruin everything.
You can do this. Choose a non-wax, acrylic finish made specifically for vinyl. This prevents hazing and compatibility issues with the wear layer. Before opening the bottle, ensure complete dryness. Any trapped moisture or dirt becomes a permanent, bubbly defect under your finish.
Apply thin, even coats, two or three usually sufficient, waiting 30 to 60 minutes between each. This gives you time for coffee or to monitor the drying process. For a subtle appearance, use unglossed finish. For a dramatic effect, high gloss delivers that mirror-like, restored shine.
Reapply every few months to a year. Regular maintenance extends the life of your floor finish.
Make Vinyl Floors Shine: Apply an Acrylic Finish That Lasts
How do we get that glossy, just-installed look without constant reapplication. I’ve found an acrylic finish routine that delivers lasting results.
Here’s my battle-tested acrylic finish routine:
- I use an acrylic-based vinyl floor finish, never wax. Wax yellows, acrylics glow.
- I remove every speck of dirt and grime, then wait until bone-dry. Residue causes hazing.
- I roll on thin, even coats with a sponge mop, building 2–3 layers of liquid glass.
- I set a timer for 30–60 minutes between coats.
- I refresh every few months, because finishes don’t last indefinitely.
Cure time is critical. Walk on the floor too soon, and you’ll leave footprints in the finish.
Maintain Your Shine With 5-Minute Daily Habits
I used to think “maintenance” meant spending my weekends on my hands and knees. Five minutes changes everything. I grab my microfiber mop, sweep away the grit that scratches, and wipe high-traffic spots with a damp cloth and pH-neutral cleaner. Quick, dry passes prevent those annoying water spots. Doormats stop haze before it starts.
| Daily Habit | Time Needed |
|---|---|
| Sweep or vacuum loose dirt | 2 minutes |
| Damp microfiber mop wipe | 2 minutes |
| Dry with clean cloth | 1 minute |
| Check doormats | 30 seconds |
We’re in this together with shiny floors and minimal effort. That weekly ten-minute whole-floor wipe-down is my Sunday routine. Your vinyl deserves consistent care, and maintaining it this way extends its lifespan and appearance.




