
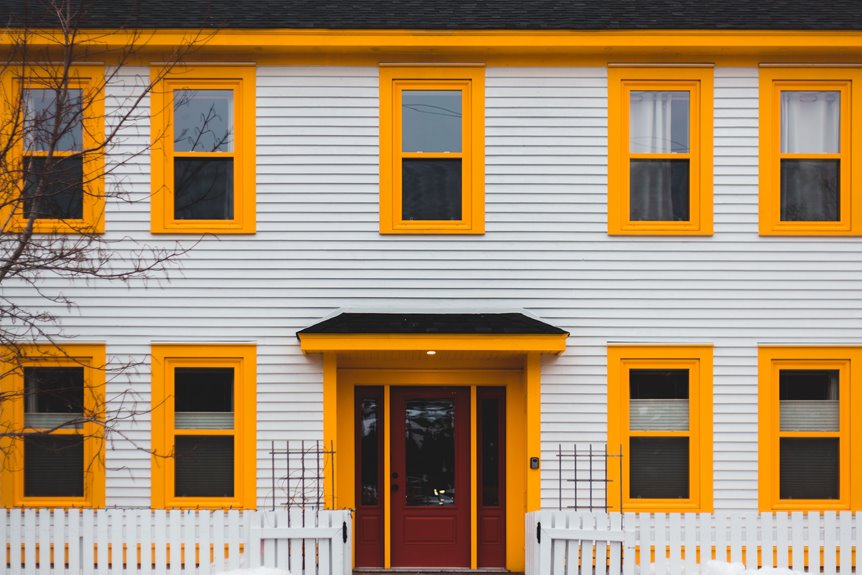
I’ve painted every inch of trim in my 1920s bungalow twice, and I’ve learned that crisp, clean edges transform a space faster than swapping furniture ever could. Start with warm whites like Simply White (sunlight through linen) or cool brights like Chantilly Lace depending on your vibe. Grab a 2-inch angled sash brush and mini roller, and never rush between coats. Wait 24 hours, not the optimistic 6-hour estimate, or you’ll regret it. The drips, bleed-through disasters, and ladder-free crown molding tricks are detailed ahead, plus why painting trim before walls saves your sanity. Your future self will appreciate the professional picture frame appearance these edges create around every room.
Why White Trim Works With Any Wall Color
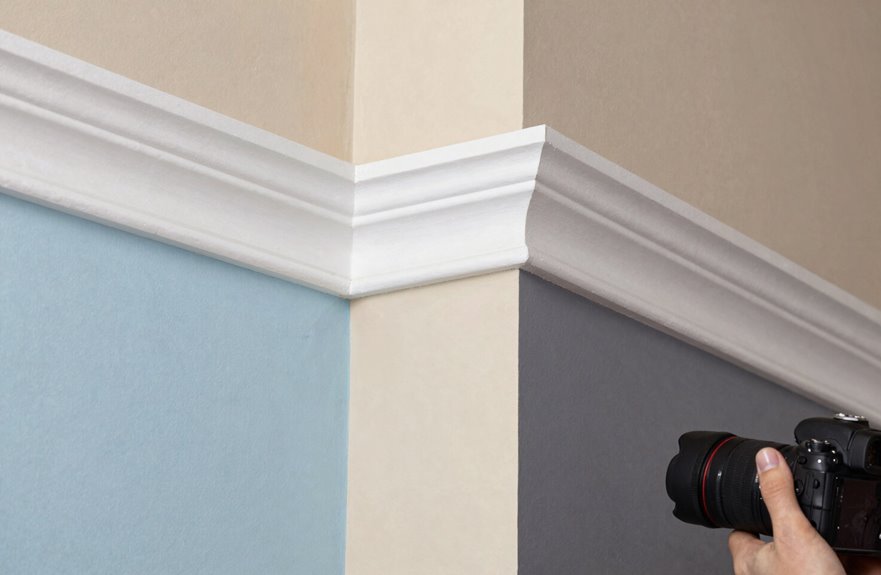
Because I’ve painted more rooms than I can count and made every mistake imaginable, I’ve learned that white trim is the ultimate peacekeeper in a color war. When you’re standing in the trim paint aisle, paralyzed by choice, white trim works like that friend who gets along with everyone at the party. I’ve applied it against emerald greens, moody navies, even that terracotta I was sure would clash, and somehow it works every single time. The magic lies in that crisp edge, which creates breathing room and makes walls feel intentional rather than chaotic. It’s like a frame for your favorite artwork. Whether your style bounces between farmhouse cozy and sleek modern, white trim adapts without judgment to your eclectic taste. I’ve tested this theory in my own home, and it’s the one choice I’ve never regretted.

Ready to use, pre-mixed door and trim paint offers a fresh new look on interior or exterior metal, wood and fiberglass

Use for a variety of indoor and outdoor project surfaces including wood, metal, plaster, masonry or unglazed ceramic

Use for a variety of indoor and outdoor project surfaces including wood, metal, plaster, masonry or unglazed ceramic
Choose Warm Whites for Cozy Trim

While stark white trim has its place, warm whites create a cozier atmosphere when you want a room to feel inviting rather than sterile. These trim paint choices wrap your space in warmth, adding depth that makes walls feel connected, not competing.
Benjamin Moore Simply White reads toastier than you’d expect, like sunlight through linen curtains. For creamy softness that still provides contrast, Sherwin Williams Alabaster gives trim an approachable quality that works well in living rooms. Need brightness without coldness. Sherwin Williams Pure White hits that sweet spot, warm but still vibrant. White Dove suits bedrooms where you want the space to feel like a retreat.
Choose colors that match your preferences. Your home should reflect your personal style.

2 Inch Angled Paint Brush for Precision Cutting-In – Designed for clean, sharp lines around trim, baseboards, ceilings, corners, and detailed edge work. The perfect size for control and coverage.

Flexible purple Shergrip handle that measurers only 2 Inches long that adds maneuverability in tight spaces
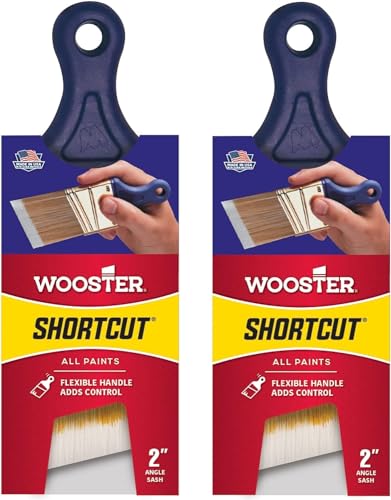
Pack of 2 | Flexible purple Shergrip handle that measurers only 2 Inches long that adds maneuverability in tight spaces
Choose Cool Whites for Crisp Trim
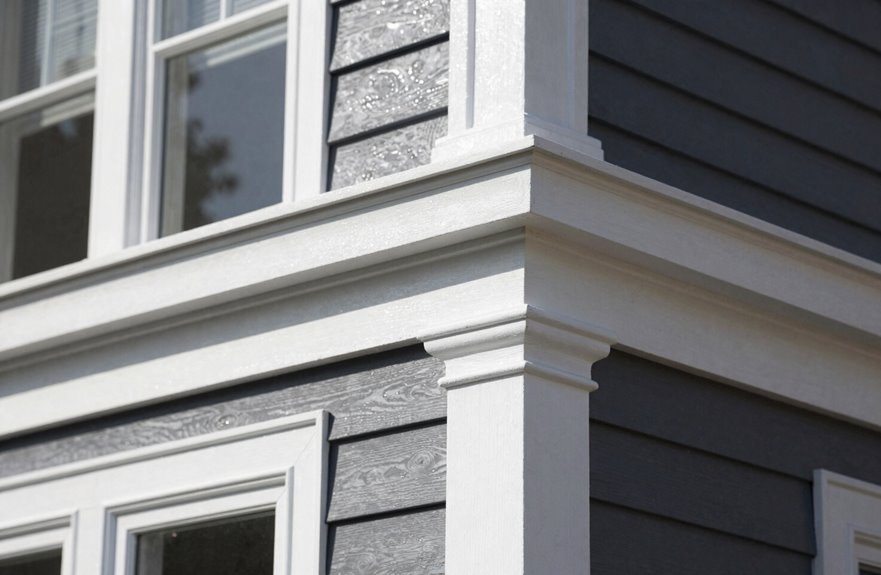
Warm whites aren’t the only game in town. I’ve found cool whites deliver that fresh, “just renovated” energy. They make spaces feel bigger, brighter, like someone’s opened a window even on gray days.
When painting trim, these options work well:
- Chantilly Lace – This one’s almost blindingly bright, perfect for bouncing light around dark corners
- Extra White – My go-to for making crown molding actually visible, not blah
- Decorator’s White – That subtle gray undertone works exceptionally well for contemporary spaces
Painter’s tape saves time and effort during cutting in. Match these cool whites with cool walls, and your trim looks intentional and polished, as though you planned the entire scheme.

13 Pieces Painting Set: The small paint roller kit includes a 4 inch paint roller frame, a 4 inch red paint tray, paint tray liners 3 pcs, 4 inch microfiber paint roller covers 6 pcs, a 1.5 inch angled paint brush and a piece of drop cloth. Equipped with everything you need to complete any paint job with ease

COMPLETE 12-PC PROFESSIONAL SET:Includes 4" tray ×1, snap-fit handle ×1, reusable liners ×2, liner cover ×1, dual-brown microfiber sleeves ×4, white microfiber sleeves ×2, and 1.5" angled brush ×1. Perfect for walls, ceilings, trim, cabinets, and furniture

Complete 4" Mini Paint Roller Kit: This all-in-one professional painting kit includes (5) high-density foam roller covers, a sturdy 4-inch roller frame, a deep-load paint tray, and a disposable tray liner. Perfect for small projects and touch-ups, it saves you time and money—no need to buy components separately
Pick Semi-Gloss or Gloss for Wipeable Trim
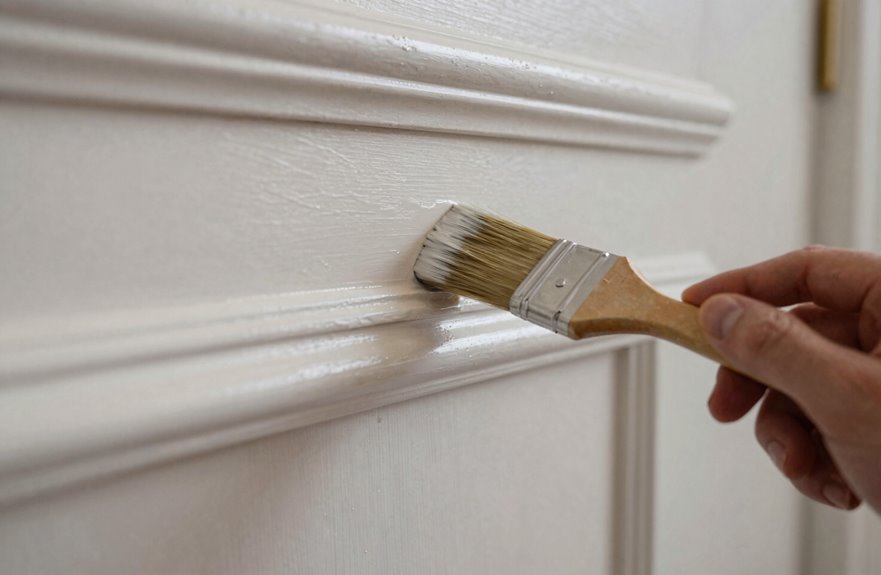
Why do I keep seeing eggshell on baseboards? It breaks my heart. Someone’s setting you up for scuff marks that’ll never wipe clean. We’re skipping flat and eggshell entirely for trim work.
Semi-gloss and gloss paints create wipeable finishes that handle muddy dog paws, coffee splashes, and mysterious kid fingerprints. This means durable, moisture-resistant protection for your baseboards and door frames. Behr semi-gloss in their standard white gives that crisp, cleanable surface you need, while Valspar Crumb Cookie offers warm sophistication with the same scrub-friendly durability.
Yes, gloss reflects more light and shows every brushstroke. I’ll grab my best angled brush and slow down for those edges. The result is trim that stays gorgeous for years, not months.

READY. SET. PAINT!: 1 ScotchBlue Original Multi-Surface Painter's Tape Applicator and Starter Roll (1.41 inch wide x 20 yards), the go-to tool for faster, easier precision paint prep

FOR MULTI-SURFACE USE: Frog Tape 2 inch wide paint tape with medium adhesion is ideal for a variety of surfaces such as cured painted walls, baseboards and trim, glass, carpet and metal

Professional Mask Tape - Multi-Surface adhesive tape made of high quality blue crepe paper not easy to lift or curl, has sunlight, UV, heat, moisture resistant, sturdy to use. So, blue tape painters tape is very much suitable for indoor and outdoor, office, home decoration, classroom. And, its paper use environment friendly material, harmless to human body, using blue paint tape can reduce the natural burden. Excellent blue masking tape for packaging, closing, and light duty masking and sealing.
Get These 5 Tools Before You Start
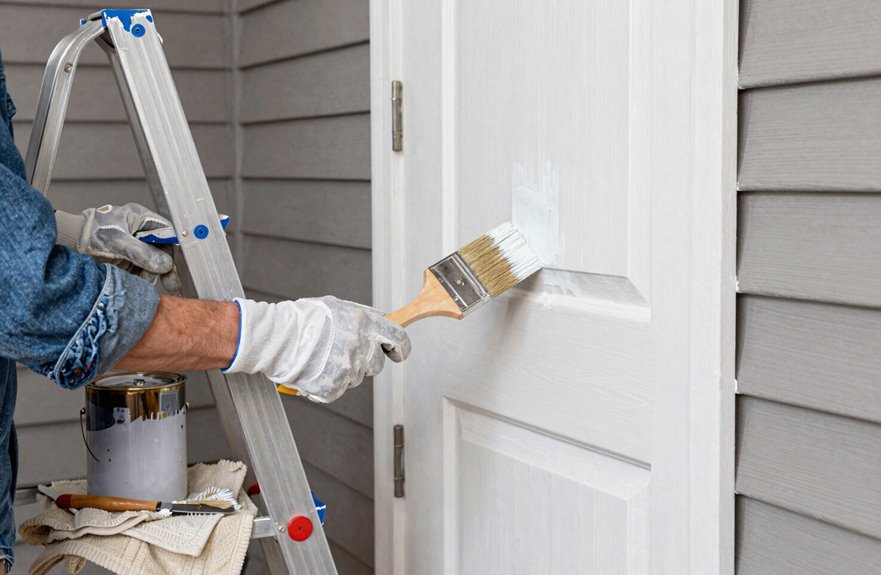
Before you pop the lid on that first can of paint, gather these five tools. Cheap brushes leave fuzz on your trim, and nothing kills a pro finish faster.
Here’s what you need:
- Two angled brushes – a 3-inch workhorse and a smaller sash brush for tight corners where trim meets wall.
- A mini roller setup with grid, tray, and extendable pole to reduce shoulder strain during crown molding work.
- Painter’s tape, specifically FrogTape, because bleeding edges ruin the final result.
Add drop cloths and a cutting pot to complete your setup and avoid mid-project hardware store runs.

The Right Cut: Beautiful, seamless-fitting crown molding takes the guesswork out of crown molding

Professional quality: 100% satisfaction guaranteed, trim paintbrush is premium; intended to be long lasting and easy to clean. Exceptional ability to get the job done quickly with a superior finish.

Clean, Fill, and Sand Your Trim
I grab my damp rag and start wiping down every inch of trim. You don’t want to discover that weird grease spot after you’ve already painted; it ruins the finish. Once I can actually see what I’m working with, I load up my putty knife with spackling compound and fill every dent, crack, and mysterious hole. If your trim has that shiny, slick finish that prevents paint adhesion, rough it up with 120-grit paper so your new coat bonds properly and lasts.

CABINET TRANSFORMATION: Refresh outdated cabinets, vanities, furniture and trim with rich Pure White color and a smooth semi-gloss finish
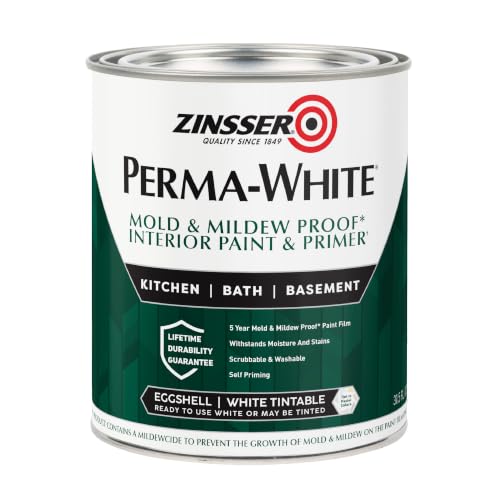
Self-Priming formula - requires no sanding

Use for a variety of indoor and outdoor project surfaces including wood, metal, plaster, masonry or unglazed ceramic
Remove Dirt and Grime
Usually, I dive straight into painting and end up with bumps, streaks, and that horrible realization I’ve trapped a dead fly under the finish. So now I always start with a proper scrub-down.
Dirt removal and grime removal aren’t glamorous, but they’re essential for a finish that actually lasts.
- Wipe every inch with a damp rag. That simple swipe reveals hidden scuffs and greasy fingerprints you’d never notice otherwise.
- Hit the really gunky spots, think door frames near light switches, baseboards where vacuum cords have dragged, with slightly more pressure. You’re dealing with years of accumulated schmutz here.
- Step back, inspect, and repeat if needed. Once that primer locks in leftover dust, you’re committed to living with it.
Clean trim means paint that adheres properly and maintains its appearance.
Patch Dents and Cracks
Why does every trim job look like it’s been through a minor demolition derby once you really look? I once found a dent that perfectly matched my thumbprint from 2019. This repair work is where the magic happens.
First, wipe everything down with a damp rag. Dust loves hiding imperfections. Then grab wood filler for deep gouges and spackling for tiny holes, always fast-drying because paint is waiting. Overfill slightly with your putty knife, let it dry completely, then sand flush with 120-grit until it’s smooth as butter. One final wipe, and your trim will be ready for professional results instead of looking damaged.
Smooth Glossy Surfaces
How on earth do glossy surfaces manage to hide every single flaw until you’re halfway through a coat of paint? You’ll find yourself staring at a bump you swear wasn’t there yesterday. Here’s the process:
- Clean like you’re hunting for secrets — I wipe glossy surfaces with a damp rag, and suddenly every ding appears, like magic, like betrayal.
- Fill sparingly, sand patiently — I dab putty into cracks, wipe excess fast (ridges are the enemy.), then sand smooth with 120-grit once dry.
- Dust is the invisible saboteur — I vacuum, tack-cloth, and obsess because that smooth finish demands a blank canvas.
This prep work feels tedious, but you’re building something that will look finished and professional. The glossy surfaces won’t win this time.
Tape and Cover: Protect Floors First
Before I even think about cracking open that first can of paint, I’m throwing down drop cloths like I’m preparing for a minor flood. Once that trim work begins, drips happen, and they always find the one spot you missed. A single splatter on hardwood becomes a week-long regret.
Next comes the painter’s tape, and I’m picky about it. None of that cheap masking stuff peels mid-stroke. I press it firmly along walls, sealing every edge with precision. For carpet, I tape right where I’ll brush. Paint has a sneaky way of wandering onto fibers.
| Surface | Protection Strategy |
|---|---|
| Hardwood floors | Canvas drop cloths, no plastic—slippery! |
| Carpet | Tape barrier at trim edge, then cloth |
| Adjacent walls | Painter’s tape, sealed with fingernail |
| Tile | Drop cloths, extra tape at grout lines |
| Baseboards | Tape top edge, cloth tucked underneath |


Genuine Wooster replacement part.

Prime Bare Wood and Stained Trim
Where exactly do you start when the trim is staring back at you, raw and thirsty? Primer isn’t optional. It’s the foundation between bare wood and your finished vision, ensuring that what follows actually stays put.
Here’s the proven approach:
- Grab high-hide primer for new bare wood to avoid needing endless coats of topcoat.
- Block stubborn stains with something like Fresh Start primer so tannins don’t bleed through your finish.
- Sand lightly between coats when brush marks appear, creating that smooth base your topcoat deserves.
Hit front surfaces first, especially where color changes occur. Let it dry completely before moving on. This prevents the topcoat from adhesion problems and surface imperfections that are difficult to correct later.

2 Inch Paint Roller Kit: 2 inch microfiber paint roller cover*8, 2 inch paint tray*1, 2 inch liner*5, 2 inch paint roller frame*1. The 2 inch paint roller set is versatile and can be used for various painting projects

Small Paint Roller Kit: includes 6 pcs 2 inch paint roller, a paint roller frame 2 inch, a 2 inch paint tray with a liner. Suitable for painting small and hard to reach spaces
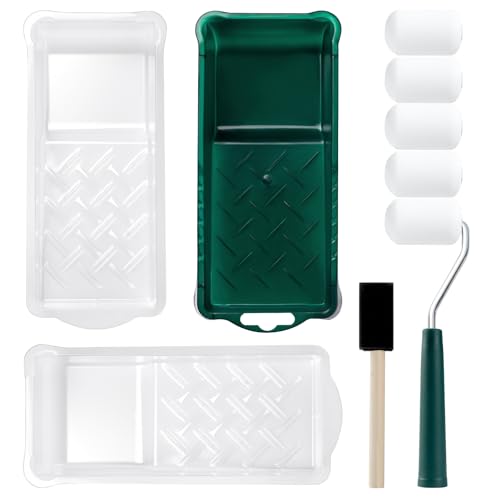
Complete Paint Roller Kit: This 2-inch paint roller set includes everything you need for a seamless painting experience, featuring one paint tray, two paint pan liners, one 2-inch paint roller frame, one 1-inch sponge brush, and 5 2-inch high-density foam paint roller covers
Paint Trim With Brush or Roller: Your Choice
Once that primer’s locked down and smooth as glass, you’re ready to apply color.
For tools, grab a quality angled sash brush, one-and-a-half to two-and-a-half inches, because cheap brushes leave fuzz like a sweater your aunt knitted. For flat trim sections, a small roller speeds things up beautifully. Brush first, hitting edges and details, then roll the flats before the paint dries weird. Dip that brush a third deep, tap off excess, and stroke smooth. Refill your roller before it gets thirsty and drags. Let coat one dry completely, then apply a second coat. Multiple thin coats build a finished surface that lasts.

HIGH PERFORMANCE PAINTERS TAPE : 1.88" x 60yds 3-Pack, Its specially formulated rubber adhesive system is designed to hold firmly onto multiple surfaces, such as flat, smooth, or lightly textured walls, wood, metal window frames, baseboards, glass, tile, or hardwood floors. It will not dry out or lose its holding power.
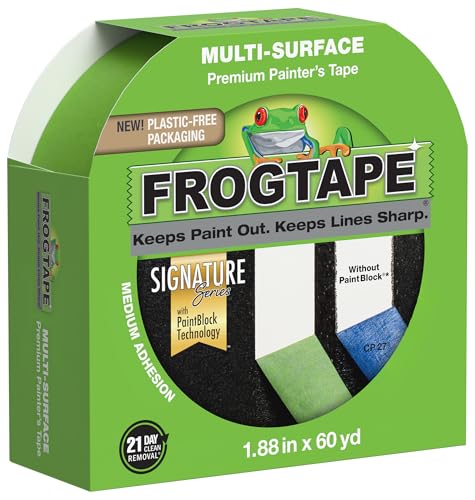
FOR MULTI-SURFACE USE: Frog Tape 2 inch wide paint tape with medium adhesion is ideal for a variety of surfaces such as cured painted walls, baseboards and trim, glass, carpet and metal

Clean & Sharp Lines — For clean edges, tape around baseboards & trim with Stikk’s Painters Tape; Create sharp lines when painting with multiple colors or designs; No more paint drips or spills
Cut In Baseboards With an Angled Brush
Because the floor trim is where your walls meet the real world, I take extra care here. Nobody wants wobbly lines ruining an otherwise gorgeous room.
Floor trim is where your walls meet the real world—wobbly lines have no place here.
I grab my angled sash brush, specifically a 1½- to 2½-inch size, and load it about a third full. Overloading with paint invites drips.
Here’s how to tackle baseboards effectively:
- Dip at an angle, tap off the excess, and work in short, controlled strokes following the wood grain.
- Finish with one long, smooth stroke toward the outer edge to eliminate lap marks.
- Keep a damp rag handy for quick cleanup of stray marks, protecting walls with tape first.
Small sections, wet edge, and crisp lines produce professional results.

NO MATH REQUIRED FOR PERFECT ANGLES: The aluminum protractor’s inner Miter Cut scale instantly gives the exact setting needed for corner joints, eliminating guesswork, calculations, and the waste of expensive trim material

PAINT SCRAPER AND PUTTY KNIVES (5 PC): Premium Quality, Ideal For Home Improvement Projects: Applying Joint Compound, Puttying Windows, Scraping Paint, Removing Loose Putty, Removing Loose Paint, Removing Vinyl Or Paper Wall Covering, Patching Dents Cracks Holes In Plaster
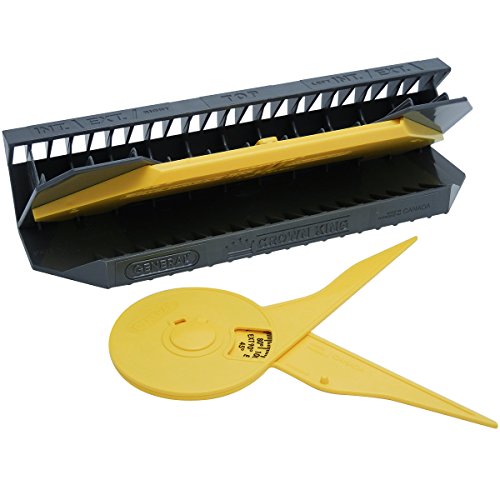
4 EASY STEPS: Perfectly mitered corner joints in four easy steps.
Paint Door and Window Frames Next
I grab my angled sash brush, two inches of pure precision, and tackle the vertical edges of each frame first, feathering into the corners so those brush strokes vanish cleanly. For protection, I wedge cardboard strips between sash and frame, keeping those moving parts free while I work. This approach stems from once painting a window shut, a mistake I prefer not to repeat. The angled bristles let me cut crisp lines along the glass without masking every edge, though I still hold my breath on the first stroke every single time.
Brush Application Technique
Why start with doors and windows? Because tackling these detailed areas first means you can focus your energy where precision matters most before patience (and your back) gives out.
Here’s how to do this every single time:
- Load smart, not heavy. Dip your angled sash brush just a third into the paint, tap the excess, and glide with the grain. No glops, no drips, just smooth brush strokes.
- Details first, flats second. Paint around knobs, edges, grooves (the fussy stuff), then fill in broader areas. Long, continuous strokes keep everything seamless, and reload before the brush gets dry.
- Top-down discipline. Crown molding, then frames, then baseboards. This way you don’t accidentally drag wall color onto fresh trim, and your painter’s tape comes off clean after drying fully; 6 to 8 hours for water-based, 24 for oil.
Frame Protection Methods
Once you’ve conquered the doors and windows, you can tackle the frames. Skipping prep here leads to regret, much like wearing white sneakers to a mud run. Press painter’s tape along every edge, sealing it tight so your trim paint stays exactly where it belongs without rogue bleed ruining the finish.
Fill dents with spackle, sand till smooth, and prime stains so they don’t ghost through later. Grab your angled sash brush, 1½ inches of control, and cut in along frame edges before rolling nearby. Work top-down: crown molding first, then windows, doors, baseboards last. Semi-gloss or gloss only, because scrubbable surfaces outlast matte finishes.
Reach Crown Molding Without Ladder Marks
How many times have I climbed up and down a ladder only to step back and see those ugly, telltale streaks where the rails pressed against fresh paint. It’s frustrating. Here’s how to avoid this problem:
- Grab the right brush for painting — a long-handled, angled sash brush lets you reach crown molding from the floor, sweeping long strokes that hide application marks completely.
- Pre-tape with painter’s tape — shield walls and ceilings first, because smudges where a ladder bumps fresh edges create an unprofessional appearance.
- Extend and conquer — pair a 4- to 8-foot extendable pole with your brush for corners, keeping your feet planted while the molding gets that smooth, professional finish.
Wait This Long Between Coats
Ever stood there, brush in hand, staring at trim that looks dry but might secretly be a sticky trap waiting to ruin your whole day. Dry time is everything. For semi-gloss or gloss trim, allow a full 24 hours between coats. Water-based paints might feel ready in six to eight hours, but they’re not cured. Oil-based requires the same 24-hour wait, minimum. Pulling tape too early causes perfect edges to shred, or re-taping over soft paint lifts whole patches. Humidity extends the drying window, particularly on cool mornings. Let paint cure completely before tape removal to achieve finished edges that look professional.
Fix Drips, Bleed-Through, and Brush Marks
Patience pays off, but waiting 24 hours doesn’t guarantee perfection. Sometimes you peel that tape back and spot a drip that needs fixing.
Patience helps, but 24 hours won’t hide every imperfection—sometimes the tape comes off and the truth drips through.
Here’s how to address common issues:
- Drips – Wipe them immediately with a damp rag while wet, then sand lightly after curing. Feather the edge with your fingertip to blend the repair seamlessly.
- Bleed-through – Don’t skip primer, especially when covering dark burgundy. Without primer, dark colors seep through white paint like a coffee stain.
- Brush marks – Sand between coats, reload your angled sash brush often, and glide with smooth, uniform strokes for a glassy finish.
These fixes work reliably when applied correctly.
Paint Trim Before Walls: Here’s Why
Why do I always paint trim first? Wall color on fresh crown molding is a costly mistake. Painting trim before walls prevents this problem entirely.
I focus on molding, window frames, and baseboards with full attention. No worrying about perfect wall coverage yet. I brush those detailed edges with complete control, keeping my edge work crisp and clean.
The critical step is letting that trim cure for 24 hours before taping it off. Skipping this step means tape will pull your fresh paint right off the surface.
Once cured, I tape carefully, roll those walls with confidence, and reveal clean, defined boundaries. Professional painters follow this approach, working top-down, methodical, and intentional. The final result shows sharp lines between trim and walls.




