

I’ve stripped enough cement floors to know shortcuts bite back. First, assess whether that old paint is stuck tight or peeling, because painting over peeling paint creates adhesion problems down the line. Then pick your weapon: chemical stripper for control, grinder for thick buildup, or both when dealing with heavy accumulation. Grab nitrile gloves and a respirator (respiratory protection prevents chemical inhalation), roll stripper thick, wait for those bubbles to form, scrape aggressively, rinse until the surface is clean, neutralize if pH tests alkaline, and dry for 24 hours minimum with no moisture present. Skipping any step compromises your final coating’s durability and longevity.
Can You Paint Over Old Paint or Must You Strip?
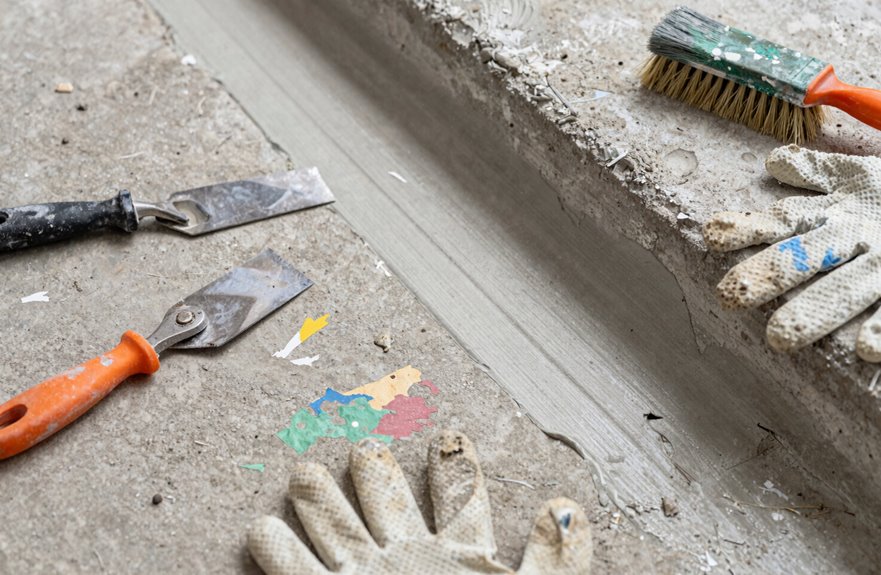
The first thing to know: if your existing paint is stuck tight, clean, and in good condition, you can paint over it after a good scrub. However, if it’s peeling, blistering, or flaking, you must remove it, or you’re wasting money.
Shadowing is a common problem. Spray paint and dark stains can bleed through fresh coats like they’re showing through your floor. This became clear during a garage project that looked perfect until week three. Do the tactile test by running your hand across the surface to feel for trouble. Touch reveals what sight cannot.
Pick a Removal Method for Your Paint and Concrete

Choosing how to strip your floor feels overwhelming, but this is where the fun starts. Your concrete floors are unique, like fingerprints, so your removal method needs to match their personality.
Got thick layers of paint that’ve been there since 1987. Grinding is your best option; it chews through heavy coatings effectively. For delicate control, chemical strippers work well. They soften materials while you have time for other tasks during the dwell time. Stubborn aged spots on raw concrete respond well to a wire cup brush with Dawn and hot water.
Mechanical scraping alone has limitations. It’s often slow and frustrating for heavy buildup. Mixing methods works best. Apply chemical stripper first, then follow with mechanical scraping. This approach handles the chaos of old paint, random stains, and irregular surface prep effectively.
Get the Right Tools for Your Chosen Method
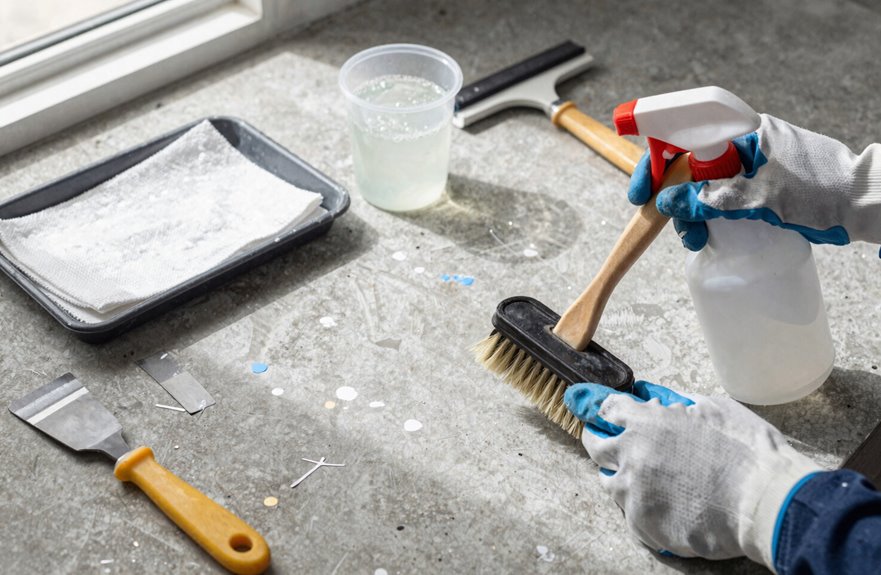
I’ve learned the hard way that grabbing random tools from my garage won’t cut it for paint removal. You’ll need three essential tool categories: mechanical removers like grinders and wire brushes for stubborn spots, chemical strippers with their companion scrapers for delicate jobs, and rental equipment like floor grinders with diamond wheels that turn days of work into hours. Don’t forget the safety gear either, because concrete dust in your lungs and stripper chemicals on your skin cause serious health problems. Protective equipment prevents respiratory damage and chemical burns.
Essential Tool Categories
Gathering your arsenal before battle is where every paint-removal victory begins. I’ve learned the hard way that winging it with the wrong gear leaves you sweating, swearing, and staring at stubborn patches.
Here’s what we’re working with:
| Tool | What It Conquers |
|---|---|
| Paint remover + scraper combo | Thick, gloopy layers that laugh at elbow grease alone |
| Wire cup brush on drill | Old, dry paint baked into raw, unfinished concrete |
| Acetone + full PPE setup | Deep stains that need chemical persuasion, five minutes, scrub, repeat |
Skimping on respirators creates real problems. That dizzy headache signals chemical exposure affecting your body. Chemical-resistant gloves, eye protection, and proper respiratory equipment are non-negotiable. Adequate protection ensures you stay healthy while that floor finally gleams.
Rental Equipment Options
Once you’ve got your basic toolkit sorted, it’s time to talk about the big guns. Sometimes that paint’s been sitting there since the Carter administration, and your poor drill’s begging for mercy. For serious paint removal, head to your local rental yard. It’s an efficient way to test equipment before making a major purchase.
A grinder with a concrete wheel is your best option for thick, stubborn layers. Sparks fly and progress happens quickly. For smoother finishes, grab a buffer with sanding screens. It’s gentler but still effective. Got outdoor stains. A heavy-duty pressure washer removes them efficiently.
Rental equipment lets you test what works before committing significant money. Tool rental companies allow you to experiment and match gear to your specific floor requirements. Just assess your concrete and paint type first, then rent equipment that fits your actual needs.
Safety Gear Requirements
Before starting work with chemical strippers or grinders, put on protective gear. Skipping this step risks serious injury like chemical burns or inhalation of solvent fumes.
Here’s my must-have protective gear checklist:
- Chemical-resistant gloves (nitrile or neoprene, tested against my stripper) and NIOSH-approved respirator masks to prevent inhalation of solvent vapors
- Eye protection that actually seals, plus old shoes or covers to avoid tracking toxic substances through your home
- Hearing protection when grinders operate, knee pads for long scraping sessions to protect aging joints
- Serious ventilation: doors wide open, fans running at full capacity. Fresh air is essential for safety.
Proper gear prevents injury.
Apply Paint Stripper to the Concrete

Why settle for patchy results when I can roll this stripper on thick, like frosting on a slightly burnt birthday cake I’m pretending turned out fine. I’ve learned paint stripper loves concrete floors when I’m generous, not stingy.
I pour it on, roll it slow, watching that glossy layer spread like honey on warm toast. Twenty to twenty-five minutes feels like forever, but I’m patient. I wait for the magic: tiny bubbles rising, paint loosening its grip like it’s finally admitting defeat.
When that surface starts blistering, I’m ready with my floor scraper. I lift those bubbled strips, sliding them into boxes before they harden again. Still stubborn patches. No shame in round two. I reapply, I wait, I scrape. We’re in this together, getting these floors raw and real again.
Remove the Paint and Check for Stubborn Spots
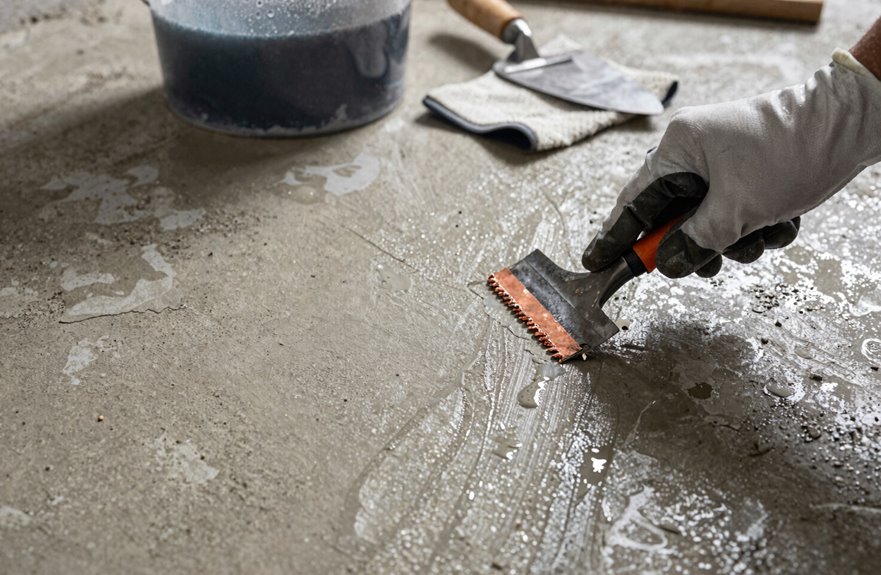
The stripper’s done its job, those bubbles are my green light, and now I’m grabbing my scraper like it’s the last spatula at a bake sale. I’m lifting that excess paint from the concrete, working at low angles so I don’t gouge anything, then blotting with paper towels before it spreads. Stubborn spots often remain after initial scraping.
Grab that scraper like it’s the last spatula at a bake sale—work low, lift gently, blot fast before it spreads.
For stubborn holdouts, use these methods:
- Hit stained spots with acetone (gloves, respirator, the works), let it dwell five minutes, scrab, repeat
- Match chemical strippers to your paint type, follow directions, give it time to penetrate
- Warm vinegar near boiling, pour it hot, wait 15 minutes until it bubbles again
- Test small areas first, stage your removal so you don’t get ghosting
Check twice because the concrete must be clean before applying new coatings or sealers.
Rinse and Neutralize the Concrete After Paint Removal
I grab my hose, crank the water, and blast every inch of that concrete till the runoff runs clear. No stripper goop hides in the pores, no slick rainbow sheen glints back at me. Next, I neutralize whatever stubborn chemical ghosts remain, acting as a barrier that halts etching before your floor deteriorates, following my product label precisely. Then comes the critical step: I test the pH. A surface still simmering with invisible acidity ruins fresh tile or leveling compound faster than almost anything else.
Neutralize Chemical Residue
How satisfying is it to watch that last stubborn paint chip surrender. But we’re not finished yet. That concrete’s still holding onto chemical secrets, and residue will ruin our hard work.
Neutralizing is essential insurance against future damage. Follow these steps:
- Mix a pH-neutralizing rinse, usually baking soda solution for acid strippers, and work it into every pore
- Use test strips to verify you’ve reached pH 7 before proceeding
- Keep fans running to clear lingering fumes
- Wait a full 24 to 48 hours before applying sealers
This approach prevents concrete degradation and ensures proper sealant adhesion.
Rinse Thoroughly Clean
Why stop now when we’re this close to that gorgeous, naked concrete we’re after. I grab my hose, crank the pressure, and rinse thoroughly clean, chasing every last bit of stripper, those weird dissolved pigments, and gummy residue down the drain. On garage floors, standing water’s the enemy, so I’m right behind it with a mop, wiping it dry. Watermarks look tragic, so I avoid them. If I spot ghosting or film, I scrub again without hesitation. Then I wait for 24 to 48 hours of dry time. Sealing over damp concrete creates adhesion problems, and we’re not doing that. Waiting the full drying period produces a properly sealed floor.
Verify pH Balance
The floor’s finally dry, but we’re not sealing anything yet. One more test stands between us and a successful application. I grab my pH test strips because skipping this step causes coating failure; bubbling, peeling, or complete breakdown are common results when pH isn’t verified.
Here’s our pH neutralization checklist:
- Slap that test strip on damp concrete and check the reading
- If it’s alkaline (above 7), grab your neutralizing rinse, muriatic acid diluted works, or whatever your stripper brand recommends
- Apply evenly, let it sit, then rinse again
- Retest until you’re hovering near 7, neutral territory
Give it 24–48 hours to dry completely, then apply your coating. Verifying pH neutrality prevents costly coating failures down the line.
Dry and Prep the Concrete for New Paint or Coating
Once the last stubborn fleck of old paint finally surrenders, it’s time to focus on proper prep. Rushing this stage compromises the final result.
Start by checking moisture. Concrete must be completely dry, or you’ll trap fumes under new coating. Run your hand across the surface, feeling for texture issues and spots where adhesion might fail. Then sweep, vacuum, and remove every grain of sanding dust.
Check for stripper residue by smell, then rinse thoroughly. Verify temperature and humidity against manufacturer specifications rather than guessing.
| Prep Step | What I’m Hunting For | My Fix |
|---|---|---|
| Dryness | Dark patches, damp smell | Wait, fans, dehumidifier |
| Texture | Rough valleys, smooth ridges | Grind or patch as needed |
| Cleanliness | Dust bunnies, debris | Shop vac, tack cloth |
| Chemicals | Solvent stink, slippery film | Rinse, repeat, verify |
Proper preparation prevents coating failure and extends the life of your new finish.




