

I’ve spent fifteen years crawling through crawlspaces with a flashlight in my teeth. Fixing uneven floors requires knowing when to shim, when to sister, and when to call the pier guys. First, grab a $40 laser level and map your slope with blue tape, because anything over two inches indicates structural trouble. Check your joists for rot by listening for hollow thunks, then decide if you’re dealing with cosmetic dips or foundation problems. Sticky doors reveal foundation issues.
For minor issues, self-leveling compound or shimming from below work well. When floors really sag, adjustable jack posts and sister joists become necessary. Sometimes you need to fix the foundation itself with helical or push piers, which is messy, loud work that will test your commitment.
Replace rotted subfloor with fresh plywood, shim thoroughly, and finish with engineered hardwood or luxury vinyl that accommodates old-house settlement patterns. Your coffee cups will remain level, and these methods will keep older homes structurally sound.
Why Old Houses Develop Uneven Floors
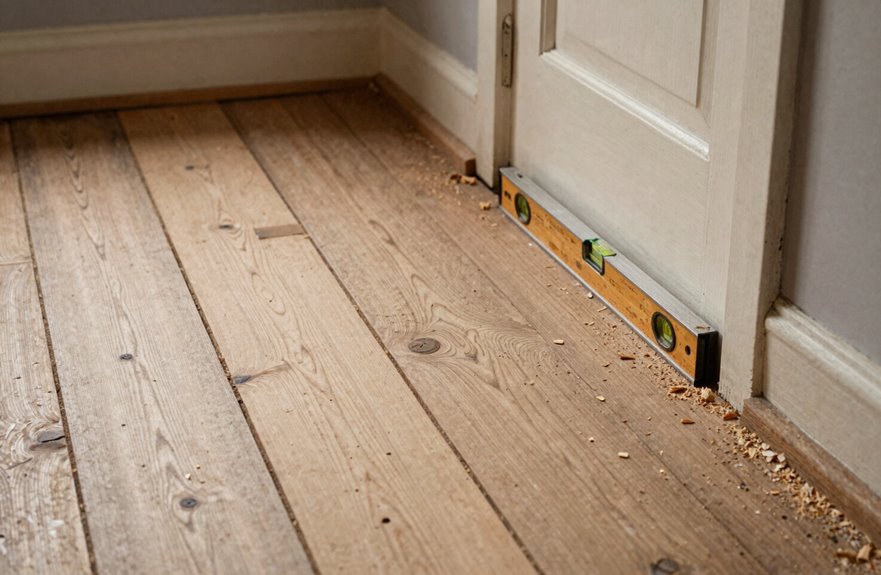
Why does your century-old bungalow feel like a funhouse ride every time you walk from the kitchen to the living room? Your floors aren’t quirky; they’re telling stories.
Foundation movement sneaks up over decades, especially when clay soils beneath your home swell like sponges in rain, then shrink into cracked desert when it’s dry. Those soils heave and settle, heave and settle, until your floor joists give way under the stress.
Moisture damage rots timber into mush and warps boards into waves. Previous “improvements” by ambitious DIYers often make it worse, creating lumpy transitions that trip you mid-coffee. Your uneven floors are battle scars from the natural stresses that affect older homes.
Measure Your Floor Slope and Find Problem Spots

How do you fight an enemy you can’t see? You measure it. You get intimate with every dip and rise.
I grab my laser level, which costs about $40, and start my slope measurement across the living room, the hallway, everywhere my feet have complained. When I spot floor deviation greater than two inches, my stomach drops. That’s a structural problem, not a design feature.
I stretch string lines to plot the slope, marking problem spots with blue tape. I follow those marks downstairs for joist inspection, matching slopes to what my flashlight reveals. Sticky doors and cracked trim are not quirks. They’re indicators of foundation settlement and structural movement. These signs tell you exactly what’s happening to the house.
Check Joists and Beams for Rots or Damage
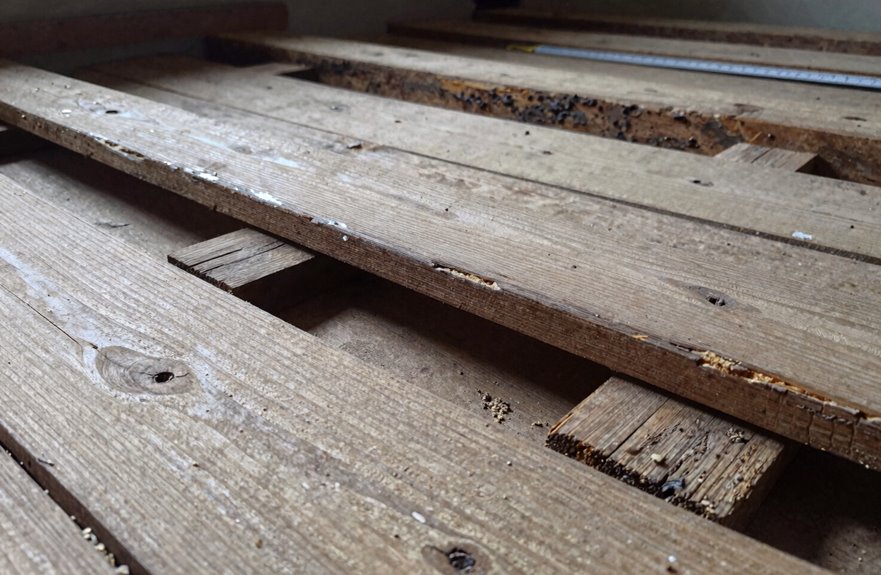
Where do I even start when I’m staring into the dark maw of my crawl space? I grab my flashlight, take a breath, and go for it, because those joists aren’t going to inspect themselves.
I’m hunting for rot, that sneaky villain turning my beams into mush. I tap along each joist, listening for hollow thunks instead of solid whacks. That hollow sound indicates moisture damage. I spot water stains, mold blooms, gaps where joists have separated from the subfloor. Sagging floors don’t lie; they point me right to the troublemakers.
Some joists twist like pretzels or sit too far apart, leaving my floors dipping like a roller coaster. I document every bent beam, every crumbly patch. Sistering or replacing these components will depend on what I find during inspection.
Determine If the Problem Is Structural or Cosmetic
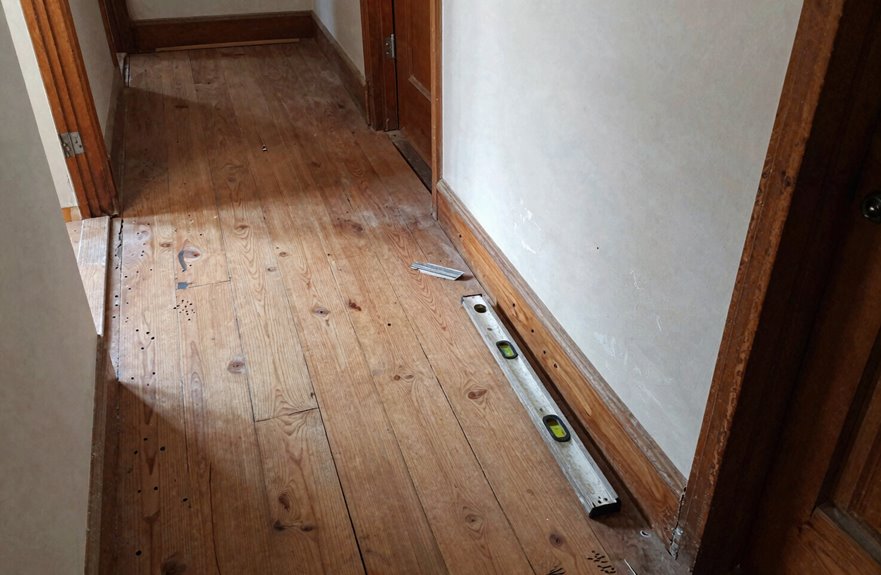
I’ll grab my level and start checking across different spots in the room because a floor that looks quirky might actually indicate a foundation problem. When I see doors that stick or gaps big enough to lose a pencil between baseboard and floor, I know I’m probably looking at structural issues: joists sagging, beams failing, the full scope of damage. But if it’s just some gentle low spots where my coffee table wobbles, I’m probably dealing with cosmetic issues I can shim or level myself. However, I’ll call an engineer immediately if I spot more than an inch or two of slope, because I’m not willing to guess wrong on this one.
Structural Warning Signs
Why do I always notice the wonky stuff last? I’ll spot the gorgeous crown molding, then trip on the slope I somehow missed. Structural warning signs hide in plain sight, and they’re telling us stories we need to hear.
Those uneven floors aren’t just quirky character. They’re often indicators of foundation settlement, damaged joists, or worse. I’ve learned to watch for doors that stick or swing unexpectedly, cracks marching across drywall like unwanted wallpaper, and that hollow bounce when you walk. Sagging floors that feel spongy mean your subfloor is deteriorating.
When my living room dropped two inches in ten feet, cosmetic fixes wouldn’t address the underlying problem. Multiple rooms tilting, support posts shifting, joints separating. These issues require a structural engineer, not DIY solutions.
Cosmetic Surface Issues
How do you spot the difference between charming character and a cry for help? I’ve learned to look closer at my uneven floors, and you can too.
Cosmetic issues are like laugh lines; they add personality without threatening the bones. Watch for these signs:
- Tiny high spots that catch your sock, not your attention
- Surface finish cracks that stay put when you press them
- Gaps between baseboards and floors that don’t grow wider
- Subfloor moisture stains that haven’t softened the boards beneath
When doors swing freely and walls stay straight, you’re probably dealing with cosmetic issues you can handle yourself. Self-leveling compound or fresh flooring over solid subfloors restores that level look without calling in contractors. Your eyes and feet will tell you what makes your old house worth keeping.
Professional Assessment Criteria
When my coffee mug slid across the room, I realized my living room floor had become a ski slope.
I learned that structural versus cosmetic assessment isn’t guesswork. You need to check if you’re dealing with foundation settlement or failing joists, because the fixes are completely different.
| Warning Sign | Likely Culprit | Your Move |
|---|---|---|
| Slope exceeds 2 inches | Structural—foundation shift | Call a structural engineer, pronto |
| Doors misalign, trim gaps | Structural—framing movement | Document progression with photos |
| Soft, hollow floors | Structural—compromised joists | Probe for rot, moisture damage |
| Localized dip, level baseboards | Cosmetic—subfloor issue | Targeted repair possible |
| Sagging worsens under load | Structural—load-bearing failure | Immediate professional assessment |
My structural engineer found foundation cracks I’d missed entirely, plus rotted joists from an old leak. Surface fixes would have cost significantly more than addressing the underlying damage.
Try Simple DIY Fixes for Minor Uneven Floors
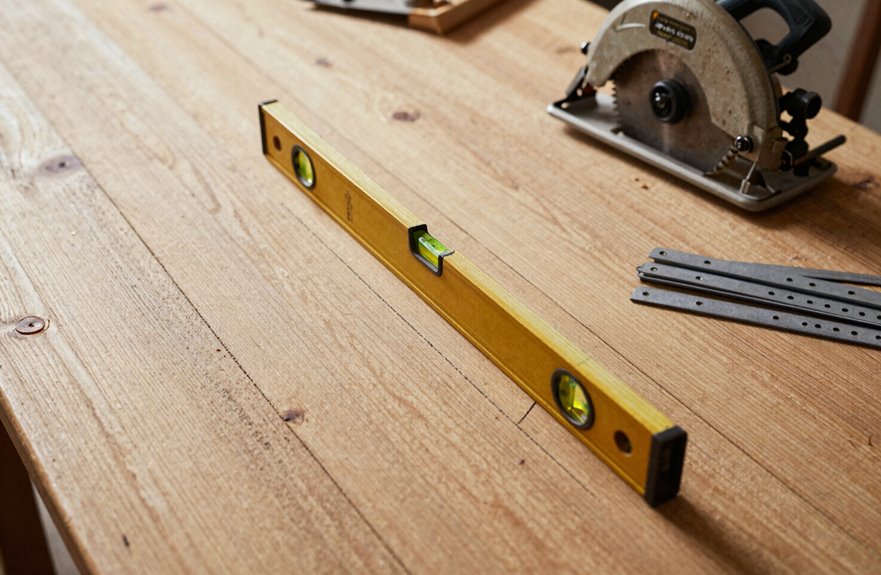
I’ve tackled plenty of wavy floors in my time. Nothing beats pouring self-leveling compound, watching that gray soup find its own perfect plane like liquid magic. When I’ve got basement access, I’ll shim between joist and subfloor, tapping those cedar wedges until my knuckles complain. Both tricks work wonders for dips under three-quarters of an inch, but check that you’re not just wallpapering over a sagging beam. Ask me how I learned that one.
Leveling Compound Application
Ever wondered what it’s like to pour liquid magic onto your floor and watch it settle into something actually flat? That’s the self-leveling compound experience, and it’s quite satisfying.
I tackled my own uneven floors last spring with a bucket in hand. Here’s what I’ve learned about this application process:
- Prep obsessively: vacuum every speck, prime that subfloor, or you’ll regret it
- Mix thoroughly; lumps are the enemy of a level surface
- Pour thin, spread fast with a gauge rake before that stuff hardens
- Walk away, breathe, let it cure completely
This DIY fix handles dips up to ¾ inch beautifully. But if your floor sags more than an inch or two, call the pros. You’re fixing surfaces here, not saving foundations.
Shim Adjustment Method
Self-leveling compound isn’t your only ticket to flatness when you’ve got crawl space access and a willingness to shimmy around on your back like a confused turtle. Shims are effective for minor uneven floors.
Here’s the process: wedge thin wooden shims between joists and the subfloor after locating the high spots. Do not shim anything already proud. Level from below, supporting the structure where it needs reinforcement. Handle small dips only. If joists show structural failure, sister or replace them.
Check and recheck your work. Level across zones to confirm results.
Sister Joists and Add Support for Sagging Floors
Nothing beats the satisfaction of walking across a floor that doesn’t dip and sway like a funhouse ride. I’ve done the wobble dance one too many times. When your sagging floors need real muscle, sister joists deliver the structural support you need.
Here’s how I tackle this:
- I size new joists to match the originals exactly, because mismatched lumber creates new problems
- I crawl below (hello, cobwebs) to secure sister joists alongside the tired ones, spreading loads evenly
- I align everything carefully, checking level repeatedly, because floor leveling depends on millimeter precision
- I reinstall subfloor tight, then move forward to that flat surface before any finish flooring touches it
This method transforms spongy floors into structurally sound ones. Your floor will be sturdy and level.
Lift and Level Floors With Adjustable Jack Posts
When I’m staring down a floor that looks more like a gentle wave pool than something you’d actually put furniture on, adjustable jack posts become essential tools. I’ve wrestled with sagging joists in my own 1920s bungalow, and leveling floors this way is effective.
Here’s my tested approach:
| Step | What I Actually Do |
|---|---|
| Find the dip | I roll a marble, watch where it escapes, mark that spot |
| Locate solid anchor points | I hunt for the central beam, the backbone of the house |
| Crank slowly | I raise adjustable jack posts quarter-turn by quarter-turn, patience wins |
| Lock in structural support | I add a stable beam, redistribute that load |
| Check back | I inspect monthly, because old houses keep settling, sneaky things. |
Fix the Foundation Underneath Your Old House
I’ve wrestled with enough sticky doors and watched cracks spider across drywall to know that foundation settlement, especially in clay soil that swells like a sponge and shrinks like cheap jeans, is usually the real villain behind those sloping floors you’re tripping over. When my buddy’s 1920s bungalow started listing like a tipsy sailor, we brought in helical piers (giant steel screws, basically) for the porch and beefier push piers for the main structure, driving them down until they bit into bedrock-solid soil that wouldn’t budge. It’s messy, it’s loud, and yes, you’ll question every life choice that led you to buy an old house. But when that floor finally levels out and your doors stop ghost-opening at 2 AM, the foundation will be stabilized and your home’s structural integrity restored.
Foundation Settlement Causes
Why does your hallway feel like a gentle ramp all of a sudden? I’ve been there, coffee in hand, nearly spilling it as I navigate what used to be flat ground. Foundation settlement sneaks up on us, and before you know it, you’re living in a funhouse.
Foundation settlement occurs due to these specific causes:
- Soil beneath your home compresses or shifts over time, creating those maddening uneven floors we both dread
- Clay soils swell when wet, shrink when dry, and basically throw a tantrum beneath your feet
- Doors start swinging on their own, baseboards gap like missing teeth, and walls crack
- Left alone, you’ll see slopes exceeding 1–2 inches per room, which means trouble
Helical piers and other underpinning methods reach stable soil and stop the madness. Your house can feel like home again.
Pier Installation Methods
The day my contractor mentioned “underpinning,” I pictured tiny pirate ships holding up my kitchen, but it turns out we’re talking steel piers, not planks and sails. Pier installation isn’t one-size-fits-all, and that’s where foundation stabilization gets interesting.
| Method | Best For | My Take |
|---|---|---|
| Helical piers | Lighter homes, tight access | Like giant screws for your house! |
| Push piers | Heavy homes, deep load-bearing soil | Hydraulic muscle that pushes through tough spots |
| Deep injection | Minor settling, less invasive | Foam expansion fills voids without the drama |
Your choice between helical piers and push piers depends on weight, soil depth, and the extent of movement occurring. Sometimes I combine approaches: piers for stabilization and soil treatment for the remaining issues. The right solution depends on the specific conditions of your old house.
Replace Rotted Subfloor in Uneven Areas
Where exactly does that spongy, give-under-your-boot feeling come from when you walk across my kitchen? It’s rot, sneaky and hungry, chewing through the subfloor I trusted for decades. You can’t level what wants to collapse.
Here’s how to fix it:
- Carve out the damaged subfloor like a surgeon, gloves on
- Peer underneath at your joists. Some need sisters, poor things
- Shim obsessively, because leveling now means no regrets later
- Screw down fresh 3/4-inch plywood with gusto, each turn securing the repair
Seal that crawlspace. Moisture barriers aren’t glamorous, but neither is falling through your own kitchen. This repair prevents water damage that would otherwise cost thousands in structural repairs and mold remediation.
Choose Flooring That Works With Leveled Old Floors
Fixing the bones underneath was only half the battle. Picking flooring that actually works with your leveled subfloors matters just as much.
Engineered hardwood is an excellent choice because its material resilience accommodates minor imperfections that old houses often retain. Luxury vinyl plank adapts well to uneven surfaces without requiring perfect leveling. For laminate, adding underlayment bridges gaps effectively and provides necessary cushioning.
Wall-to-wall carpet with thick padding conceals minor floor irregularities while providing comfort and sound absorption.
When uncertain about leveling outcomes, apply self-leveling underlayment as a base layer before installing finished flooring. This approach prevents future problems and ensures your flooring investment performs reliably on imperfect subfloors.




