
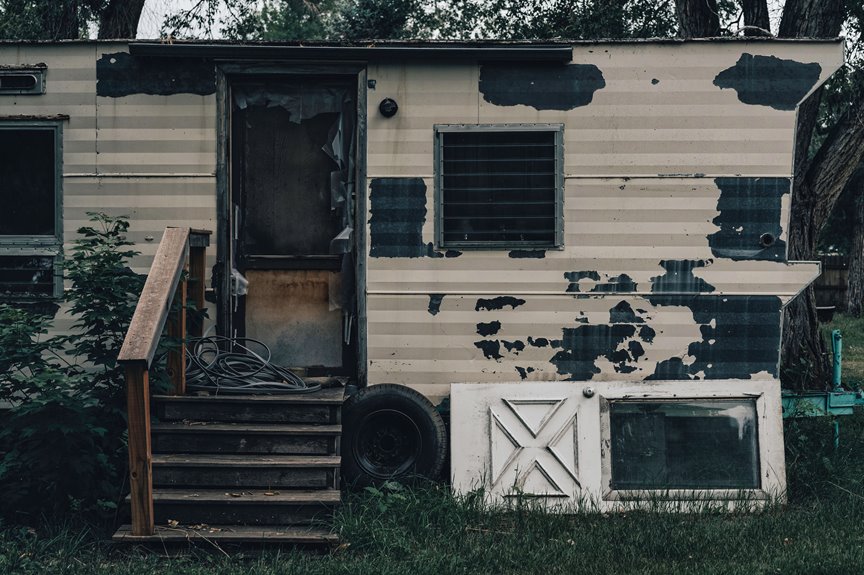
I learned the hard way that painting a trailer house isn’t just slapping color on aluminum siding. Success depends on outsmarting moisture, rust, and choosing the right shade so your home won’t absorb excessive heat by summer.
I start by pressure washing with mild detergent, then wait a full day because trapped moisture bubbles paint. I patch cracks with exterior spackle, sand rust to bare metal, and prime everything. Bare metal gets rust-inhibitive primer, wood patches get wood primer, or ghost spots will show through your topcoat.
I cut in edges with an angled brush, roll walls in a W-pattern with 3/4-inch nap, and apply two thin coats of exterior latex. I never spray because overspray creates cleanup problems.
I paint between 50°F and 85°F in dry conditions only. I pick lighter shades so my siding won’t warp.
Annual touch-ups and a full repaint every five years keep my trailer in excellent condition. Follow this process to avoid the mistakes I once made.
Figure Out What Painting Your Trailer House Will Cost
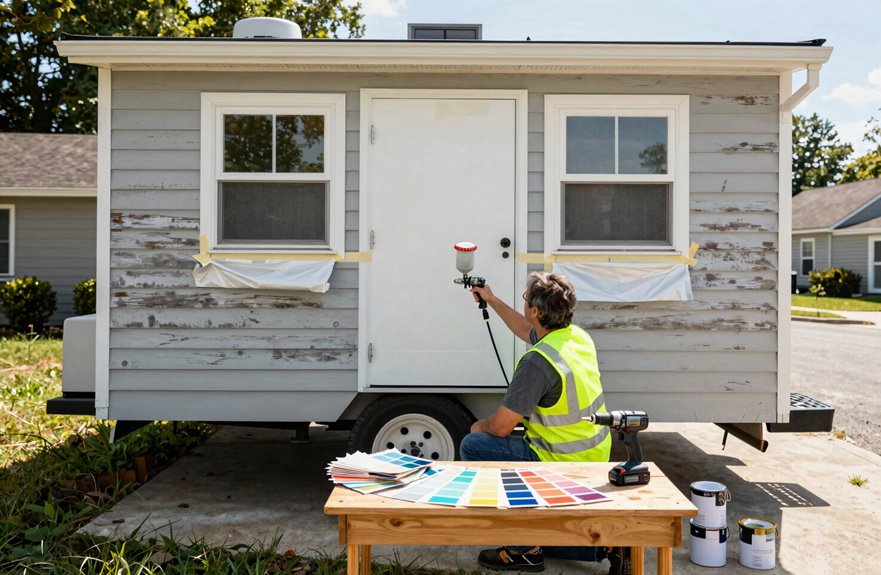
How much is this gonna set me back? That’s what I asked myself, standing there with a coffee-stained quote and big dreams for my tired little trailer home.
Exterior paint costs range from $1.50 to $5.00 per square foot, which means anywhere from a few hundred bucks to substantial expense. The price factors include your home’s size, what your siding’s made of, whether you’re splurging on fancy paint or going bargain bin, and if you’re renting that sprayer or buying it like I did. (Spoiler: I used it once. It’s now a garage decoration.)
Higher-quality latex paint costs more but withstands weather better. Don’t skip primer; it makes a real difference. Budget extra for mistakes. You’ll make them.
Size : 6.3 Inches x 4.75 inches

Flows on smoothly and dries to a tough, durable finish

Premium Paint and Primer In One - High Hiding Formula for Excellent Coverage with Smooth Application
Match Paint to Your Siding Type
Why’d I assume any old paint would cling to my trailer’s skin like it owed me money? I learned the hard way that siding type dictates everything, and exterior latex isn’t one-size-fits-all.
My metal-sided neighbor swears by 100% acrylic exterior latex. Nothing else grips that slick surface, and oil-based stuff cracks like dry mud. Vinyl is trickier; I grabbed vinyl-specific latex so it flexes when summer hits, preventing warping. Bare wood on my porch demanded primer first, then exterior latex, because rot won’t be tolerated here.
Paint adhesion lives or dies by this match. I’ve stood on my ladder watching peeling failures mock me, and I won’t let you suffer that shame. Check your siding, grab the right exterior latex, and apply it correctly. The result is a proud, colorful, and properly coated surface that lasts.

Weather and corrosion resistant primer bonds tightly to exterior/interior surfaces like wood, metal, concrete, masonry and more to provide excellent adhesion for top coat
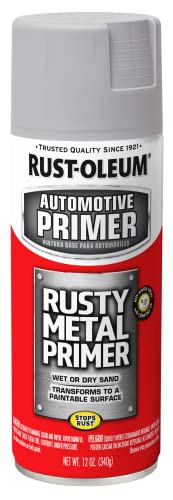
Primer spray paint is designed to protect heavily rusted surfaces

Weather and corrosion resistant primer bonds tightly to exterior/interior surfaces like wood, metal, concrete, masonry and more to provide excellent adhesion for top coat
Choose Colors That Won’t Fade or Warp Your Siding
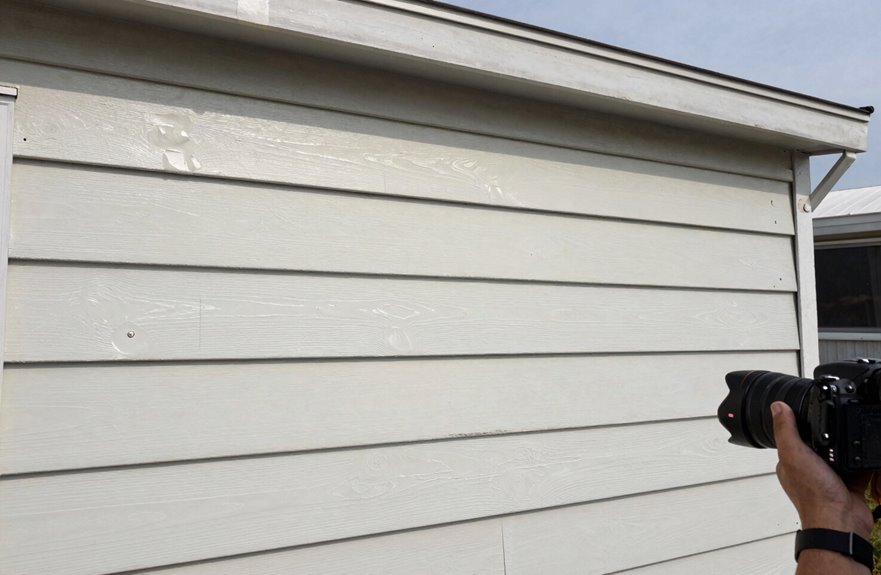
Color choice isn’t just about looks; it’s physics. Lighter shades like warm white or soft beige bounce heat away, keeping your siding from warping like a vinyl record left in a hot car. Stick with “vinyl-safe” palettes (yes, that’s a real thing), and your siding will maintain its appearance while your neighbors touch up their navy-blue options every other year.

Use for a variety of indoor and outdoor project surfaces including wood, metal, plaster, masonry or unglazed ceramic

Use for a variety of indoor and outdoor project surfaces including wood, metal, plaster, masonry or unglazed ceramic
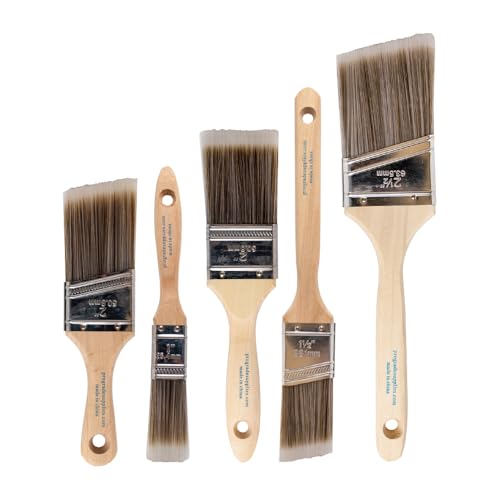
COMPLETE 5-PIECE BRUSH SET FOR EVERY PAINTING TASK — Includes 1 Inch Flat, 1.5 Inch Angle, 2 Inch Flat, 2 Inch Angle Stubby, and 2.5 Inch Angle brush giving you every size professional painters use daily. Get all 5 for less than the price of a single brush from hardware store brands — professional grade performance at a fraction of the cost. Perfect for walls, trim, cabinets, doors, furniture, and detailed cutting-in work on any project.
Heat Reflection Benefits
Where do I even start with picking a paint color that won’t turn my trailer into a toaster oven by July? Exterior paint isn’t just about looks; it’s about survival. Lighter neutrals like beige, white, and light gray became my best friends because their heat reflection actually works, dropping indoor temps so my AC doesn’t weep. That energy efficiency translates to real money staying in my pocket, month after sweltering month. I once craved a dramatic charcoal moment, and navy’s gorgeous. But those dark beauties fade faster, warp siding, and demand constant touch-ups. Now I balance my bold streak with smart choices that still complement my neighbors’ landscaping. We’re in this together, building curb appeal that lasts.
Vinyl-Safe Selections
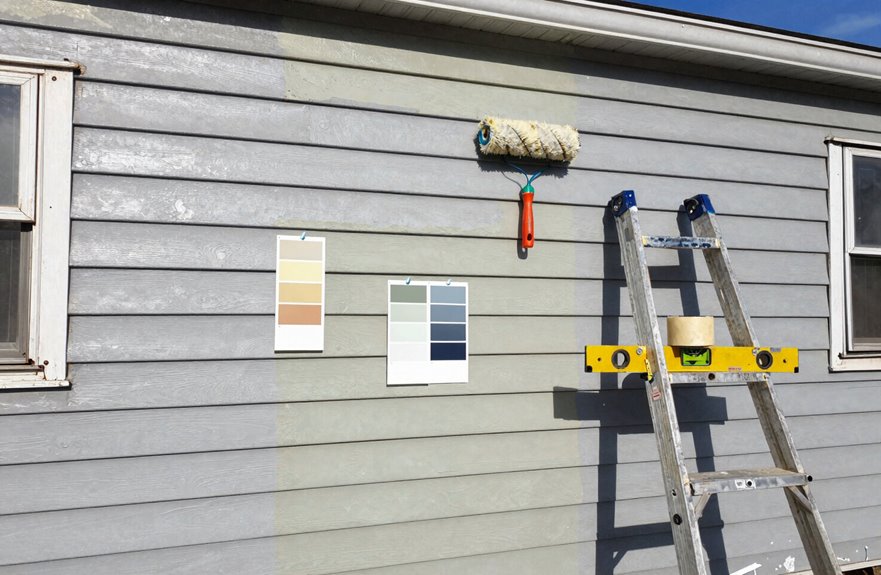
How do you pick a paint that won’t turn your vinyl siding into a wavy, faded mess by next summer. You need vinyl-safe paints, specifically latex acrylic formulas designed to flex with your siding instead of fighting it. Oil-based paints will crack like bad pottery. Color compatibility matters significantly. Stick with lighter neutrals, such as warm beige, crisp white, and soft gray, because they bounce heat away instead of soaking it in like a black car in July. When you’re unsure, grab store samples and hold them against your siding in actual sunlight, not fluorescent lighting. Your vinyl siding will maintain its appearance and integrity with the right paint choice.
Check the Forecast: 50°F–85°F and Dry
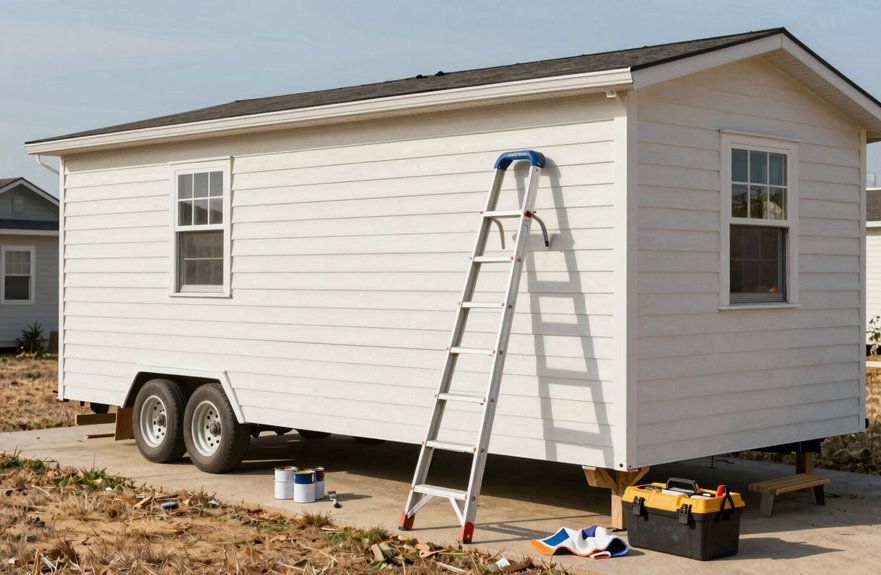
I learned this the hard way when I painted my own trailer in a muggy 90°F stretch, watching the primer bubble like bad gravy. Now I’m borderline obsessive about that sweet spot between 50°F and 85°F, dry as a bone, with zero rain on the radar for at least 48 hours. You want that paint to grab your siding and cure hard, not sit there tacky, collecting every leaf and mosquito that drifts by. I’ve scraped off enough mistakes to know. I’ll check three weather apps, pace around my coffee, maybe mutter at the sky, but I’ll wait for that perfect window. Calm winds, low humidity, because rushing this part is like baking a cake in a thunderstorm. You’re just setting yourself up for a sad, soggy mess.

Covers up to 5,000 SQ FT

Professional concentrate cleans decks, siding, driveways, and patios - perfect for homeowners preparing for BBQs, real estate agents staging homes, or contractors finishing jobs.

Multi-Purpose Cleaner: Non-butyl degreaser quickly cuts through tough oil and grease; eliminates the need to use several other products to get the cleaning job done
Ideal Temperature Range
Why risk peeling paint and wasted weekends when a quick weather check saves the whole project? Exterior painting demands respect for the thermometer, and ignoring temperature conditions leads to preventable failures.
I always aim for that sweet spot: 50°F to 85°F. Too cold, and the latex paint turns sluggish, like honey in a fridge. Too hot, and it skins over before you’ve even finished the stroke, trapping moisture underneath and causing adhesion problems. Humidity matters too. Sticky air means sticky paint that never quite cures, staying tacky enough to collect every passing leaf and bug.
Watch for stable temperatures, not fluctuations where it drops twenty degrees by dusk. Your trailer deserves consistent conditions, and your painting results depend on it.
Dry Weather Importance
Three straight days of sunshine is my minimum before I’ll even pop the lid on a paint can. I’ve learned the hard way that dry weather isn’t just a nice-to-have, it’s everything in exterior painting. That time I rushed after a drizzle resulted in bubbles everywhere, like my trailer caught chicken pox. Moisture trapped under fresh paint wrecks adhesion, and humidity turns your primer into sad, watery soup.
Weather planning means checking that forecast obsessively, including hourly refreshes. I need surfaces bone-dry after power-washing with zero chance of surprise showers. If clouds roll in, I stop, cover my work, and grab a snack. Patience now saves me from peeling disasters later. Repainting an entire trailer because of impatience is a costly mistake.
Timing Your Project
Once I’ve confirmed three bone-dry days ahead, I’m already checking my thermometer because temperature’s the other half of this equation. I’ve learned through experience that a tight weather window is critical when painting your home-on-wheels. Too hot, and your paint runs; too cold, and it wrinkles.
Here’s what I’ve figured out about timing:
| Temp Range | What Happens | My Move |
|---|---|---|
| Below 50°F | Paint won’t cure, stays tacky | Wait, impatiently |
| 50–85°F | Sweet spot, proper drying time | Paint like crazy. |
| Above 85°F | Runs, blisters, tears | Reschedule, cry a little |
| Humid days | Extended drying, defects | Skip it, find dry days |
I always check that forecast twice. Getting the conditions right prevents having to redo a whole trailer.
Strip Old Decals, Trim, and Adhesive First
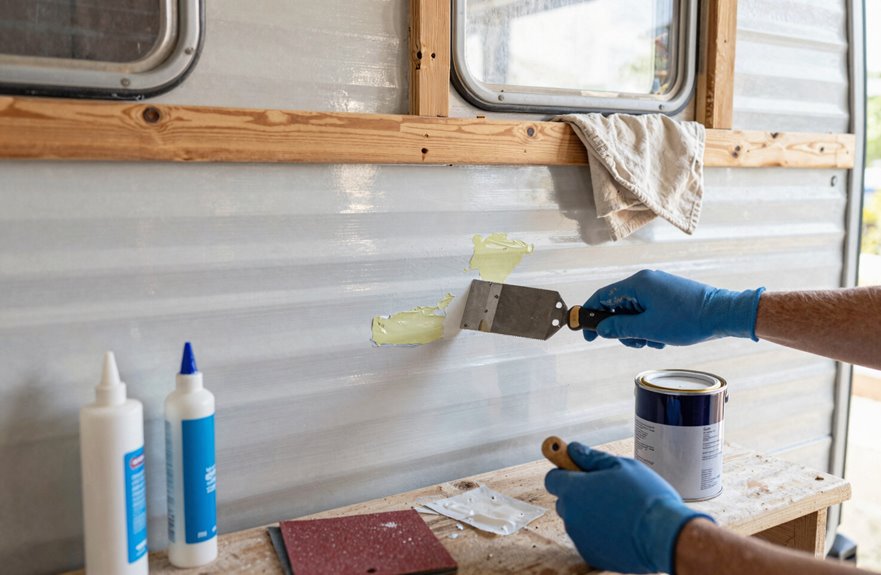
Every single decal on your trailer is basically a sticker that’s been sun-baked into a stubborn little demon. Peeling them off is the part most people dread. Newer trailers surrender their decals easier, but older rigs will fight you, and that’s expected.
Grab your heat gun and wave it over each decal for 20 to 30 seconds until the adhesive softens, then slide a plastic razor blade under the edge. Lift slowly and repeat. Some edges snap; just reheat and keep peeling. Once the decals are gone, gummy residue lingers. Attach a rubber wheel to your power drill and watch it ball up and vanish. This removal step isn’t glamorous, but it’s your foundation and your fresh start. The clean surface that emerges is ready for what comes next.

Proprietary golden yellow fabric provides exceptional capacity with all flat or satin paints stains and waterproofing


Proprietary golden yellow fabric provides exceptional capacity with all flat or satin paints stains and waterproofing
Power Wash and Scrub Every Surface
I’ll grab my pressure washer first. It’s effective for most jobs, though a garden hose works if you occasionally forget to charge your tools the night before. For the tough spots, that oxidation that makes your trailer look weathered, I’ll mix up a TSP solution when detergent alone won’t cut it. Painting over grime will cause your new coat to peel.
Rinse every soap bubble away, let it dry until you’re certain, then give it another hour for safety. Moisture trapped under paint causes peeling and coating failure on trailer surfaces.
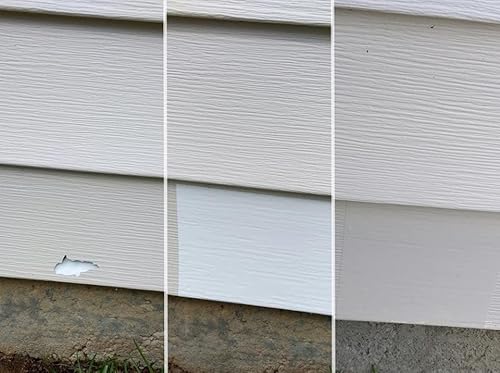
BUILT TO HANDLE REAL WEATHER – Engineered to perform reliably from 40°F to 130°F, this flexible PVC patch stays securely bonded through hot summers and freezing winters — suitable for both indoor and outdoor repairs on siding, stucco, and skirting.

BRUSH ON PAINT – Krylon COLORmaxx Acrylic Latex Brush On Paint delivers premium coverage and superior color with adhesion and durability. This acrylic latex paint can be used on wood, metal, wicker, plastic/ceramic, wrought iron, drywall and masonry.

Size : 6.3 Inches x 4.75 inches
Pressure Washing Technique
Before starting any painting project, grab your pressure washer. Skipping this step compromises your final result. Pressure washing transforms a grimy trailer into a paint-ready surface.
Mix mild detergent at a quarter cup per gallon of warm water, then blast every inch of the exterior. Attack stubborn stains, chalking, and loose paint with vigorous scrubbing. A smooth, adherent base is essential for primer adhesion that performs reliably.
Rinse thoroughly, then allow approximately a full day for complete drying. Trapped moisture causes bubbling and paint failure, which compromises the entire project.
TSP Solution Cleaning
Once you’ve blasted off that top layer of grime, I’m grabbing my TSP solution. This material separates a paint job that lasts from one that flakes off by next spring. I mix it per the label without shortcuts, then attack every inch of siding, especially those shady spots where mildew grows.
For exterior cleaning, I use a pressure washer, but my garden hose and a stiff brush tackle the tight corners effectively. Light oxidation requires mild detergent. Heavy buildup requires TSP cleaning for proper paint prep.
I rinse thoroughly, then wait a full day for everything to dry. Trapped moisture bubbles paint like bad pizza crust, creating a failed finish.
Fill Cracks, Sand Rust, and Let It All Dry
Because I learned this the hard way after watching my first “quick patch” bubble up like a science fair volcano six months later, prep is everything. I fill cracks with exterior-grade spackle, caulk those sneaky holes, then sand until my arms ache. Rust spots get attacked with a wire brush, sanded until they’re gone, and spot-primed with rust-inhibitive primer. Chalking gets scrubbed, rinsed, then I wait for it to dry completely.
| Repair Stage | Tool/Method | Patience Level |
|---|---|---|
| Fill cracks | Exterior spackle/caulk | Medium |
| Sand smooth | Sandpaper, elbow grease | High |
| Remove rust | Wire brush, sand | Very high |
| Clean chalking | Scrub solution, rinse | Medium |
| Final wait | Sun, breeze, time | Brutal |
Moisture trapped under paint causes paint failure. I inspect twice because the prep work determines whether the finish lasts or fails within months.


【CONVERTS RUST INTO A PROTECTIVE COATING】Transform existing rust into a durable protective coating that helps isolate moisture and oxygen from metal surfaces. This rust converter and metal primer helps slow future corrosion while improving the appearance of lightly to moderately rusted metal.

Designed to prime metal surfaces above the waterline
Prime Bare Metal, Wood, and Patched Spots
All that sanding and waiting finally pays off, and I’m itching to get some color on this thing. Bare surfaces are thirsty and will suck paint dry, leaving you with patchy, peeling failures.
I grab my rust-inhibitive primer for bare metal, those roof edges and corner trim that I sanded to silver, and apply it thickly. For wood patches around the door frame, I roll a wood primer that blocks tannins from bleeding through the topcoat. Patched spots get sealed with primer after spackle and sanding so they won’t show through like ghost spots.
I’m checking compatibility with my exterior latex. Incompatible primers cause bubbling and failure. Clean, dry, and primed surfaces bond properly with the topcoat.

Use for a variety of indoor and outdoor project surfaces including wood, metal, plaster, masonry or unglazed ceramic

Interior/Exterior use on new or previously painted drywall, concrete, wood, masonry, metal and glossy or difficult surfaces
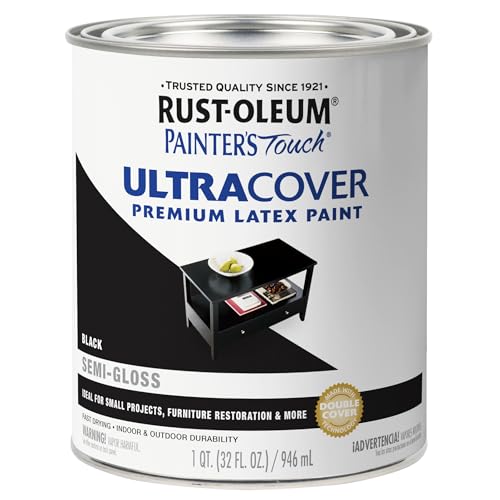
Use for a variety of indoor and outdoor project surfaces including wood, metal, plaster, masonry or unglazed ceramic
Cut In Edges, Then Roll or Spray the Walls
Masking tape goes up along every edge I don’t want to paint: doors, windows, that funky trim around the front-facing windows. Suddenly I’m staring at a mosaic of blue edges and white primer, ready to bring color into this project.
I grab my angled brush and cut in around every obstacle first, painting those edges with steady hands because rushed lines show everything. Then I’m rolling the exterior walls with my 3/4 inch nap on an extension pole, working that W-pattern like I’m signing my name across aluminum siding, keeping pressure consistent so I don’t leave those embarrassing lap marks. Spraying’s tempting because it’s so fast, but I’d rather control my destiny than explain overspray to neighbors. Keep that wet edge alive, feathering as I go, because seams cause visible problems.
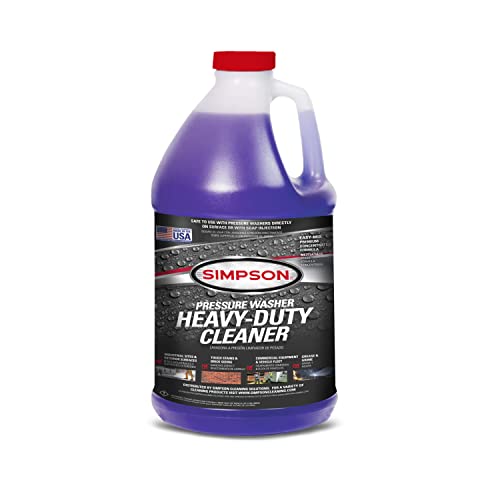
Heavy Duty Cleaner: Formulated to be used on industrial sites, commercial equipment, construction machinery, fleet vehicles and more; Non-butyl degreaser quickly cuts through tough oil and grease; Eliminates the need to use several other products to get the cleaning job done

Cleans driveways, walkways, patios and masonry

Add Two Thin Coats and Let Them Cure
Although I’m itching to slap on one thick coat and call it done, patience is necessary. Two thin coats of exterior latex paint prevent peeling, streaking, and the patchy look that signals poor application from the street.
I work in sections, keeping a wet edge to avoid lap marks. The first coat goes on, then I wait, usually a full day or longer if it’s humid. Second coat follows the same rhythm. After that, I respect the curing time on the can, even when I want to remove the tape immediately. Rushing the process results in fingerprints in fresh paint, which compromises the finish.


Shed-resistant and high capacity For Today's Paints; flat, eggshell, satin

【Premium 9" Microfiber Cover Refills】Includes 18 x 9 inch microfiber painting roller covers with 3/4" nap. Fit for US standard 9 inch paint roller brush frames.
Touch Up Annually, Repaint Every 5 Years
I keep up with my trailer’s paint job the same way I keep up with my car’s oil changes: ignore it, and you’ll pay for it later, usually at the worst possible moment. I’ve learned the hard way that peeling paint doesn’t fix itself, and water damage loves to crash the party uninvited.
Every spring, I grab my brush for touch-ups, hitting those sneaky chips and cracks before they spread like gossip. It’s maintenance, not glamour, but it prevents costly structural damage. When year five rolls around, I commit to the full repaint with exterior latex paints only, because they flex when my metal siding expands in summer heat.
I clean, inspect for chalking, patch problem spots, then roll on two coats. A well-maintained paint job protects your trailer’s structural integrity and resale value.




