

I’ve beaten rugs in my driveway at 8 AM, and it’s surprisingly satisfying.
Start by vacuuming slowly, then whack that rug with a broom handle to dislodge deep dirt.
Soak it with cool water, as hot water causes shrinkage.
Work castile soap in circles with a damp cloth, rinse until water runs clear, blot with towels like you’re drying off a dog, and hang in shade to prevent fading.
Finally, vacuum and fluff until the pile springs back. Dense, hand-knotted wool responds visibly to this thorough cleaning process.
Vacuum and Shake to Remove Loose Dirt

Before I even think about water or suds, I drag my wool rug outside on the sunniest day I can find because good lighting makes the job easier and more pleasant.
I grab a broom handle and whack that wool rug repeatedly. Dust plumes rise with each strike. I shake, shake, shake until my arms burn. The loose dirt comes free this way.
Then I vacuum slowly, letting the machine grab what my beating missed. Debris removal is complete. I peel off the rug pad, learned that the hard way, and swipe the floor beneath. No point in gorgeous rug care if I’m planting it back on grime. Surface dirt removal is finished.
Soak the Wool Rug With a Gentle Hose Spray
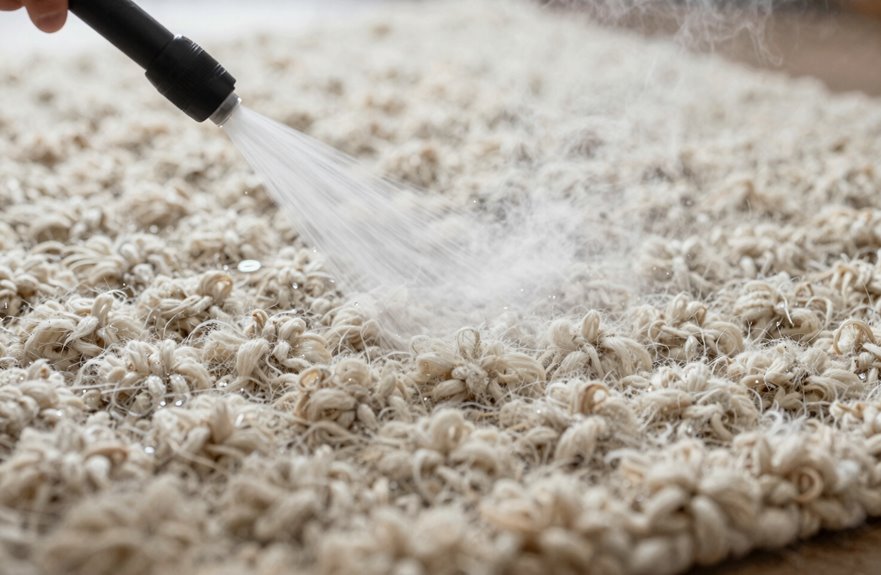
A sunny afternoon is the only appointment I need for this part of the job. I grab my washable wool rug, haul it outside, and spread it on a clean patio where dirt won’t sneak back in. Outdoor soaking works best when you’ve got space, sunshine, and maybe a friend. These rugs get heavy fast.
I attach my gentle spray hose, dial it to mist, and start soaking. Cool water only. Avoid hot water unless you want a shrunken disaster. Wool fibers drink slowly, so I’m patient, moving in sections until every inch glistens. This fiber protection step prevents irreversible damage. No rushing, no drowning.
| What I Do | Why It Works |
|---|---|
| Use cool water | Prevents shrinkage panic! |
| Gentle spray setting | Protects fiber structure |
| Complete saturation | Wool holds surprising volume |
| Sunny positioning | Sets up drying outdoors success |
| Rinse thoroughly later | Removes residue completely |
Lather Castile Soap Into the Fibers Gently

Why does castile soap feel like the secret handshake of rug people. Because once you’ve got it, you’re in the club, my friend. I mix about a quarter cup of castile soap into a gallon of water for my cleaning solution, nothing fancy, just pure plant-based magic. This is gentle cleaning at its finest, the kind that respects your wool rug like the heirloom it is.
I dip my cloth, wring it damp, and work it through those rug fibers like I’m petting a nervous cat. Slow circles, light pressure, coaxing out the grime and that weird lint my dog sheds everywhere. I learned the hard way that vigorous scrubbing damages rugs. I once went full-throttle on a Persian beauty and watched her shrink like my confidence at a high school dance. Patience is essential. The soap lifts, the fibers release, and you’re almost ready to remove soap completely, which means you’ll rinse thoroughly soon enough. These cleaning steps are your roadmap to rug redemption.
Rinse the Wool Rug Until Water Runs Clear
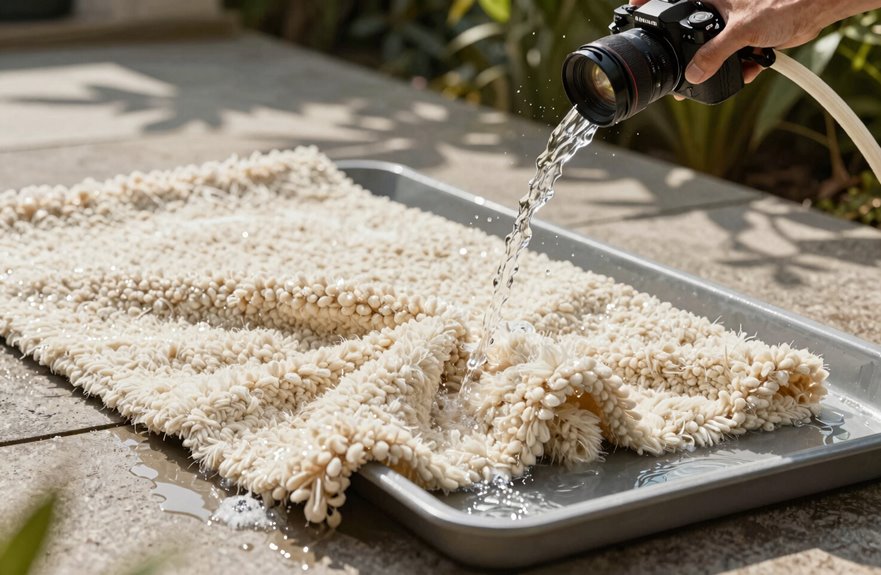
I grab my garden hose, crank the nozzle to a gentle spray, and start rinsing because leaving soap behind creates buildup issues. I keep going, bucket after bucket, until that runoff water runs clear. Your future self will appreciate this effort when the wool rug doesn’t attract dirt next week because you’ve removed every last bubble.
Thorough Soap Removal
The rinse is where I’ve messed up more rugs than I’d like to admit, so listen up. Grab your garden hose. For proper soap removal, I rinse thoroughly, blasting every inch until the water runoff runs clean. No shortcuts. I’ll wet the rug again, double-checking for sneaky soap residue. That stuff attracts dirt like a magnet. During one detergent wash cleanup, I thought I’d finished, but nope, bubbles everywhere. Now I use a wet-dry vacuum to speed things along. Find a drying shade, because harsh sun fades those gorgeous colors we picked together. Wool rug cleaning isn’t rocket science, but this rug rinse step is critical. It determines whether your rug stays fresh or accumulates dirt in hidden fibers.
Final Water Clarity
You’ve wrung out the last of those sneaky soap pockets, but hold up. We’re not done yet. Final water clarity is essential because skipping this step causes your gorgeous wool to become a dirt magnet.
Here’s my rinse ritual for complete rinsing:
- Hose it down until that rinse water runs clear, not cloudy, across every inch
- Check multiple spots. Water clarity in one corner means nothing if the middle’s still sudsy
- Rinse some more to guarantee that soap-free rinse and prevent residue buildup
That clear runoff indicates you’re ready to move to the drying step. Insufficient soap removal sabotages everything. Reserve that extra ten minutes, verify the clarity, and then blot away.
Drain and Blot Excess Moisture

I grab a stack of my husband’s old college t-shirts (don’t tell him) and start blotting from one end to the other, moving to dry spots like I’m playing a very soggy game of Twister. Once I’ve wrestled out what feels like a small lake, I haul the rug outside and drape it over my rusted patio railing, that orange flaking paint adding a certain “rustic charm” I’ll call it. The breeze hits it just right, and I stand there, hands on hips, feeling like I’ve conquered something. Your wool rug will dry thoroughly this way.
Blot With Towels
After all that washing, your arms are about to get a serious workout. I lay my wool rug flat and grab my blot towels; clean, thick, thirsty ones that’ll absorb moisture effectively. Here’s my tried-and-true method:
- I blot from top to bottom, working systematically so I don’t miss a spot or create weird water pools
- I press firmly but gently, rotating my towels to absorb every drop, swapping in dry towels the second they get damp
- When my arms need a break, I use my wet-dry vacuum on low for backup moisture removal
This blotting technique prevents wicking, that sneaky process where moisture creeps back up and ruins your wool rug care efforts. Patience during this step prevents damage later.
Hang To Drain
Once those towels have done their strenuous duties, gravity takes over. I hang the wool rug over a sturdy fence, draping it carefully so vertical drainage pulls every stubborn drop downward. After blotting moisture thoroughly, I dry it strategically outdoors in shade, never direct sun, to prevent fading and mildew. I check periodically and wait until the rug feels merely damp rather than drenched. Complete air drying happens before bringing it inside for a final fluff. The result is a fresh rug with no musty odor.
Air Dry the Wool Rug in Shade
So where do you hang a soaking wet, heavier-than-it-looks rug without wrecking your sanity or your lawn? For proper wool rug drying, elevate your rug on a sturdy drying rack in complete shade. Never use direct sun, which bleeds colors faster than traditional tie-dye methods.
Here’s the shade drying routine:
- Position fans for drying at both ends, creating a wind tunnel that removes wool rug moisture effectively.
- Flip every few hours for even drying. Warping compromises the rug’s structure.
- Check the underside regularly; hidden dampness invites mildew, which causes musty odors and deterioration.
Avoid direct sun completely, and don’t bring your rug inside until it’s completely dry. This approach prevents color fading, mildew growth, and structural damage to the wool fibers.
Vacuum and Fluff to Restore Wool Rug Texture
Grab your vacuum and bring this wool rug back to life. I vacuum both sides of my wool rug on low suction, skipping that rotating brush to avoid fiber damage. For stubborn pet hair, I brush with my soft-bristle brush first, then re-vacuum from every angle for total debris removal.
| Texture Stage | What I See | What I Feel |
|---|---|---|
| Flat, sad fibers | Matted paths, dull color | Stiff, lifeless underfoot |
| Post-vacuum revival | Lifting tufts, catching light | Bounce returning, springy |
| Fully fluffed glory | Deep shadows, rich dimension | Cloud-soft, inviting bare feet |
After carpet cleaning, I shake my rug outside on sunny days, vacuum again, and if fibers stay stiff, more brushing and vacuuming restores that fluff. The secret is allowing complete drying to prevent mildew. Weekly vacuuming maintains wool rug texture in good condition.




