

Swap the Mirror
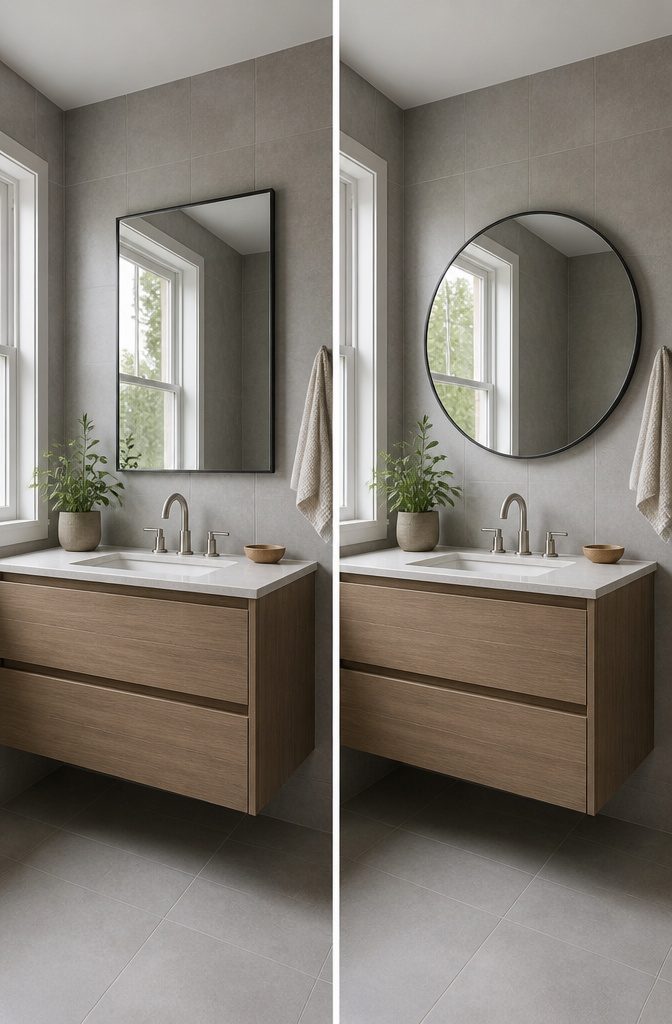
The mirror that came with my bathroom was one of those wall-to-wall slabs that made the whole room feel like an afterthought in a spec house. Swapping it out took about twenty minutes and cost less than most shower curtains.
A round mirror softens the space immediately.
Where a wide rectangle echoes every straight line in the tile and cabinetry, a circle breaks the grid and gives the eye somewhere natural to rest. The change in shape matters more than the frame finish.
Size is where I almost got it wrong. A mirror too small for the vanity leaves awkward wall space and bounces less light around; too large and you’re back to that builder-grade heaviness.
For a standard 30-inch vanity, a 24-to-28-inch diameter hits the balance. Height matters too: the center of the mirror should sit at average eye level, roughly 57 to 65 inches from the floor.
The light shift surprised me. The old wall-spanning mirror returned whatever the fixture threw back flat and even.
The smaller round mirror catches window light from the side and throws it deeper into the room in the morning. The bathroom doesn’t look brighter so much as it looks like it has actual daylight in it.
Installation is usually a simple swap if the replacement hangs on a wire or keyhole.
The only hitch is existing damage or anchor holes from a larger previous mirror, which a slightly bigger plate or a dab of spackle handles in minutes.

High-Definition Without Distortion: The HAPPYMONT bathroom mirror for over sink features premium silver-plated glass that delivers a crystal-clear, scratch-resistant reflection with zero distortion. Perfect for daily grooming, shaving, and makeup application — you'll see every detail exactly as it is

Round Mirror High Definition: The silver coated mirror gives a high definition, natural and realistic image.
Change the Faucet
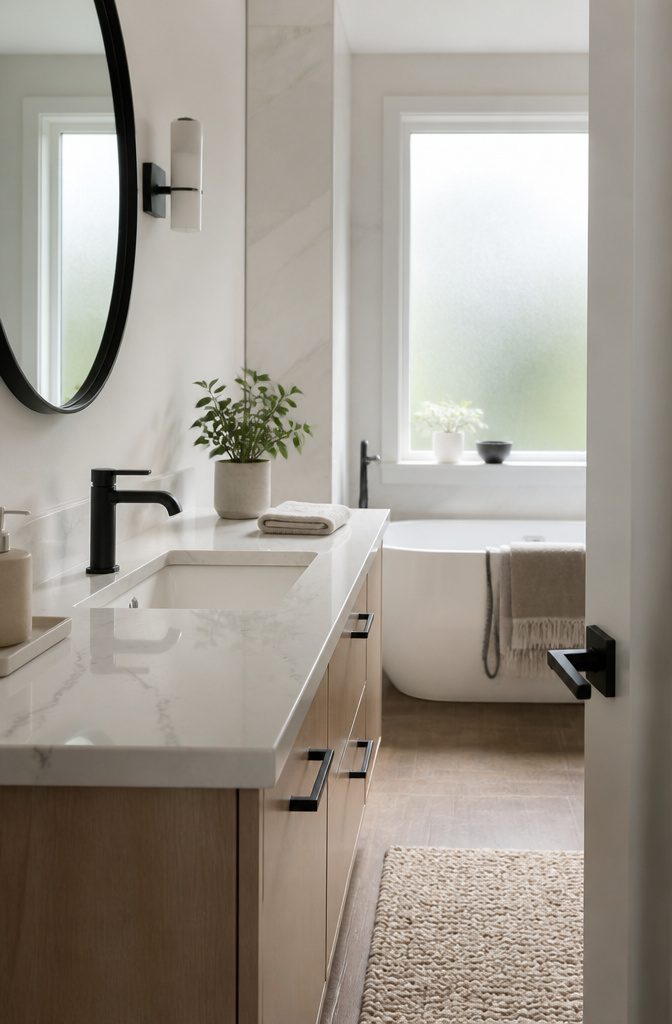
A faucet swap is the fastest way to make a sink feel new without touching the counter or the plumbing rough-in.
I learned that the hard way after spending a Saturday on my hands and knees with a basin wrench that kept slipping off the supply nut.
The old faucet came out fine, but I overtightened the new compression fitting and cracked the washer, which meant a second trip to the hardware store for a 3/8-inch replacement I should have bought the first time.
Matte black or a polished finish both read as intentional in a way chrome from 2008 never does, and the whole vanity looks pulled together once the lines are clean.
The job takes about an hour if nothing goes wrong, two if you count the do-over.
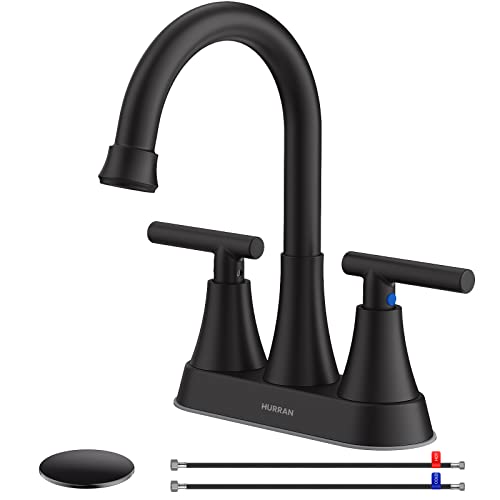
UNIQUE PATENTED DESIGN 4 INCH BATHROOM FAUCETS: Bathroom sink faucet body constructed from stainless steel, meets lead-free standards. 2 pcs H/C 24-in bathroom faucet water supply lines. Matching-finish pop-up bathroom sink drain with overflow and built-in strainer, easy for daily cleaning.

4 Inch Bathroom Faucets Fit 2- or 3-Hole Sinks: designed with two mounting shanks spaced 4 in center to center; integrated deck plate covers unused center opening on compatible 3-hole sinks. Fits 0.87-1" mounting holes and decks up to 1.2 in thick

UNIQUE PATENTED DESIGN 4 INCH BATHROOM FAUCETS: Bathroom sink faucet body constructed from stainless steel, have registered with the CEC, meets lead-free standards. 2 pcs H/C 24-in bathroom faucet water supply lines. Matching-finish pop-up bathroom sink drain with overflow and built-in strainer, easy for daily cleaning.
Replace the Toilet Seat
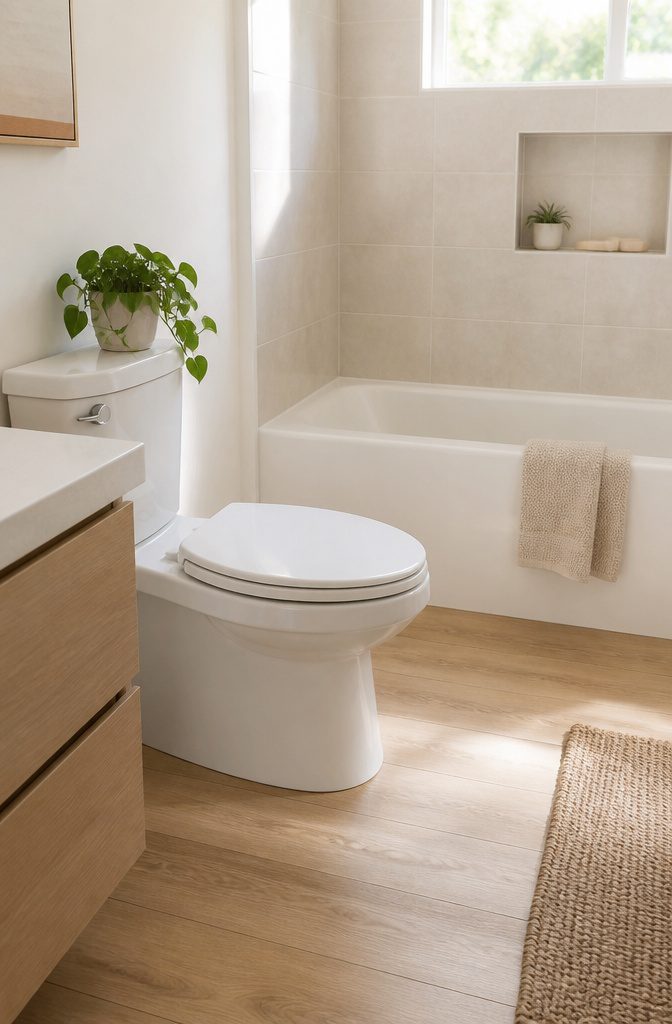
The toilet seat in my guest bath had gone from off-white to stubborn yellow along the hinges, and no amount of scrubbing lifted it.
A new seat cost about $25, and the swap took roughly five minutes once I had the hardware in hand.
Most seats attach with two plastic bolts hidden under small caps at the back; pop those off, hold the nuts underneath with pliers, and the old seat lifts right away.
The new one threads on the same way, finger-tight plus a quarter turn. A seat at that price point is usually enameled wood or a solid plastic, either of which feels cleaner underhand than the decade-old version it replaced.
The whole bathroom reads fresher for it, even though the tile and vanity never changed.

Stainless Steel Hose:SUS304 stainless steel braid resists stretching, wear and aging. Solid stainless steel fittings resist corrosion/oxidation.Stainless steel braid provides toughness and flexibility. Fits under sinks/cabinets, no extra length needed for home/commercial use
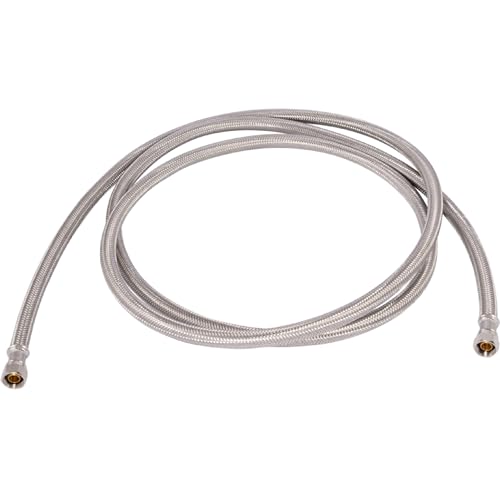
UNIVERSAL FLEXIBLE FAUCET CONNECTOR: The Eastman Braided Faucet Connector is the standard in bathroom and kitchen sink faucet supply lines. This 96 in. flexible faucet hose is equipped with 3/8 in. compression connection on each end

3/8-Inch Compression by 7/8-Inch Brass Female Ballcock Thread Metal Nut which provides better durability than ABS nut.
Upgrade Lighting Fixtures
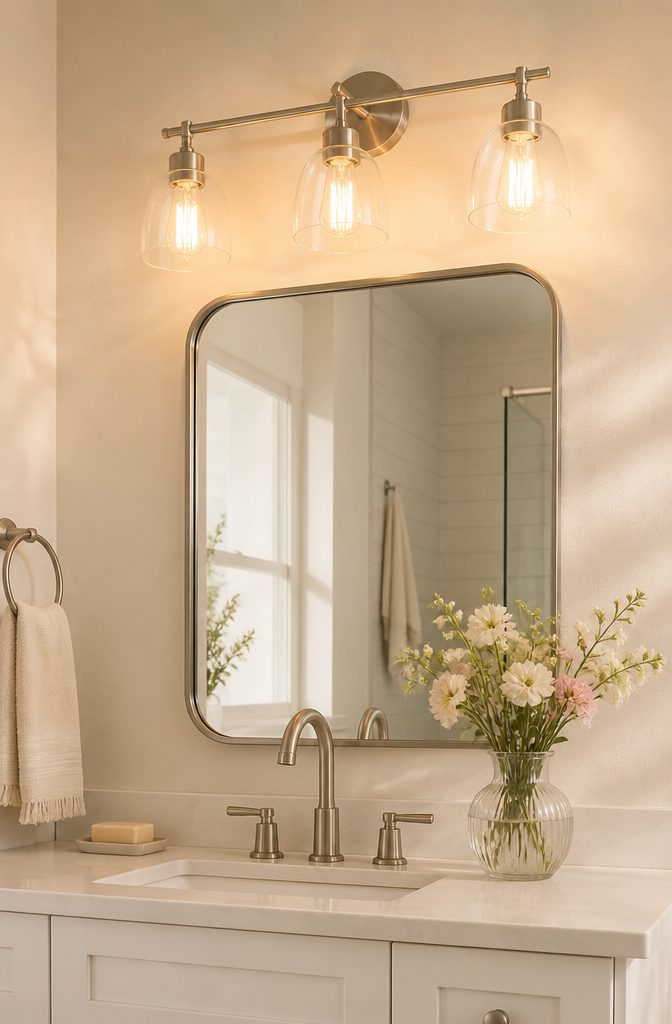
Bathroom lighting is one of the highest-impact swaps for the effort, and the fixture I landed on was a brushed nickel bar with three exposed bulbs mounted horizontally above the mirror.
The old builder-grade light had been doing its job for years, but it cast a yellow pool that made the whole room feel like a gas station restroom at dawn.
The wiring question stopped me for about twenty minutes. The new fixture needed a ground wire, and the old box had nothing labeled.
A quick check with a non-contact tester confirmed the box itself was grounded through the armored cable, so attaching the fixture’s ground screw to the box was the right move. If you have plastic sheathing instead, the setup differs.
At 7 AM the next morning, the difference was immediate. The new bulbs, 3000K LEDs, threw a clean light that actually let me see whether my shirt matched without leaning toward the window.
The room felt larger, or at least less apologetic. The whole project took under an hour and the fixture ran about forty dollars.

SLOW CLOSE SEAT & LID: Closes gently and quietly to prevent slamming and protect little fingers from getting pinched keeping your home safe and quiet; install seat first to activate slow close feature
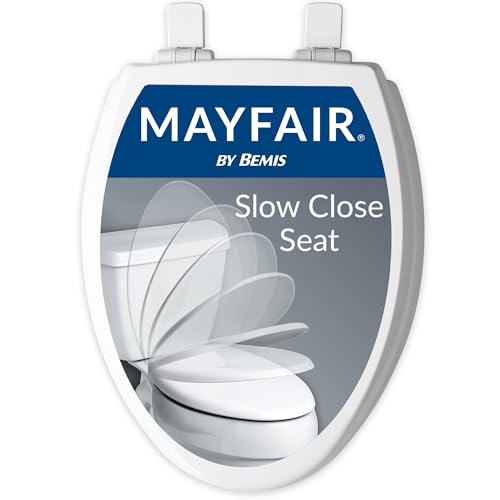
SLOW CLOSE SEAT & LID: Closes gently and quietly to prevent slamming and protect little fingers from getting pinched keeping your home safe and quiet; install seat first to activate slow close feature

FEATURES THAT ENHANCE YOUR HOME: Easy clean hinges quickly release for your deeper cleanings
Hang the Shower Curtain High
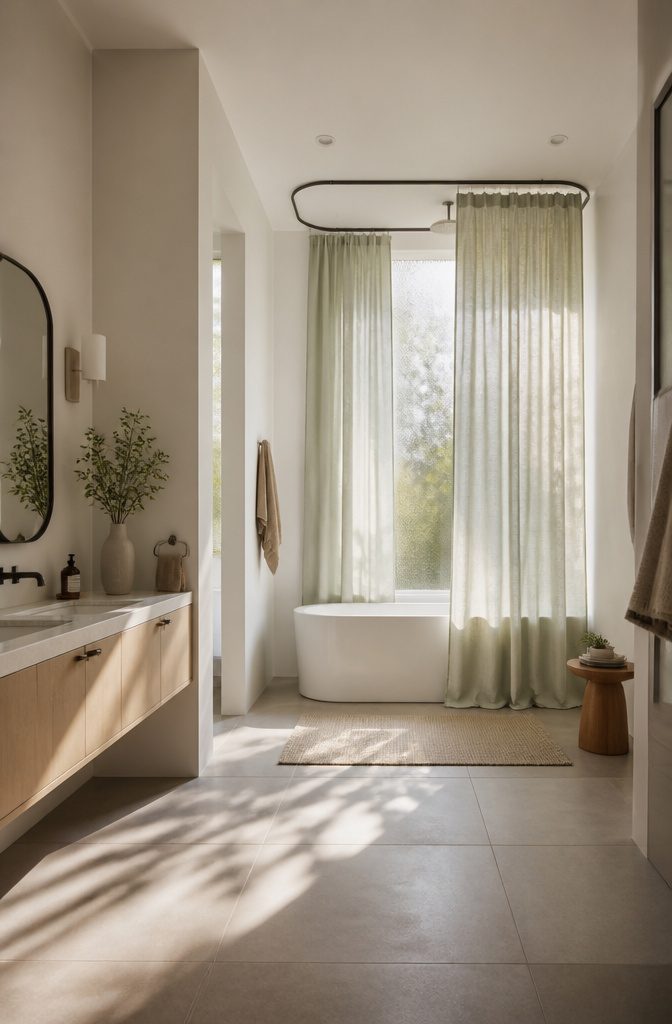
Mounting a shower curtain rod closer to the ceiling draws the eye upward and creates the illusion of taller ceilings, a trick that works especially well in small bathrooms.
An extra-long curtain and liner are non-negotiable here; standard lengths leave a gap that breaks the effect entirely.
The sources note this is one of their favorite easy upgrades, which tells me the visual payoff is reliable enough to justify the drill holes.
For renters, those holes become a patch job later, but the height gained makes the bathroom feel less cramped without touching tile or plumbing.
The liner needs to reach the tub edge or floor to keep water contained, so measure from the new rod position down before you buy.
I would not do this in a bathroom with genuinely high ceilings already; the proportion starts to look odd when the curtain floats too far above the tub.
In a standard eight-foot space, though, the extra fabric length reads as intentional rather than stretched, and the room feels finished in a way a standard setup never quite manages.
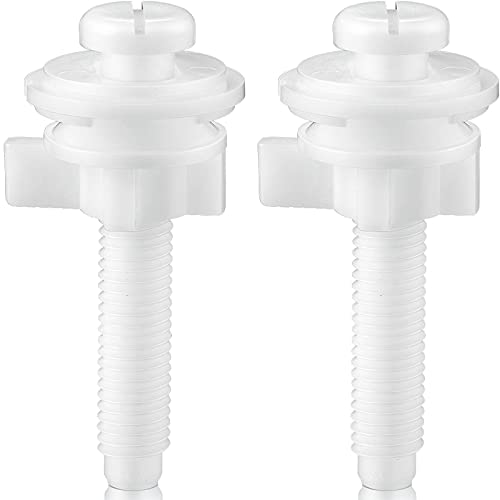
Reliable Replacement Solution: Toilet seat screws replace worn or loose toilet seat hardware, helping restore a secure and stable connection without replacing the entire toilet seat

Start with LRVAE: Start the DIY journey with LRVAE. Master loose toilet seat repair from beginner to expert, achieving results beyond professional services.

FOR LOOSE OR WOBBLY TOILET SEATS: These toilet screws for seat repair replace worn toilet seat hardware and help restore a firmer connection without replacing the entire seat. Ideal when old toilet seat screws or toilet seat bolts begin to loosen or shift.
Add Wood, Wallpaper, or an Accent Wall
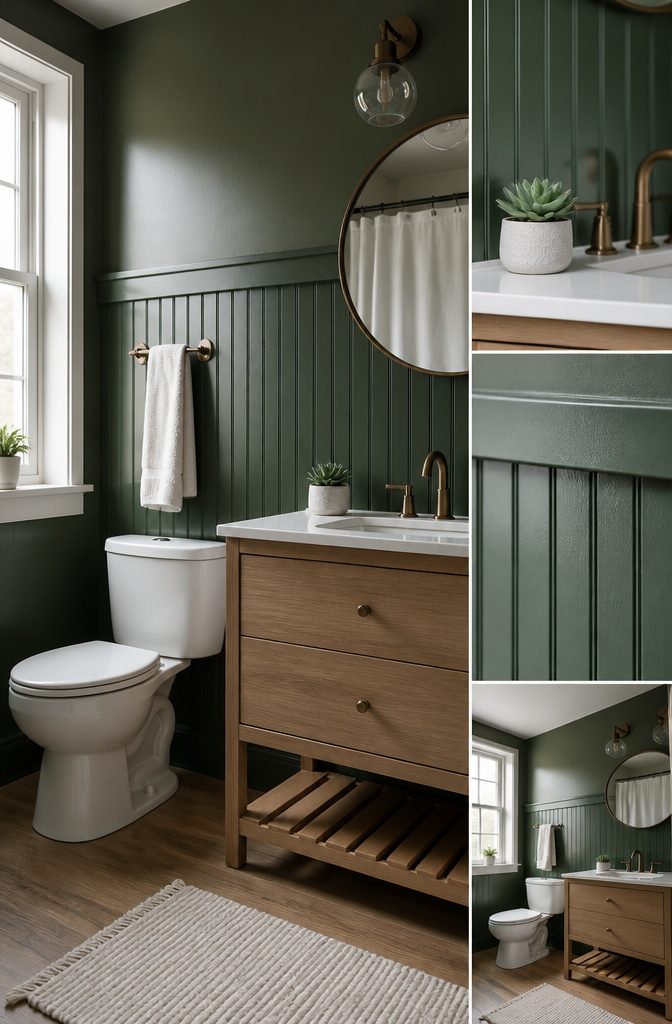
A single surface change does more for a bathroom than any accessory swap. I tried peel-and-stick wallpaper first, lured by the low commitment and the pattern options.
Steam from daily showers lifted the edges within six weeks, and by month three the seam behind the toilet had bubbled enough to catch on a towel.
For a powder room with little moisture, it might hold, but I would not repeat it anywhere with a shower in use.
Wood held up better. I put beadboard on the lower half of one wall, painted it a deep green, and six months later the only change is that the color has grown on me more.
The boards add actual warmth you feel when you walk in, not just the visual kind, and they handle humidity without complaint. A full wood accent wall works too, though it eats more of the budget and the weekend.
Wallpaper in a non-steam space, or wood where steam lives: that is the split I would make now. Either one turns a blank bathroom into a room that looks finished.

Round Mirror High Definition: The silver coated mirror gives a high definition, natural and realistic image.
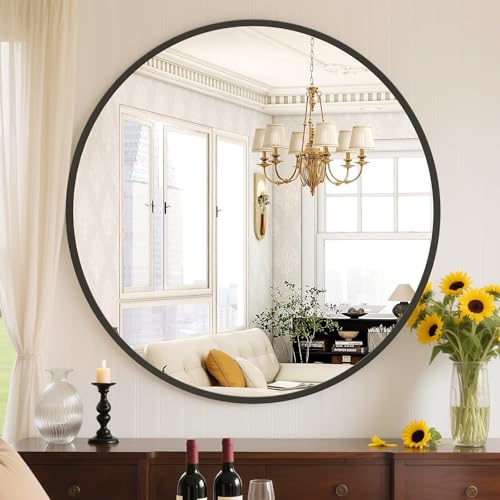
Crystal-Clear HD Reflection with Zero Distortion: Crafted with silver-plated high-definition glass, this vanity mirror delivers a sharp, true-to-life reflection with no warping or visual distortion—for makeup application, grooming, and everyday use

Clear Reflection & No Distortion: Utilizing advanced high-definition float glass, this bathroom vanity mirror delivers a sharp, distortion-free 1:1 image for an accurate and true-to-life reflection—perfect for use in a bathroom, vanity, or above the sink
Use Paint to Your Advantage
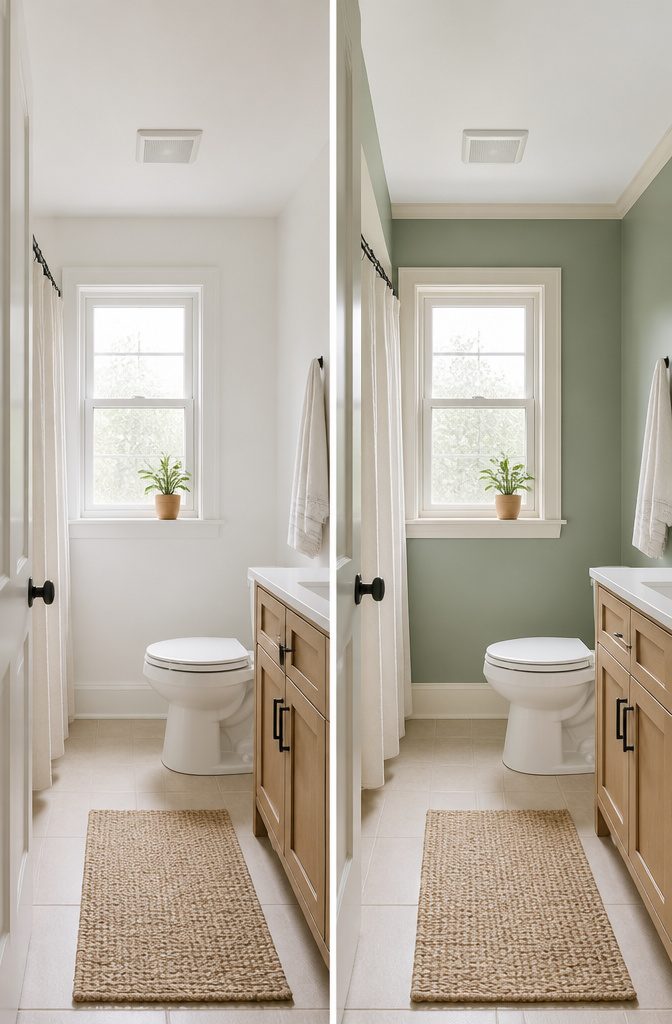
Paint is the one change a landlord usually cannot argue with, and the fastest way to stop a bathroom from feeling like a rental box.
I once tried a warm terracotta on a small bathroom wall, thinking it would add depth. Under the fluorescent light it turned the whole room the color of a bad sunburn.
A cool-toned sage with gray in the base read as neutral in that same light, and it made the white fixtures look intentional rather than cheap.
Ceiling paint matters more than people expect.
Flat white overhead in a narrow bathroom just swallows the height. I switched to the same sage cut by half with white, and the ceiling receded without closing the space.
Trim is the other place paint does work tile cannot. A satin-finish cream on the door frame and baseboard, slightly lighter than the wall, bounces light around fixtures that have no windows nearby.
The whole job took a Saturday, two gallons, and a roller with a short nap for the textured walls.
Tape around the vanity and toilet tank, not under them; you will never see those inches unless you are on the floor fixing a leak.

Elegant Waterfall Design – This round bathroom faucet 3 hole features a wide waterfall spout with scientifically calculated tilt angle to deliver optimal water flow while minimizing splashing
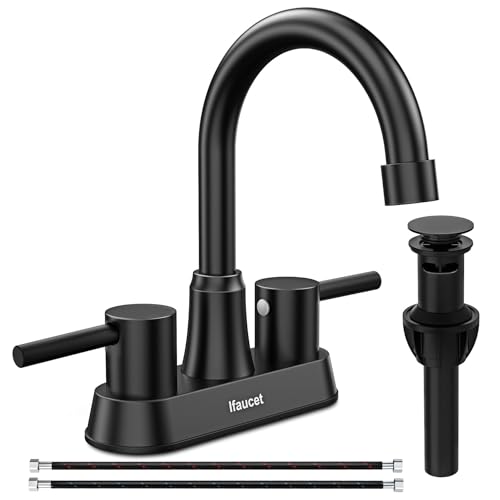
Package Included: SUS304 Stainless Steel Matte Black Bathroom Faucet & Solid Metal Pop-up Drain & Certified Water Inlet Hoses

Modern Waterfall Bathroom Faucet:Designed with a wide waterfall spout, this bathroom faucet delivers a smooth cascading stream for everyday handwashing. The clean modern shape adds a stylish look to bathroom vanities, restroom sinks, laundry sinks, and RV bathrooms
Upgrade Cabinet Hardware
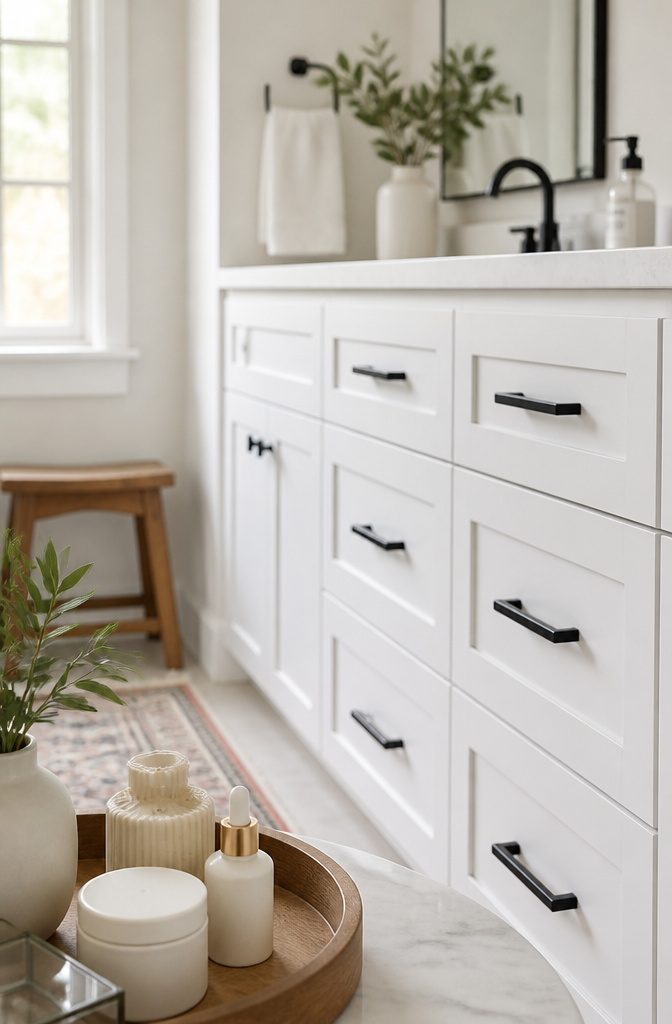
The fastest change I ever made to a bathroom vanity started with hardware that looked like it came from a rental catalog.
Swapping knobs and pulls takes about twenty minutes once you have the right pieces in hand, but that is the catch.
I once ordered three-inch pulls for a vanity that needed holes drilled on 96-millimeter centers, and the mismatch meant either new holes in the cabinet face or a return shipment I did not want to deal with.
Measure center-to-center on existing holes before you buy anything, and bring that number to the store with you. Standard spacings run 3 inches, 3.75 inches, and 5 inches, though metric sizes mix in on imported vanities more often than you would expect.
For about $40, I found matte black pulls in a 96 mm size that sat flush against the drawer fronts and suddenly the same white cabinet looked intentional, almost custom.
The old hardware had been fighting the room without me noticing; the new pieces let the vanity settle in as if it had been chosen for the space all along.

Drip-Free: FORIOUS brushed nickel bathroom faucet featuring a drip-free ceramic cartridge has passed 500,000 cycles of water tightness test, to ensure that the faucet is stable, which is unaffected by temperature extremes, sand, rust, and hard water conditions. Flow rate: 1.2gpm/4.5L/min at Max 60psi

【Attention】Please measure the distance from the stub out to the water inlet on the faucet and add a couple inches to the measured distance. For example, if the measurement is 4 inches, order 8 inches. 8 inch in length,suitable for kitchen sink,bathroom,toilet indoor/outdoor sink faucets,water heater etc.

【Size】Compression 3/8 male OD: 0.54 inch(13.8mm); GHT 3/4 female ID: 1 inch(26mm).
Add Stylish Storage
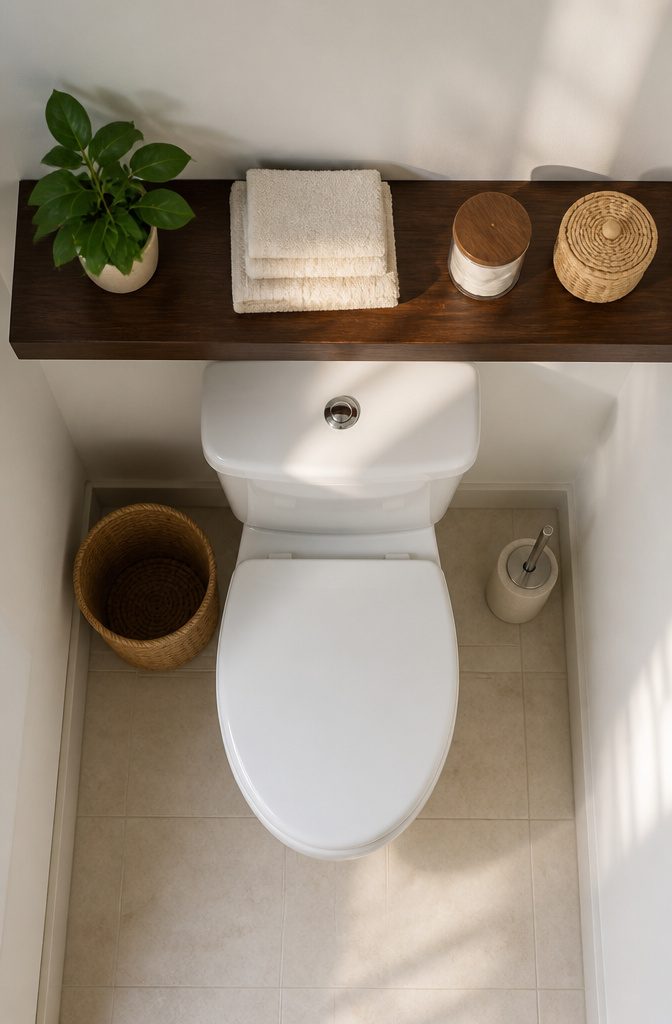
Open shelving in a bathroom looks effortless on Pinterest until you live with it. I learned that after installing a single floating shelf above the toilet in my last rental, a 24-inch walnut piece I found at Target.
The basket that actually fit the narrow gap underneath was 11 inches wide, not the 14-inch ones that kept tipping forward.
Open storage in a bathroom collects dust faster than you’d guess, especially on the lower lip where condensation settles. I wiped that shelf every Saturday, and still the spare washcloths picked up a film.
The jars I eventually switched to, glass with nickel lids, kept things cleaner and looked intentional enough that the shelf felt like decor, not a staging area.
"While a few open shelves can be beautiful (and functional), too many can quickly turn into visual clutter… I like to use open shelving sparingly, while keeping the rest of the storage behind closed doors—it strikes a nice balance between form and function."
That spare approach is what works in a small bathroom. One shelf, a couple of jars, and the rest of your stuff stays invisible.

FEATURES THAT ENHANCE YOUR HOME: Soft close seat for a safe and quiet bathroom experience, easy clean hinges quickly release for deeper cleanings, bolts never loosen for a secure toilet seat, and seat adjusts front to back for a clean, custom fit

FEATURES THAT ENHANCE YOUR HOME: Easy clean hinges quickly release for your deeper cleanings

SLOW CLOSE - The seat and lid closes gently and quietly to prevent slamming and protect little fingers from getting pinched, keeping your home safe and quiet. Note: The slow close feature will be activated when the installation being finished.
Incorporate Decorative Accessories
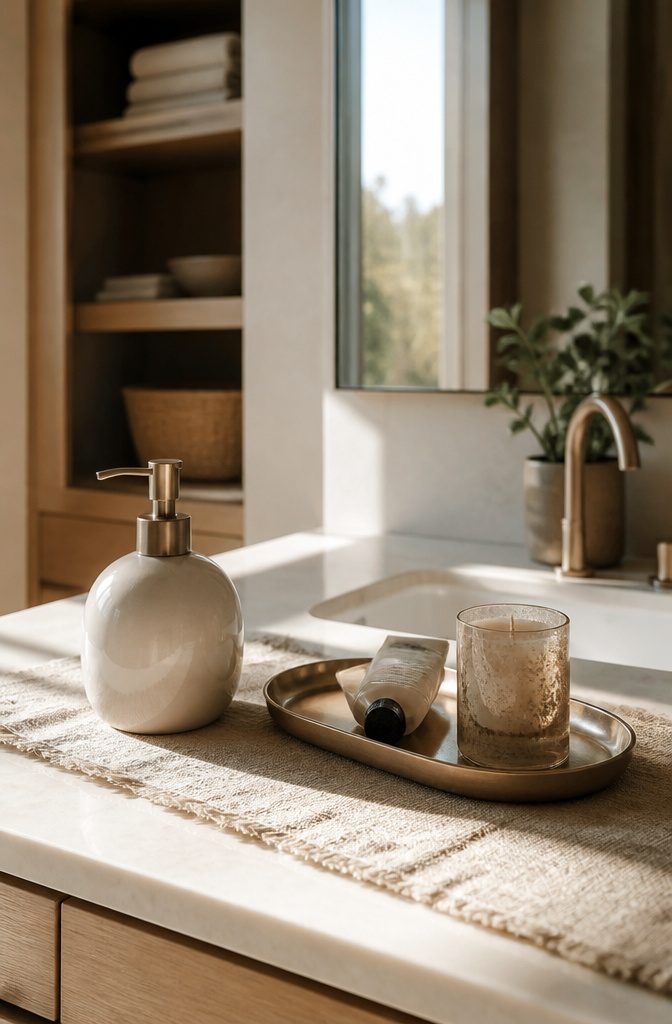
A soap dispenser and a small tray on the counter do more styling work than half the items in the cabinet.
The dispenser replaces the branded bottle that reads like an ad, and the tray corrals the few things that actually need to stay out: a hand cream, a candle, the ring you take off to wash your face.
Together they signal that someone chose this, not that the room is just passing through.
I bought a ceramic toothbrush holder that matched the tray perfectly. It sat there for two weeks before I moved it under the sink.
Three brushes standing at attention looked tidy in the store photo, but in my narrow bathroom they added one more vertical thing to a space already fighting for sight lines.
The holder itself was fine; the mistake was adding a third object when two were already doing the job. Keep the counter to two intentional items and the room stays edited without feeling empty.
The rest of the daily stuff, the skincare and hair tools and makeup, lives better in drawers or under the sink anyway. Out of sight, the counter reads as finished rather than functional.

UPGRADE: Use any Easy Clean & Change Seat to Stay·Tite with the Stay·Tite Hardware Upgrade Kit

【TOILET SEAT SCREWS KIT】you will get a toilet seat bolt set, including 2 pcs toilet seat screws, 2 pcs rubber washers, 2 pcs metal washers, and 2 pcs plastic nuts. Enough quantity can meet your needs of replacement parts and can enrich your inventory. It is an ideal companion for the repair and replacement of your toilet seat.

[ High-Quality Material ] - The toilet seat screws and bolts are made of quality plastic, which are not easy to deform or break, and will not rust like metal bolts, and are more corrosion-resistantn, can serve you for a long time.
What I Check Before I Start
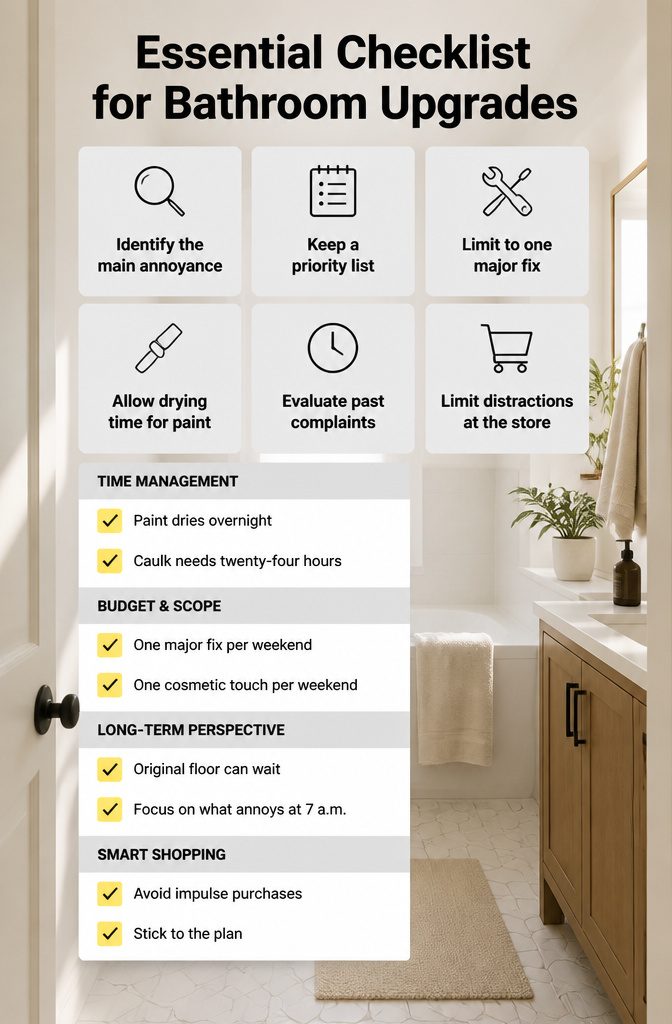
The bathroom usually looks worse at 7 a.m. than it actually is.
I stand in the doorway with my coffee and name the one thing that annoys me most that morning, the thing I notice before I flip the light switch.
Sometimes it is the yellowed caulk around the tub, sometimes the vanity light that casts a shadow across my face when I shave.
That one problem is the project. Everything else stays on the list for another weekend.
I keep a physical list on my phone, oldest complaints at the top. If something has bothered me for three months, it earns a Saturday.
If I stopped noticing it after a week, it gets deleted. This keeps me from wandering into Lowe’s for a new shower curtain and leaving with $400 of tile I will not install for two years.
The weekend timeline is the real filter.
Paint dries overnight, caulk needs twenty-four hours, and a faucet swap always takes longer than the video promises. I budget one major fix and one cosmetic touch per weekend.
Two years in this apartment, and the bathroom still has the original floor. It is not my favorite, but it is also not the thing I notice at 7 a.m., so it waits.
Why Lighting Matters First
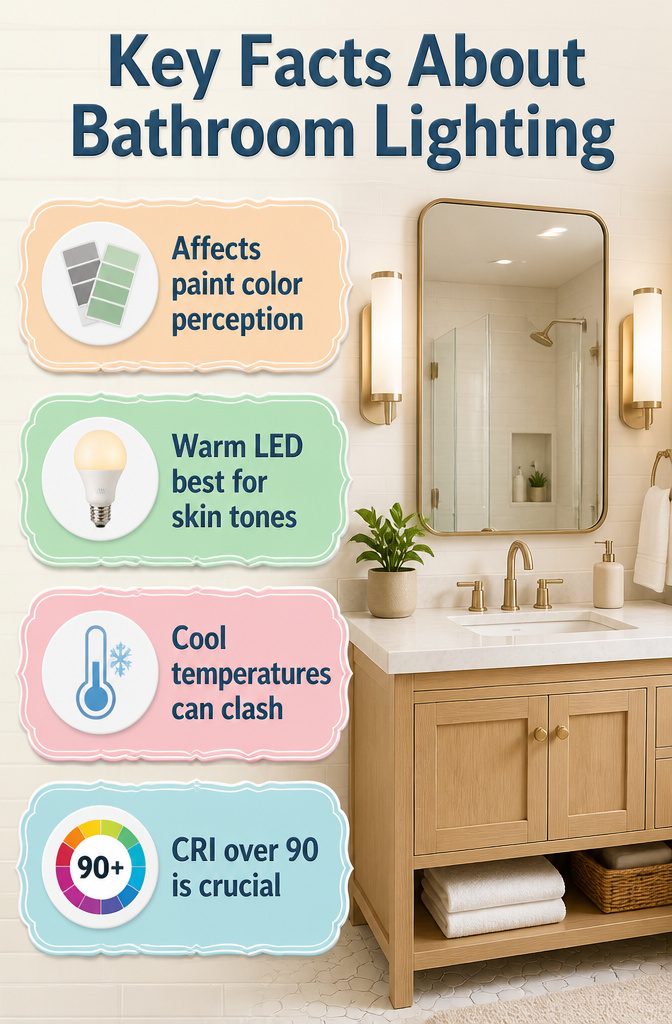
Bathroom light determines whether the paint color you chose at the store looks like itself or like a sickly cousin.
I learned this the hard way in a rental where I spent a Saturday rolling on a soft gray, then stood back and watched it turn greenish under the old dome fixture.
The paint was fine. The light was lying.
Now I swap the fixture before I open a paint can, even if the fixture is the only thing I planned to change.
A warm LED around 3000K flatters most skin tones and keeps whites looking clean without the clinical edge of daylight bulbs.
Cooler temperatures above 4000K read blue against warm tile or wood vanities, and that clash is what makes a bathroom feel off without the viewer knowing why.
The bulb temperature matters more than the fixture style when you are working with a weekend and a few hundred dollars.
A $25 flush mount with the right color rendering index, usually 90 or above on the label, beats a $200 sconce that hides your wall color in shadow.
I check the CRI number now the way I used to check wattage, because a light source that distorts color will undo every other choice in the room.
Storage That Looks Like It Belongs
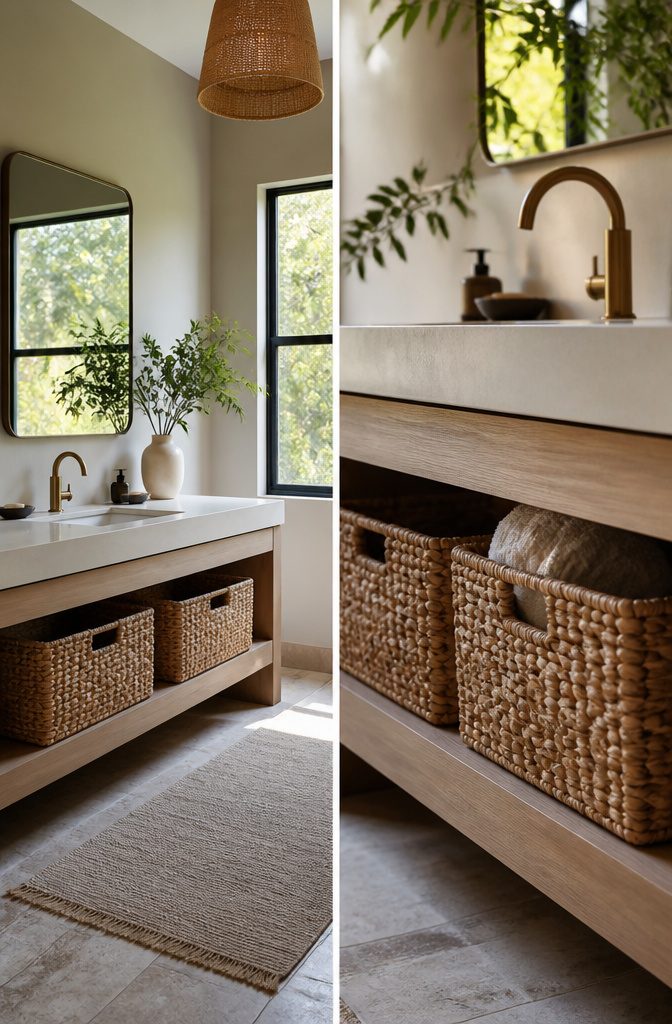
The storage you add should look like it grew there, not like it got dropped off on moving day.
I learned that the hard way with seagrass baskets under the sink. They looked right for about three weeks, then smelled wrong.
Mildew sets into seagrass almost overnight in a bathroom, and once it does, the basket never really dries out. I switched to water hyacinth, which has a tighter weave and holds up to damp air without turning musty.
Open shelves need the same discipline. A few visible items, kept behind a simple rule: everything out in the open has to be something you use daily and something you would not mind a guest picking up.
Everything else goes behind a door or into a drawer. The balance is what keeps it from looking like you ran out of places to put things.
I keep a small tray on the open shelf for the two or three bottles in active rotation; the backup bottles and the less attractive stuff live in the cabinet above.
That tray costs nothing and turns the shelf into something intentional rather than a landing zone for clutter.
Accessories I Skip
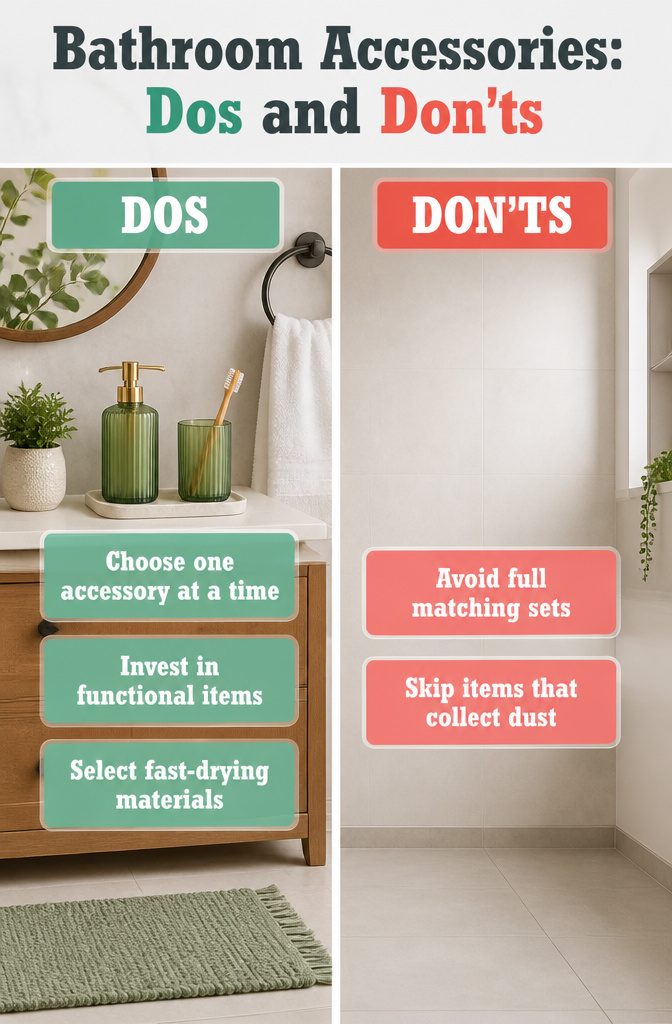
A full set of matching accessories looks polished in the store and turns into clutter once you get it home.
I learned this after buying a three-piece ceramic set, soap dispenser, and toothbrush holder that sat on the counter collecting dust.
The candle that came with it never got lit; bathrooms are damp, and the wick swelled before I found a reason to strike a match.
Now I buy one piece, use it for two weeks, and only then decide if the rest of the set earns its spot.
The rug that never dries taught me the same lesson. A plush mat felt luxurious underfoot the first morning, but by evening it was still damp from shower steam.
Three days in, it smelled musty no matter how often I washed it. I swapped to a thin cotton weave that dries in hours and never looked back.
Frequently Asked Questions
What are some easy bathroom updates?
Simple swaps like replacing the mirror, changing the faucet, and upgrading the lighting fixtures make the biggest impact for the least work.
A new mirror shape breaks up rigid lines, a modern faucet finish makes the whole vanity look intentional, and the right light bulb temperature keeps paint colors true and skin tones flattering.
Most of these projects take under an hour and cost less than a full shower curtain set.
How can I make my small bathroom feel bigger?
Hang the shower curtain rod closer to the ceiling and use an extra-long curtain to draw the eye upward.
This creates the illusion of taller ceilings without touching tile or plumbing. In a standard eight-foot space, the added fabric length looks deliberate rather than stretched, and the room feels less cramped.
What are the best lighting options for bathrooms?
A warm LED around 3000K with a color rendering index of 90 or above flatters most skin tones and keeps whites looking clean.
The bulb temperature matters more than the fixture style. Cooler temperatures above 4000K read blue against warm tile or wood, which makes a bathroom feel off without the viewer knowing why.




