
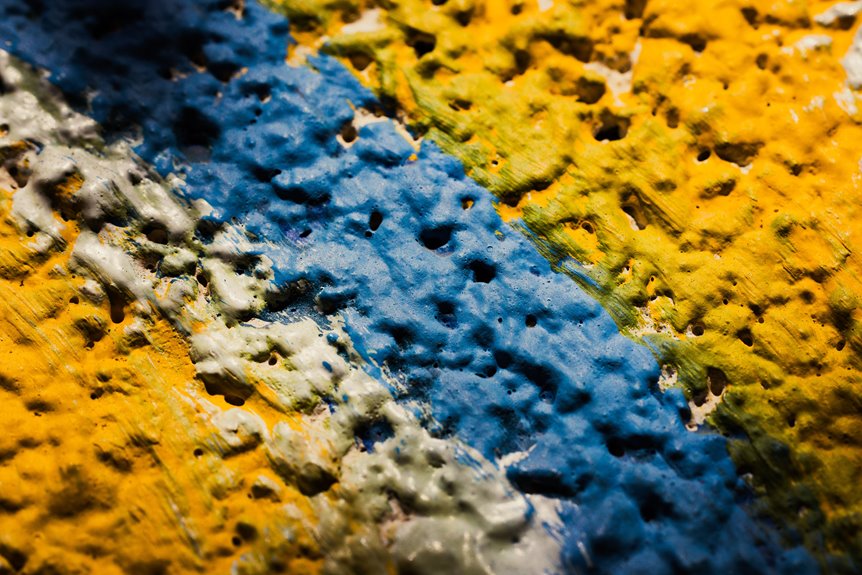
I’ve wrestled cottage-cheese popcorn and clingy orange peel. Painted texture is the true villain here. First, I figure out if I’m dealing with bare or painted texture, since painted means more work with either stripper or serious sanding. Then I grab my spray bottle, putty knife, and goggles, plus plastic sheeting because dust finds everything.
For unpainted stuff, I mist until it glistens, wait fifteen minutes, then slide my knife underneath and watch it surrender like a soggy pancake. Painted seals need sanding first, then chemical backup. I scrape section by section, keeping edges damp so I don’t scar the drywall underneath. After, I patch gouges with joint compound, sand smooth, prime thoroughly, and topcoat with low-sheen paint that hides any lingering imperfections.
Five steps complete the process. Your walls will be restored to their original state.
Identify Your Texture Paint and Decide: Remove, Skim Coat, or Paint Over?
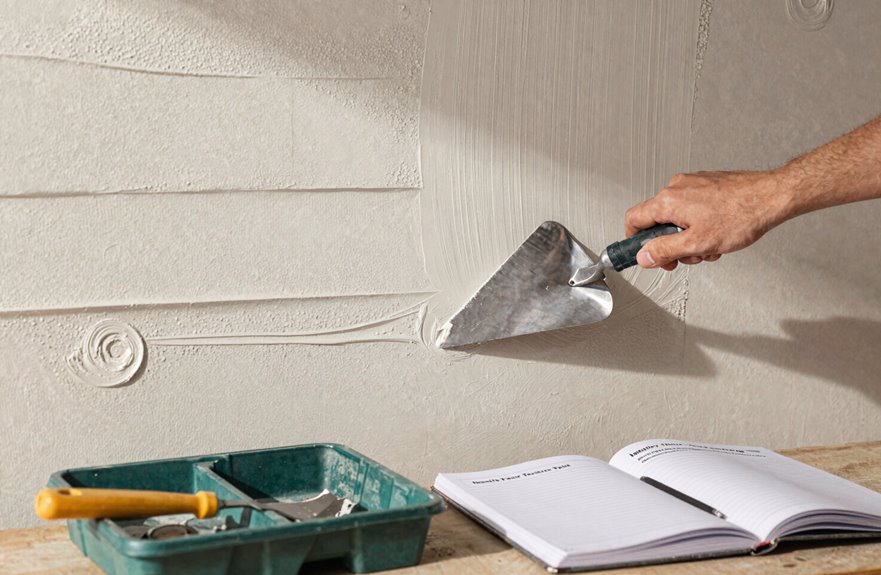
Why do we notice that bumpy, stippled wall at 2 AM when we’re trying to fall asleep? Staring at those textured walls can feel personal. Start by figuring out if that texture is painted or bare. Painted texture requires more effort to remove; you may need chemical strippers or extensive sanding. Unpainted texture is easier to remove.
Next, decide on your approach. For totally smooth walls, wet and scrape section by section while protecting the drywall underneath. For a less involved option, apply thin joint compound layers as a skim coat, sand when dry, and achieve a finished surface. Alternatively, use matte paint with thorough prep work to camouflage the existing texture. All three methods are valid choices.
Choose Tools and Protect Your Space From Dust and Damage
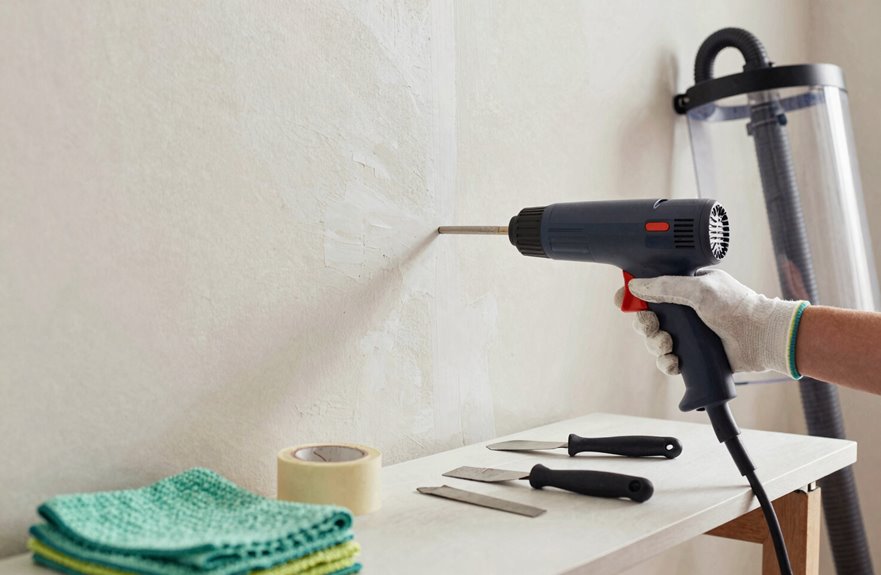
Someone’s got to say it. This part’s where dreams of smooth walls meet the reality of plastic sheeting and existential dread, but the right tools and preparation make all the difference.
I grab my spray bottle, my trusty putty knife, and yes, those ridiculous safety goggles that make me look like a mad scientist. For painted textures, I lightly sand first, then apply paint stripper while following every label warning because chemical mishaps create real damage. I work in small sections, wetting that textured surface just enough to control dust without soaking my drywall into mush.
Gloves on, plastic down, I scrape carefully. Too aggressive and you damage the underlying drywall. That’s when I pivot to skim coating with joint compound instead. Sometimes the smoothest path isn’t removal at all; applying a new finished surface over the texture eliminates the need for aggressive scraping and protects your walls from unnecessary damage.
Soften Unpainted Texture (or Break Through Painted Seals)
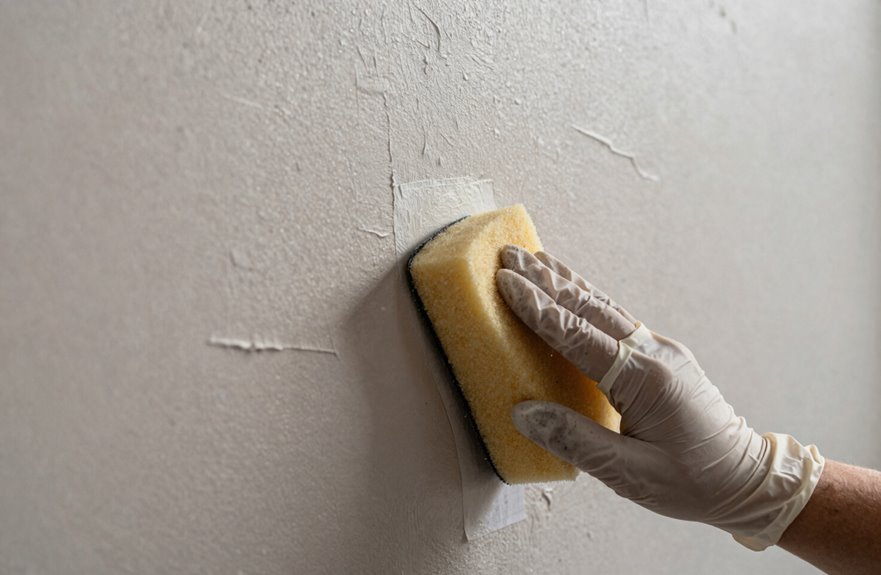
With my space sealed up like a crime scene and my goggles fogging from my own breath, I’m ready to attack the texture itself. This is where the real work happens. I’ve learned that wet scraping saves my sanity and my drywall. I grab my spray bottle, mist a small section until it’s glistening but not dripping, wait about fifteen minutes, then glide my putty knife underneath. The texture practically surrenders.
Wet scraping saves my sanity and my drywall—the texture practically surrenders.
Here’s what I’m picturing as I work:
- Water droplets catching light like tiny diamonds on that bumpy surface
- My knife sliding under the softened peaks, curling them away like orange peel
- Clean drywall emerging, smooth as fresh canvas, ready for whatever comes next
I’m working section by section, keeping edges damp so I don’t create weird seams. Patience here reduces patching work later.
Remove Texture Paint: Scrape, Sand, or Skim Coat to Smooth
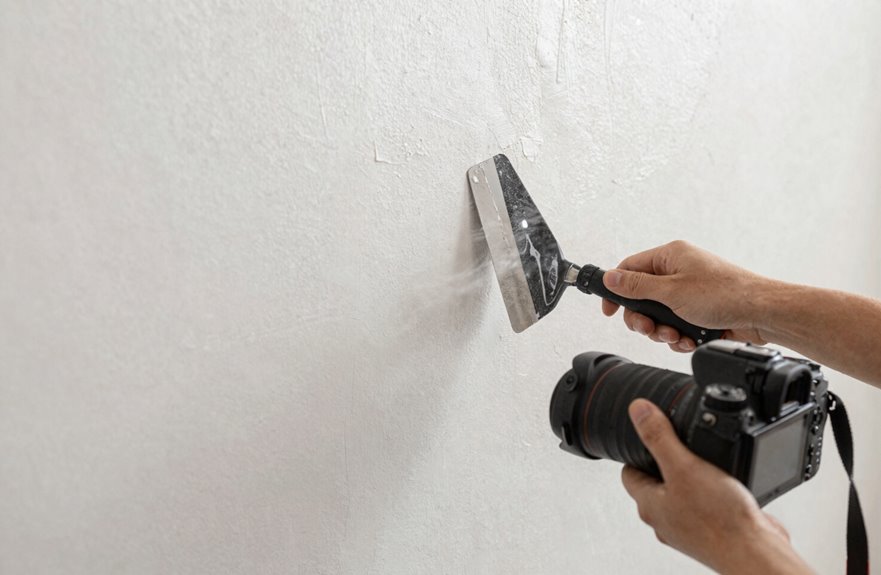
I roll up my sleeves, because now we’re getting into the real decision: how far do we want to take this. To remove textured walls, you’ve got options, and each has merit.
I lightly score or wet the surface first. Drywall tears are not desirable. Then scrape carefully. Dry scraping works for tough spots, but go easy. I’ve gouged paper before, and the results require additional repair work.
For orange peel or light textures, I wet-scrape, then skim coat with one to two thin layers of joint compound. It’s like frosting a cake, except the cake is your wall and the frosting is beige mud. Sand lightly between coats, let it dry fully, and you’ll achieve smooth walls.
Section your work, gear up, and breathe. The project is manageable.
Patch Damage and Prime for a Clean, Even Paint Finish
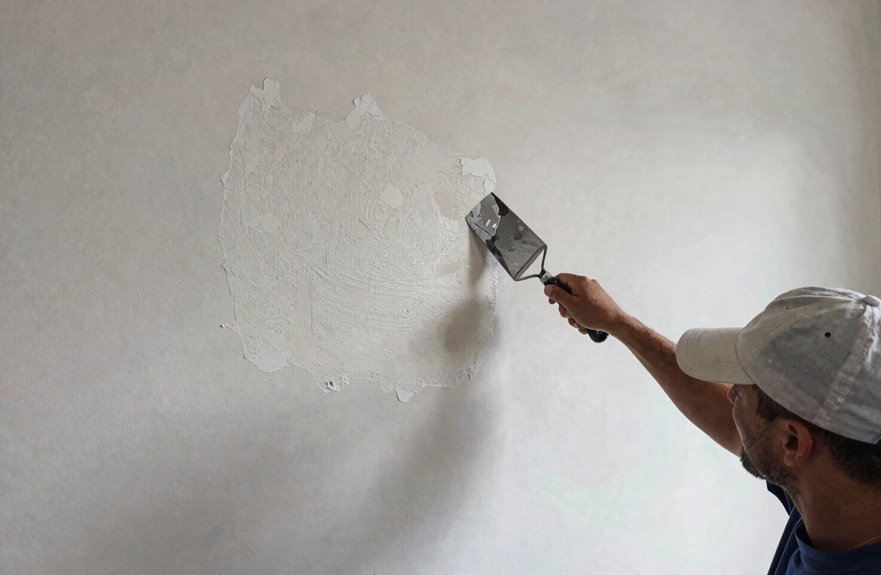
Once the scraping is done and the dust settles, you’ll be looking at walls that show the wear. That stubborn orange peel texture leaves gouges and spots where the scraper was too aggressive.
Grab joint compound and fill those damaged areas with your putty knife. Let it dry, sand it smooth, and repeat until the surface is even. Then apply quality primer to seal everything uniformly and create a clean, even paint finish.
What happens during this process:
- Moon-crater gouges disappear under your putty knife, filling in the damage from scraping.
- Dust motes float in the afternoon light as you sand repeatedly. Wear a mask for protection.
- The first smooth stroke of primer creates a milky, perfect base that promises the even paint finish you need.
Low-sheen topcoat will hide any remaining texture. The surface will be ready for paint.




