

Hiking gear storage is the difference between a ten-minute pack job and missing the trailhead because you are still digging through a closet.
The trick is not buying more bins; it is knowing which gear needs air, which needs a seal, and that a $10 heavy-duty tote from Lowe’s will outlast the clear ones that look organized for exactly one week.
Heavy-Duty Storage Bins
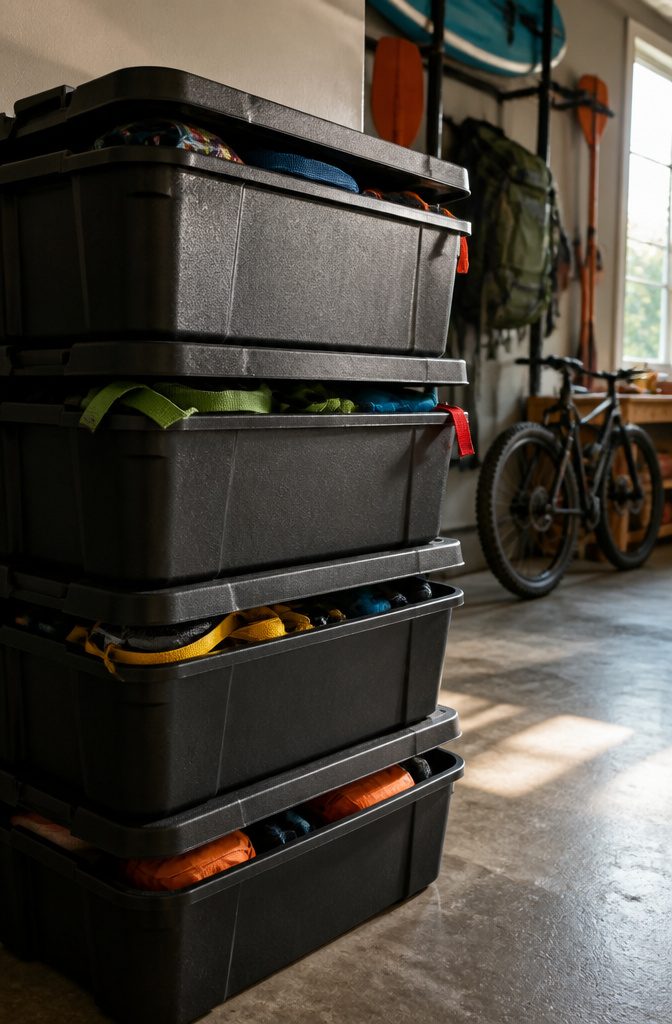
The Project Source Commander 27 Gallon Tote at $10 from Lowe’s is the foundation I’d start with for any hiking gear storage setup.
These are heavy-duty enough to stack in a garage or toss in a truck bed without the lid popping or the sidewalls cracking, and at that price you can buy enough to separate your gear by function without overthinking it.
Stackability matters more than people expect.
Once you have four or five of these filled, you’re working vertically whether you planned to or not, and the secure lids keep the contents from spilling when you pull one from the middle. I like that they’re opaque.
Clear bins look organized for about a week, then they look cluttered because you see every strap and buckle through the plastic. With these, you label the ends and the room stays calmer.
For tents and sleeping pads, the lid stays a little loose or you skip sealing it entirely. Fabric coatings need air circulation; an airtight bin traps humidity and slowly degrades the waterproofing.
For clothing and base layers, the lid seals tight to keep dust and moths out. The 27-gallon size swallows a 65-liter backpack without forcing the zipper, which is the point where cheaper bins start bulging or their lids warp.
Pegboard Systems
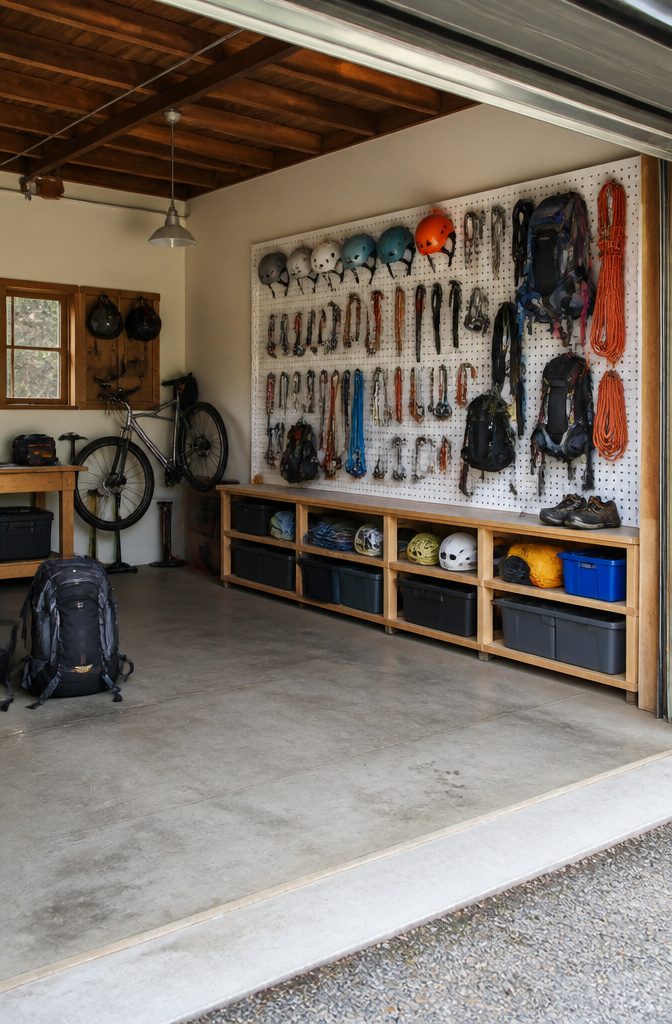
Wall-mounted pegboards keep gear visible and off the floor, which matters more than it sounds when you are packing at 5 a.m. and do not want to dig through a bin for a headlamp.
The Rubbermaid FastTrack Garage Hang Rails run about $31 at Home Depot and carry enough weight for packs, helmets, and the small tools that otherwise migrate to every flat surface in a garage.
I like the vertical bike hooks in that system because they are rated for 50 pounds, higher than the Kobalt or Craftsman hooks you will see on the same aisle, so an e-bike does not require a second thought.
What hangs well: anything with a loop, a handle, or a strap.
Packs, helmets, ice tools, harnesses, and poles all slide onto hooks and stay put. What does not: anything heavy without a hanging point, or anything too light and awkward that swings when the door slams.
Ropes tangle unless you give them a dedicated peg or a shelf; crampons and ice screws want a section where sharp points will not brush against nylon.
A wire shelf set high off the ground handles boots and sleeping bags, which keeps mice from nesting in them the way they will if you leave that gear on the floor.
Color-Coded Stuff Sacks
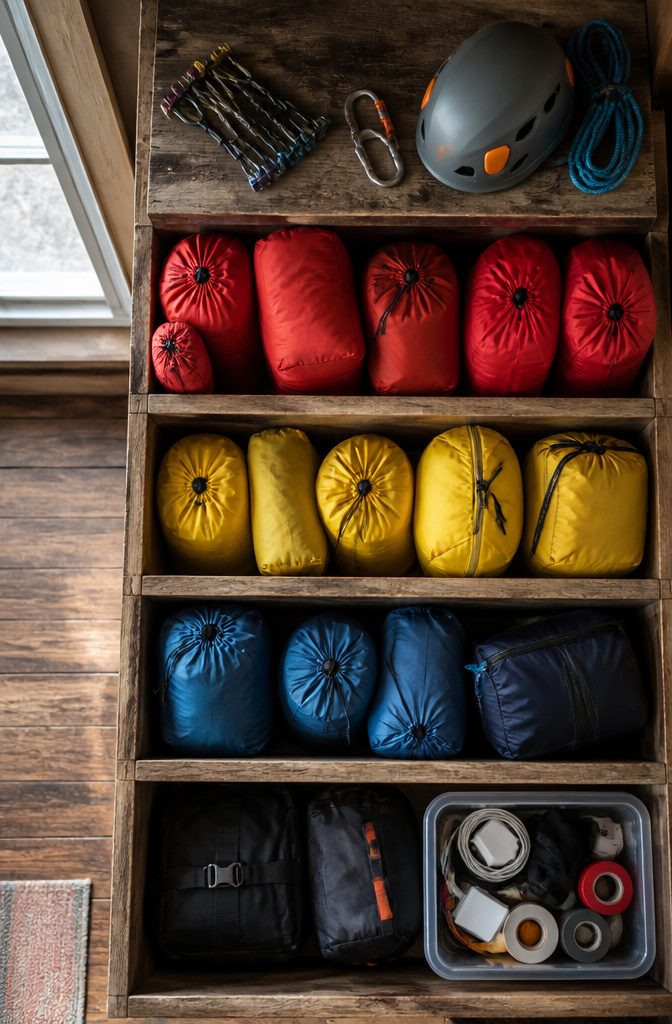
Bright red for first aid, yellow for the kitchen kit, blue for shelter.
After a few trips, the color system lives in your muscle memory, and you can pull what you need from a packed closet without unzipping a single bag.
The same rule applies at home as on the trail: leave dry bags open when they hold tents or sleeping pads so air moves through and mildew never starts.
For the small items that stuff sacks tend to bury, a rigid crate keeps them visible and upright. The Sidio Crate runs $24 at B&H and works well as a companion to the soft bags.
I would use one for headlamps and chargers, another for repair tape and spare buckles, so the loose pieces that sink to the bottom of a sack instead sit where you can grab them on the way out the door.
Vertical Storage Solutions
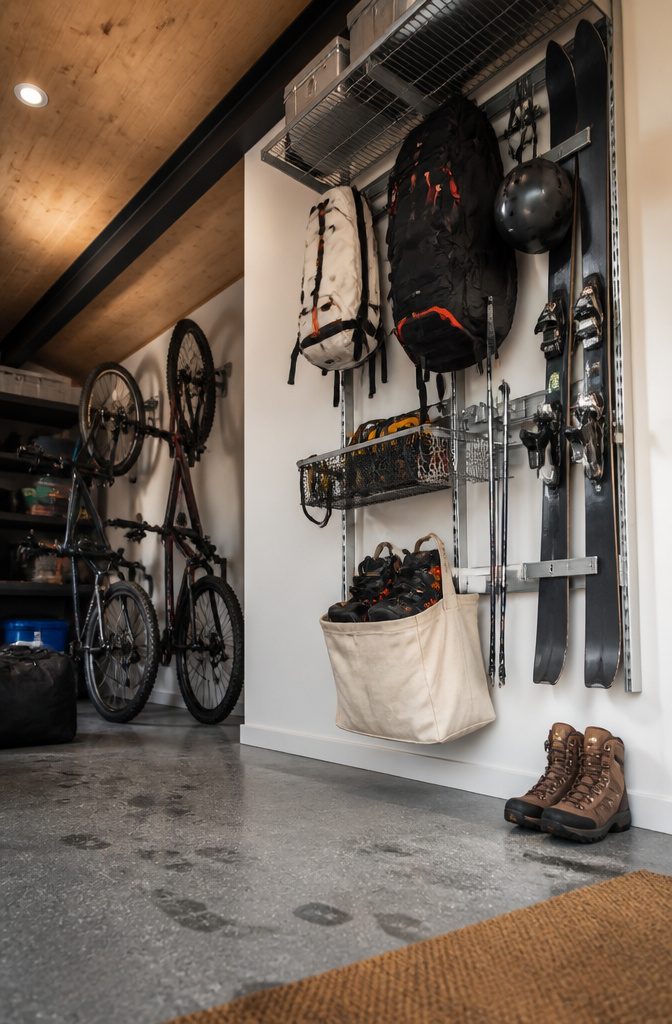
Wall space is the first place to look when floor space runs out. Rubbermaid’s FastTrack rails, about $31 at Home Depot, mount along a garage wall and take bikes, skis, and boots up off the concrete.
The vertical bike hooks in that system carry 50 pounds each, which covers most e-bikes and beats the ratings on comparable Kobalt or Craftsman hardware.
A wire shelf hung high handles ski boots and sleeping bags, which keeps mice from nesting in them the way they will in gear left on the ground.
Ceiling systems work for the same reason, though they need more headroom and a solid joist to hit.
When walls and ceilings are not an option, a freestanding rack still uses vertical space without drilling into anything.
The 5-Tier Industrial Duty Steel Freestanding Garage Storage Shelving Unit at $349 from Home Depot holds 1,800 pounds per shelf and fits four 27-gallon bins across each level.
That is roughly $100 more than building a wooden bin rack from scratch, but assembly takes 15 minutes instead of a few hours, and the extra width lets you slide bins in at an angle when the space is tight.
It might not be as Pinterest-worthy, but it’s a hell of a lot more practical.
For renters or anyone who needs their security deposit back, that trade matters. The shelving unit goes back to Home Depot when you move; patched drywall from a rail system does not.
Labeling Systems
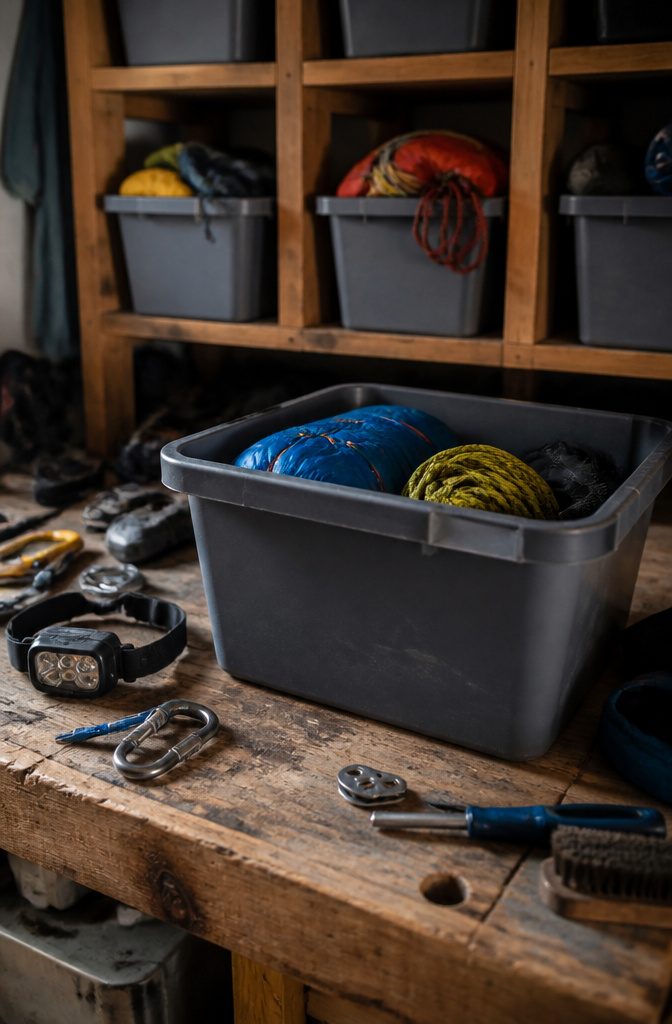
Clear bins still hide details at six p.m. when you’re rushing to pack.
I learned this after too many evenings spent lifting three lids to find the stove I needed. Labels should list contents plus the last date you used the gear, not just "camp kitchen."
That date matters because the sleeping bag you loaned a friend in March looks identical to yours, and the only way to know which is which is the handwritten note.
Color coding speeds this up further. Blue tape for sleep systems, red for ski gear, or whatever system matches your bins.
The real payoff comes during packing: a laminated checklist stuck to the tub lid lets you verify against the label without opening anything. Two minutes of reading beats ten minutes of sorting, especially when the trailhead clock is running.
Shelving Units
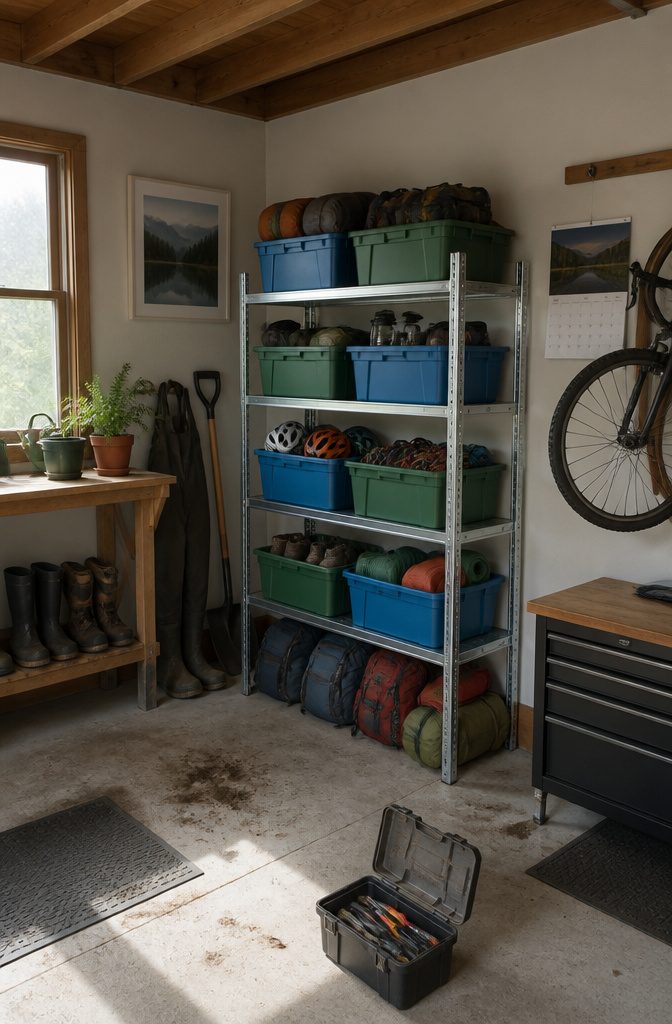
Freestanding shelving units rated for real weight matter more than how they look in a garage photo.
A 5-tier steel unit at Home Depot runs about $349 and carries 1,800 pounds per shelf, which translates to four 27-gallon bins across without sagging after a season.
The spacing between shelves decides what actually fits. Tall boots or a cooler need a shelf set higher than the standard boot-rack height, which is why wire systems win: you move the whole shelf, not just wish you could.
Wall-mounted units work for lighter gear, but the weight capacity printed on the box is the number to believe, not the styled product shot.
Keep the heaviest tubs on the bottom or the floor so you lift with your legs, and reserve eye-level shelves for the lighter stuff you will grab this month.
Out-of-season gear belongs up high where reaching for the step ladder once a year is not a daily annoyance.
Laundry Baskets for Long Items
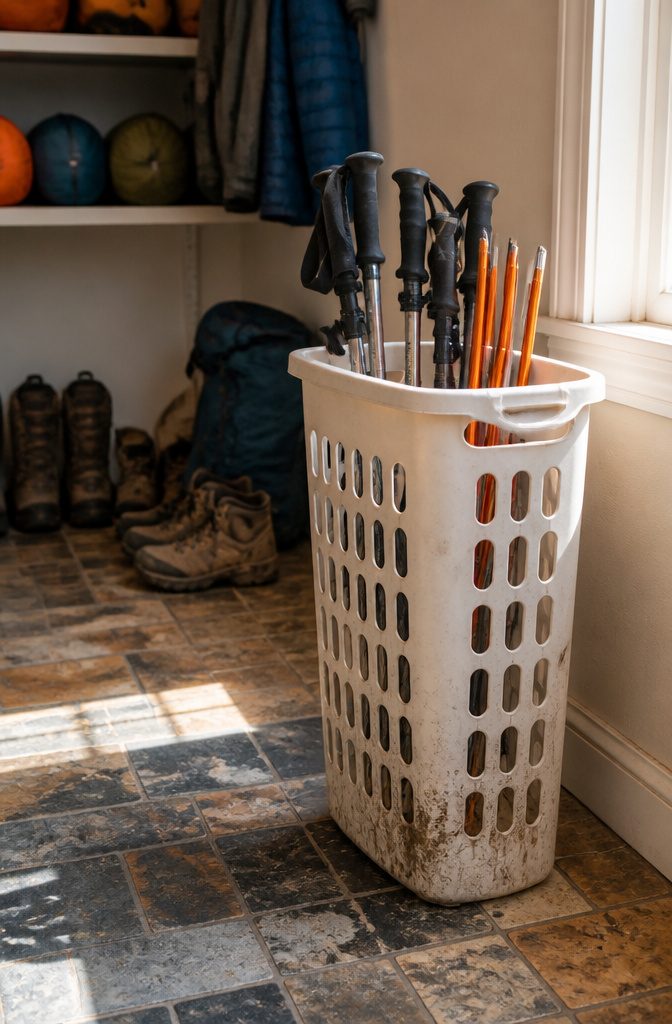
A tall laundry basket with rigid sides solves the problem of hiking poles and tent poles that slide off shelves or refuse to hang straight on hooks.
The height matters more than the width: sides tall enough to let the poles lean without tipping over, and a base heavy enough that the whole thing does not scoot when you drop a pack against it.
I keep mine in the corner by the back door, where the poles stand ready to grab on the way out and get tossed back in muddy without ceremony.
Under a bed or in a wardrobe corner works if floor space is tight, though you will need to pull it out to use it.
The basket I use is nothing special, just a standard rectangular model from the household aisle, but the rigid plastic sides keep it from collapsing when the load leans hard on one edge.
A soft mesh hamper will not do the same job; the poles win that fight by Wednesday.
Garment Racks for Packs
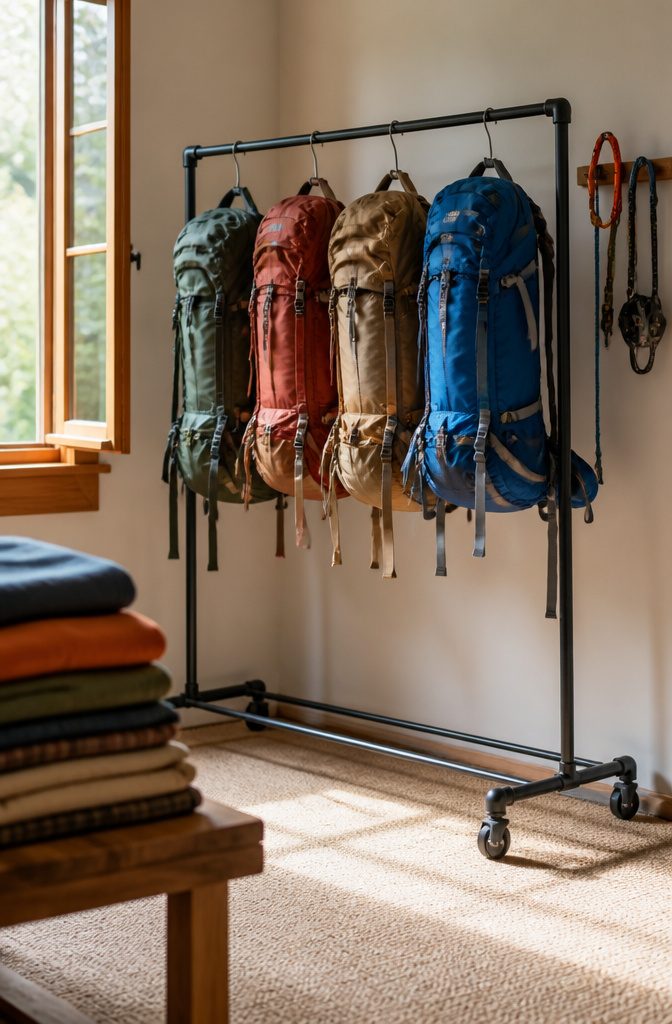
Stacking packs in a closet crushes the foam frames and warps padded hip belts over time. Hanging them keeps the load-bearing structure intact, which matters when you’re trusting that frame to carry thirty pounds up a ridge.
Regular closet hangers force the pack sideways and pinch shoulder straps at odd angles.
S-hooks solve this: the curve seats into the top handle or haul loop so the pack hangs face-out, the way you’d wear it, with no stress on the suspension.
A basic wire S-hook runs a couple of dollars and holds more weight than most loaded daypacks.
A rolling garment rack changes how you actually use the storage.
I keep mine in a corner of the bedroom, and when a weekend trip comes together last minute, I roll the whole rack to the living room floor where I can lay out layers and still reach the pack.
No more hauling gear across the apartment or unpacking a closet to get at the one bag I need.
The wheels are the detail that turns storage into staging, and for renters who can’t mount wall hooks, it keeps the solution portable.
Boot Racks
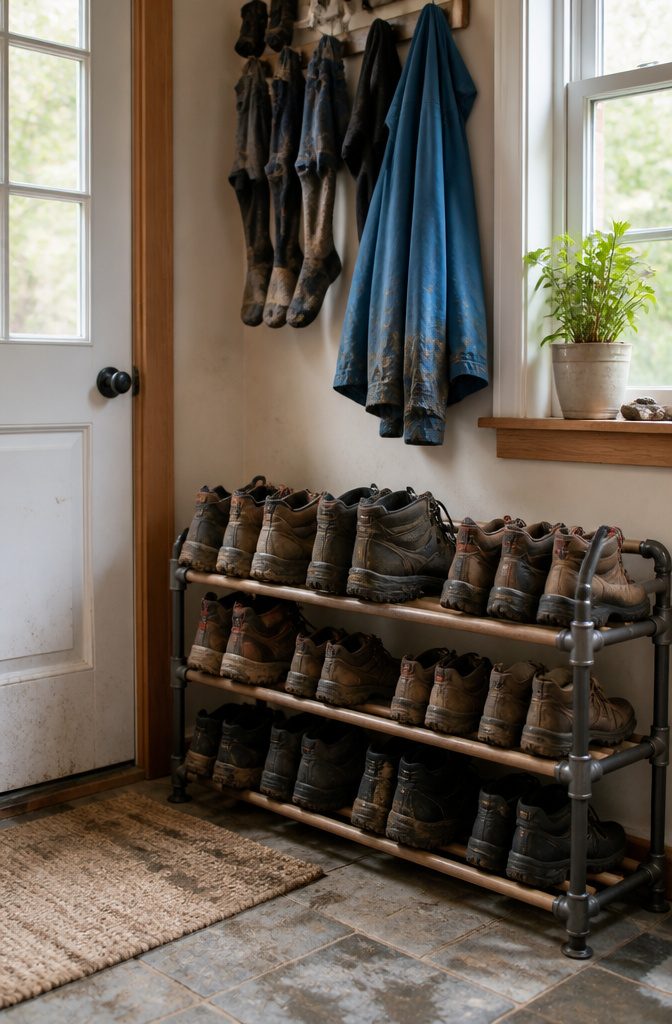
Mud on hardwood or carpet is the fastest way to turn a good hike into a weekend repair job.
A boot rack by the door, even a basic one, catches that mess before it spreads. What convinced me, reading through a dozen setups, is that the real benefit isn’t the mud tray itself.
It’s the drying time. Boots stuffed in a closet stay damp for days; boots left open on a rack with two inches of space between pairs get airflow on all sides and dry overnight in most climates.
Materials matter more than I expected. Powder-coated steel holds up against wet leather and grit better than painted wood, which swells and flakes where the finish wears thin.
Bamboo works if the varnish is intact, but one crack and the fibers soak up water like a sponge.
Spacing is the detail people skip: toes pointing in different directions, not lined up heel-to-toe, lets the tongue area breathe where sweat collects most.
A slatted shelf underneath beats a solid tray for the same reason; water drips through instead of pooling.
Workbenches With Drawers
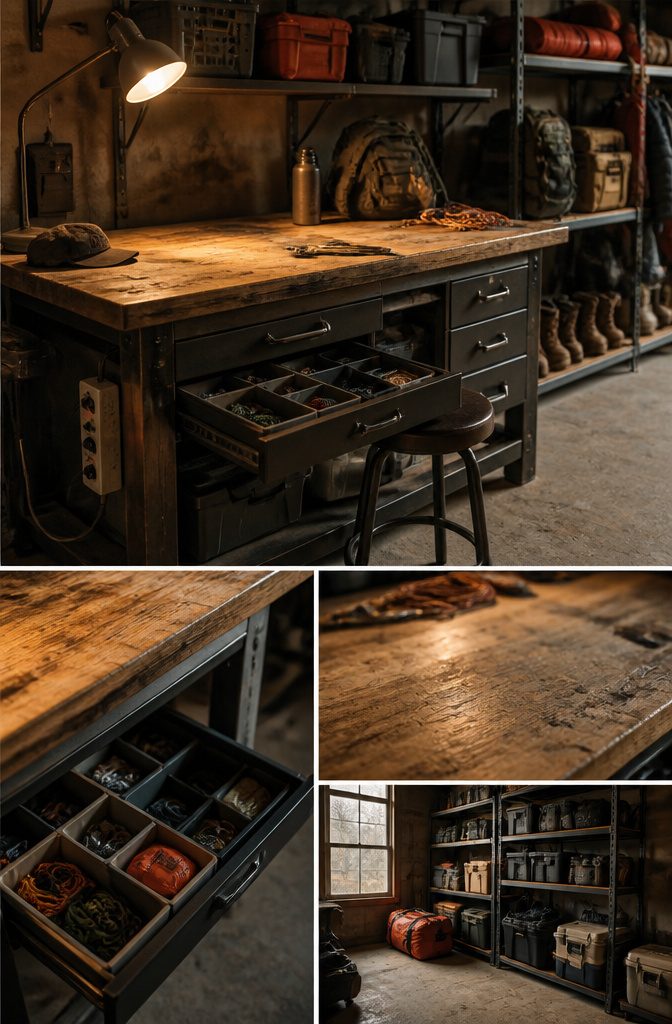
A workbench with drawers turns the garage corner into a staging area where trip prep actually happens.
The top holds the pack while you sort layers, and the built-in power strip on a bench like the Husky model lets you charge headlamps and walkie-talkies right where you stage.
Drawer organizers are what keep small gear from becoming a jumble; without them, batteries, repair kits, and ski tuning tools end up in the same undifferentiated pile.
I have seen the suggestion of repurposing an IKEA Alex unit or even an old changing table if a full workbench is too much footprint or budget for a rental setup.
The key is giving each category, sunglasses, electronics, first aid, its own shallow drawer so nothing buries anything else.
Before you store any of it, pull the batteries from headlamps and GPS units; a corroded casing turns a grab-and-go moment into a half-hour cleanup you did not schedule.
Clean Before You Store
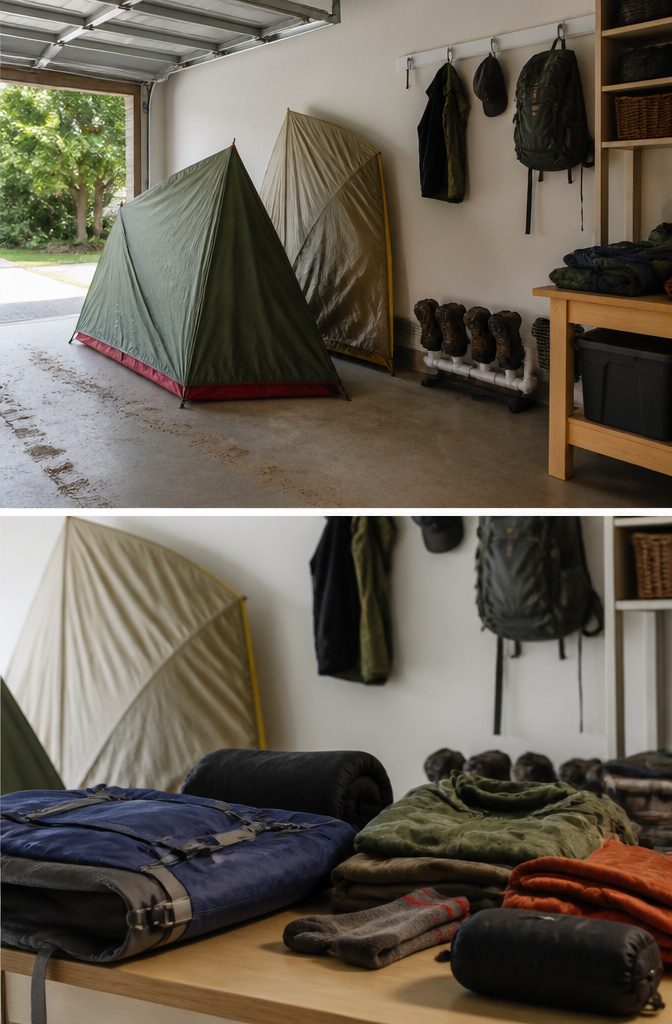
Damp gear in a closed bin grows mold in about forty-eight hours, and the smell never really leaves the fabric once it sets.
I learned that the hard way with a synthetic sleeping bag I put away "almost dry" after a spring trip.
The down or synthetic fill trapped just enough moisture to bloom a patch of mildew along the footbox, and the DWR coating on the shell started flaking where the damp sat too long.
Tents need to be pitched indoors or draped across a rack until every seam and corner feels dry to the touch, not just the main panels. Floor fabric holds water longest, especially where it folds into the stuff sack.
Boots are worse: the insole pulls out, the laces come off, and both need to air separately. I set mine upside down over a vent, not near a heater, because forced heat cracks leather and warps synthetic midsoles.
Once they’re dry, a quick wipe of the footbed with a mild soap solution keeps the bacteria that causes odor from going dormant and waking up in storage.
Categorize by Activity
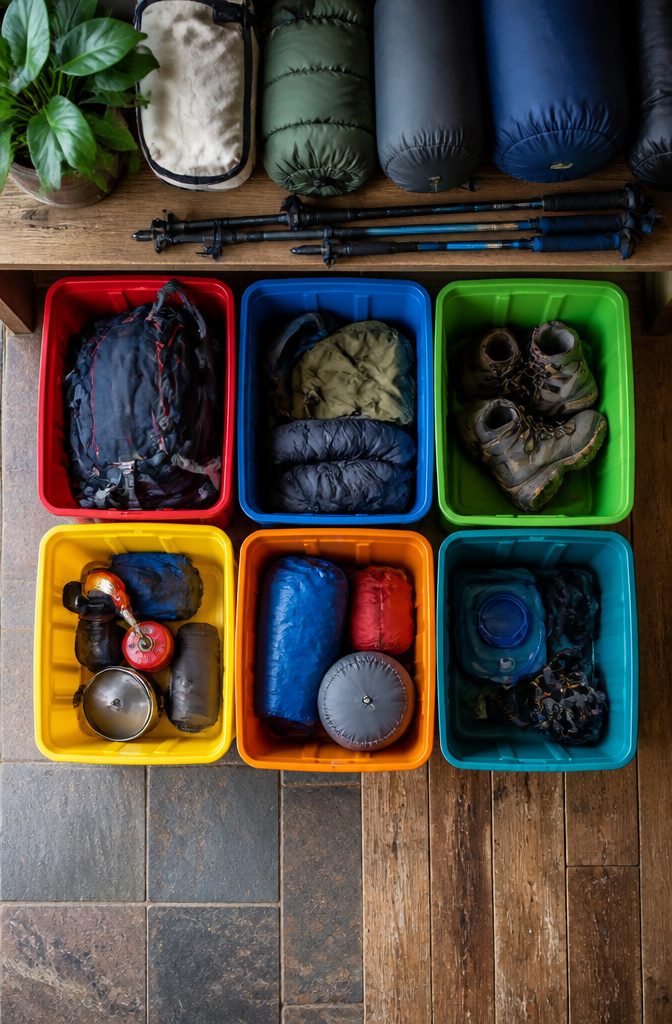
The grab-bag problem starts the moment you dump everything into one tub. Suddenly your microspikes are tangled in your summer rain shell, and packing for a day hike means excavating half the bin.
Sorting by activity type, not just by gear type, fixes this. Day hiking gear lives in the day pack, ready to grab.
Backpacking gear stacks into its own labeled totes: sleep system, camp kitchen, shelter components. Winter gear, climbing gear, bikepacking kit, each gets a separate pile and a separate home.
The category decides the container. Day hiking loads stay in the pack because the same basics go out every time.
Backpacking spreads across multiple plastic totes because the kitchen, sleep system, and shelter break down into too many pieces for one bag. Winter gear, with its crampons and goggles and snow shovel, wants its own tub entirely.
The point is not neatness; it is speed. When the category matches the trip, you pack without thinking, and nothing stays behind in the wrong pile.
Keep Moisture Out
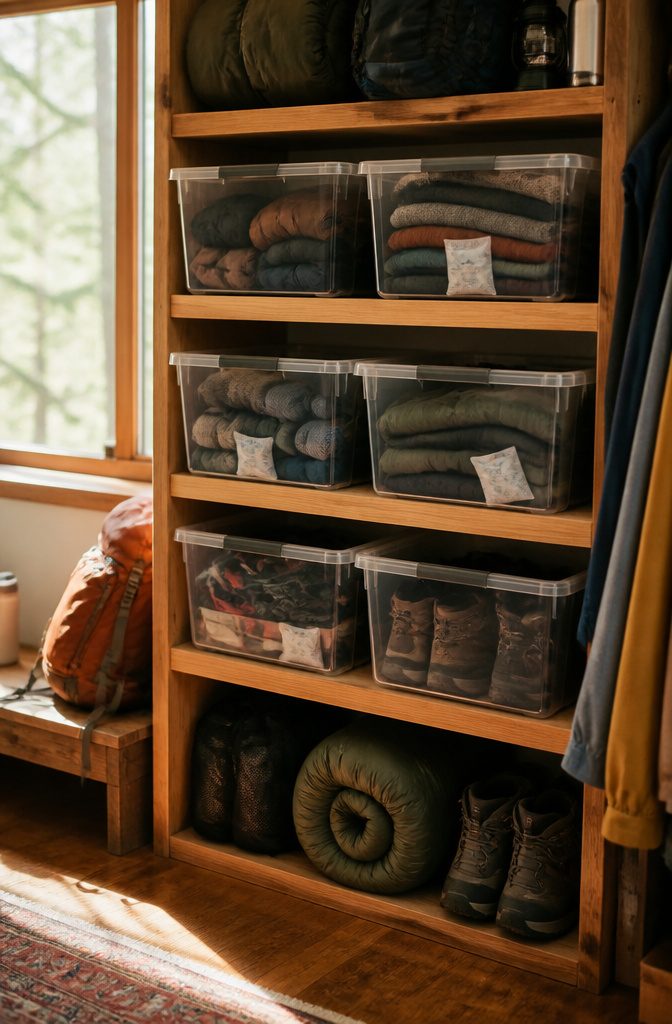
Silica packets are worth saving, though they do not last forever. I replace mine once they stop feeling gritty to the touch, or after about a year of sitting in a closed bin.
Tuck them against the tent fabric, inside the stove bag, and at both ends of the drawer where headlamps live. The packets pull residual dampness out of seams and battery compartments you thought were dry.
Moisture control matters even in desert climates. Breath condenses inside a pack during a cold morning start, and that trace amount migrates to the PU coating on your tent over months of storage.
The coating breaks down and turns sticky before you notice any mildew. Electronics go first, often enough, flashlights corrode at the contact points while the rest of the gear still looks fine.
Use the Space You Have
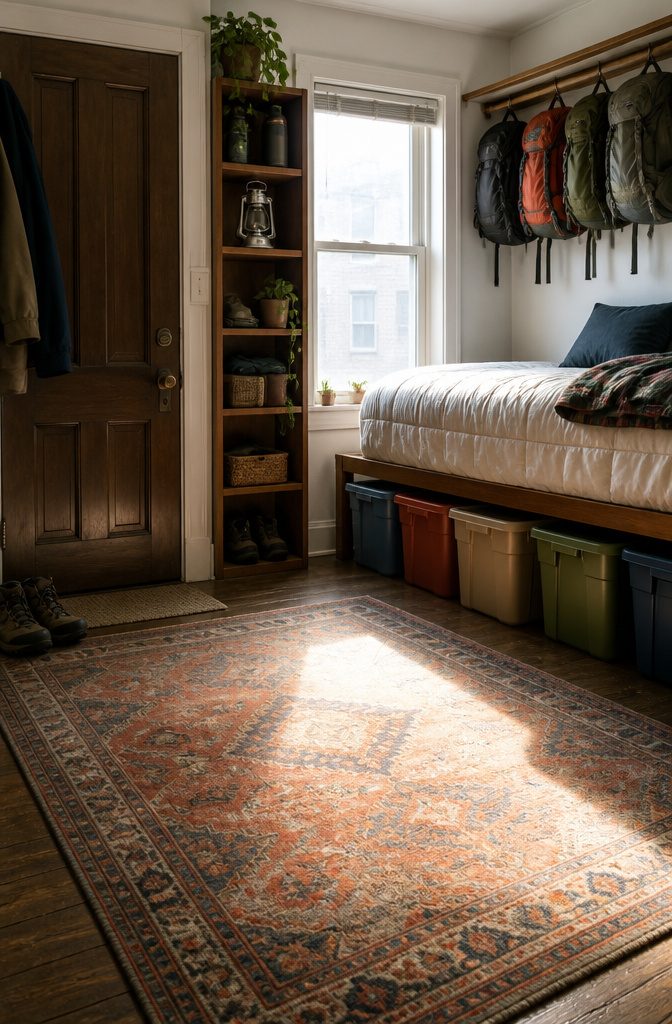
The back of a closet, the gap under a bed, the corner of a garage where a bike leans, even the railing of an apartment balcony where boots air out after a wet weekend: these are the spaces that actually hold most people’s gear.
I spent too long assuming I needed a dedicated room before I realized the closet rod in my bedroom sat six inches forward of the wall, leaving a narrow shelf’s worth of depth behind it for poles, a rolled pad, and a headlamp bin.
Measuring first saves the bin-buying regret.
A tub that slides under a standard bed frame is a different height than one clearing a platform base with drawers underneath, and nothing kills momentum like a lid that will not close because the mattress support sits too low.
Clear sides help you remember what you stashed, though some swear against transparent bins entirely, keeping gear dark and sorted by sport in solid containers instead.
Two ways to play this: see everything at a glance, or keep the visual clutter hidden and label aggressively.
Seasonal rotation matters more than the exact square footage.
What I pull out monthly belongs in the A-team bin, eye-level or under-bed, easy to reach. The B-team, the backup stove and the sleeping bag rated for colder nights than I usually face, can migrate higher or deeper.
When the fall hike schedule picks up, the summer kit trades places. The gear you almost always use should never require moving something else to get to it.
Rotate With the Seasons
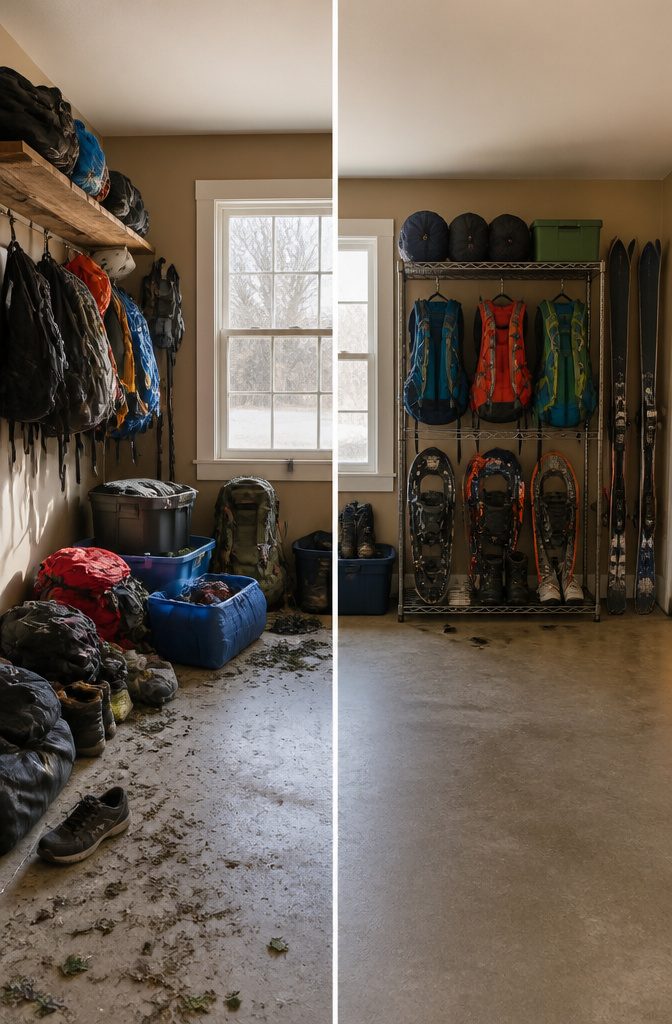
The summer backpack shoved behind the snowshoes is the one you reach for first on a Saturday morning in July.
I learned to swap front-line and back-line storage by season after too many mornings digging past a down sleeping bag to find a hydration pack.
In late October, everything winter moves to the rack by the door; the trail runners and trekking poles slide to the back shelf or the bin under the bed.
Timing matters.
I do the swap when the forecast holds three nights below forty, not when the calendar says so. That keeps me honest about what I actually need within arm’s reach.
When gear reappears after months away, I check it then: zippers, buckles, battery compartments on headlamps, the seal on fuel canisters. A headlamp that corroded over summer in a basement bin taught me that one the hard way.
This rotation extends gear life more than I expected.
Down stays lofted when it is not compressed under other equipment. Traction devices keep their points sharp when they are not knocking against carabiners every time I grab a water bottle.
The fifteen minutes of swapping pay back across a whole season of not replacing what got damaged sitting in the wrong place.




