Effort varies a lot: a warm LED strip behind a TV or under a bed rail takes one evening, a tape measure and scissors, while the Large LED Lamp asks for more hours and a few rounds of trial and error.
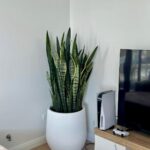
What the room already has decides the project: a TV, entertainment center shelf, bed frame, mirror or closet gives a strip an edge to sit on, and a bare corner calls for a lamp with its own base and shade.
1. TV Backlight
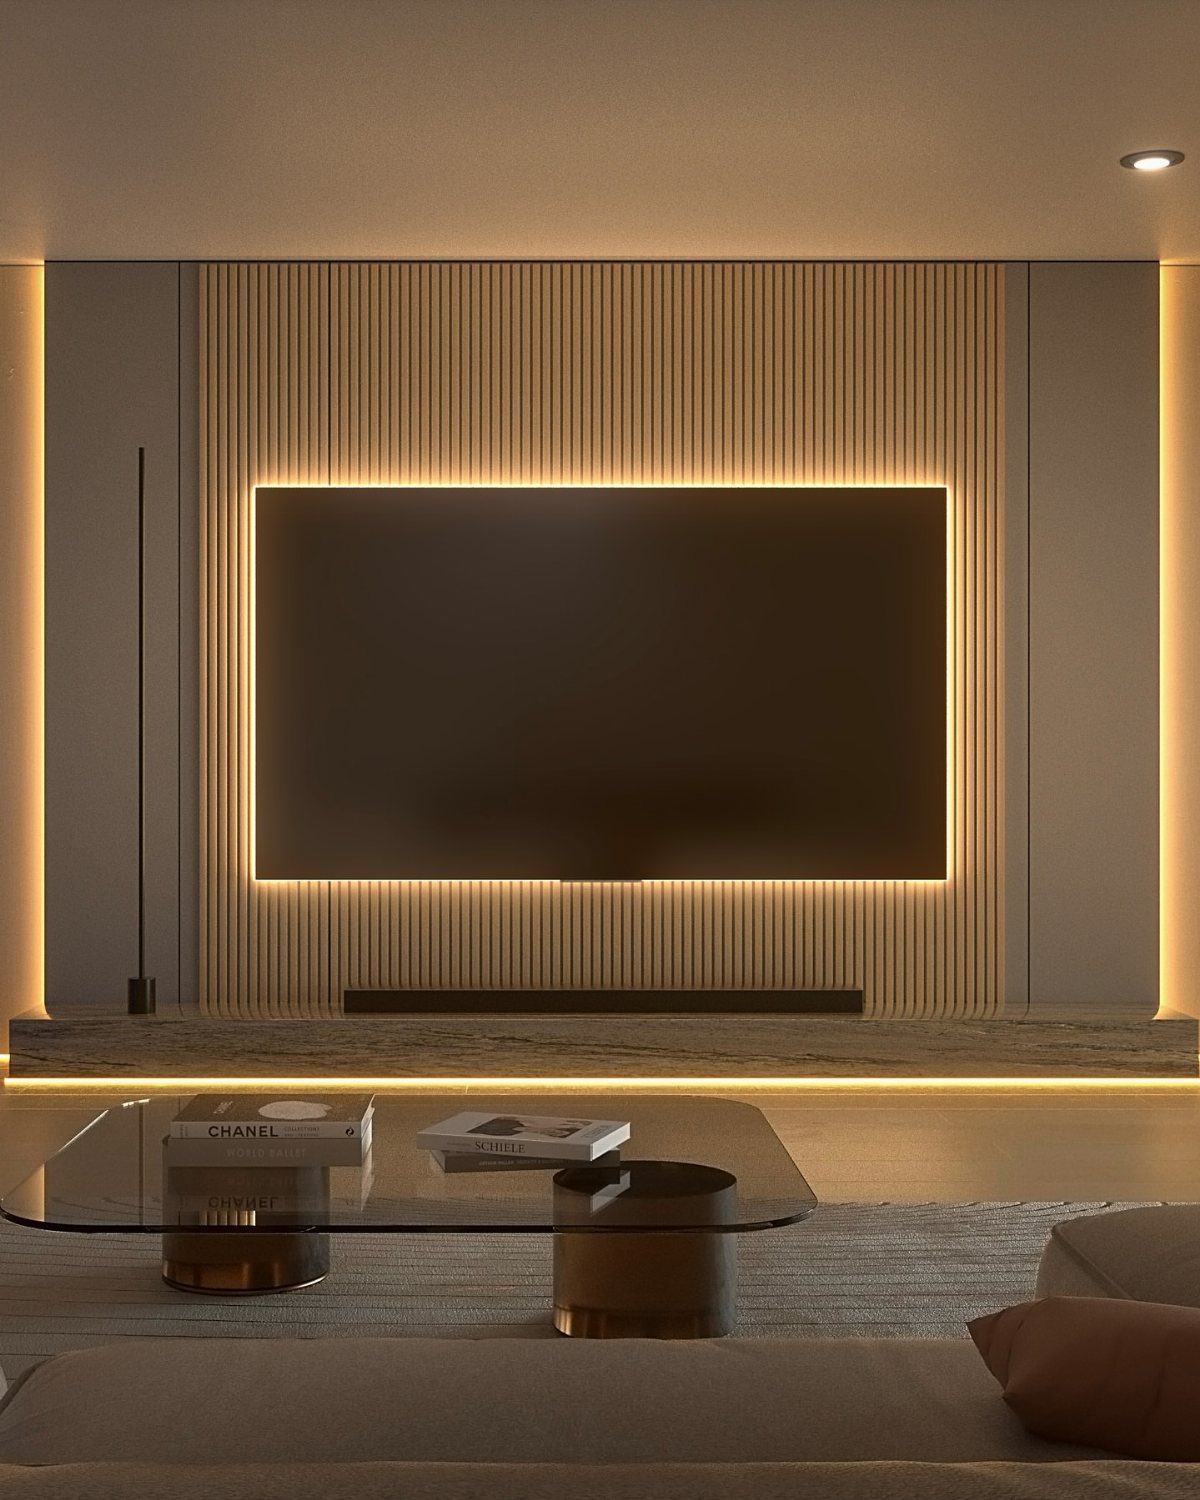
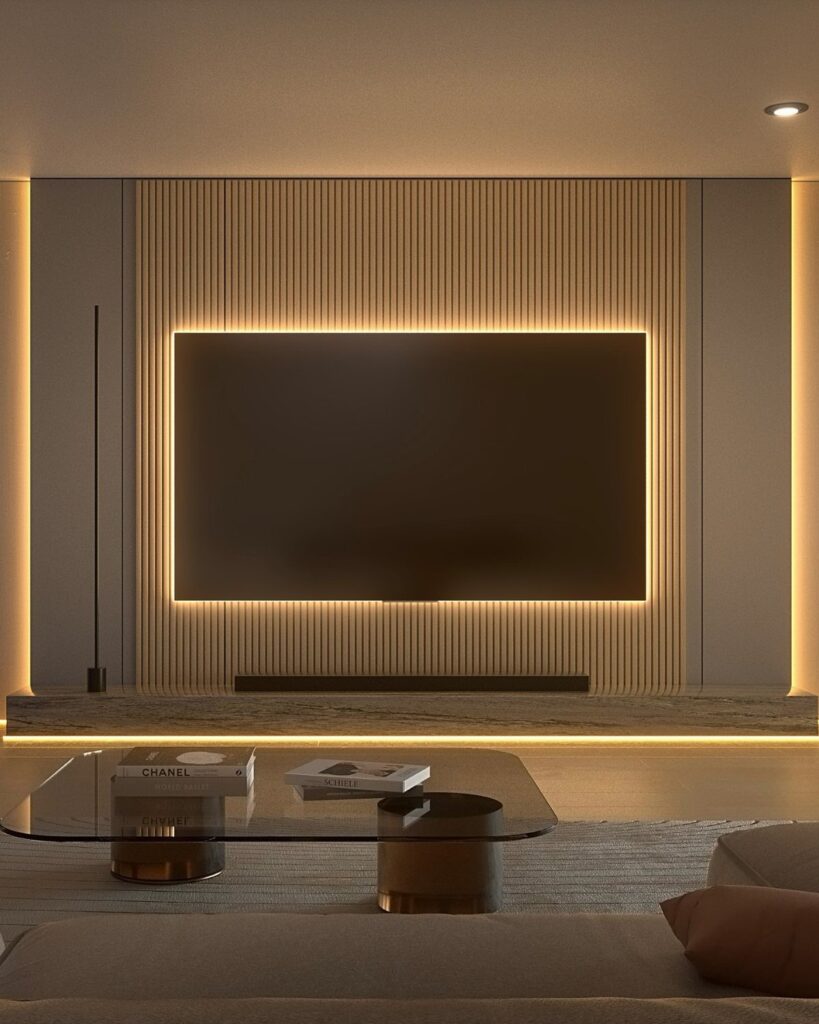
Warm LED strips tucked behind a mounted TV turn a flat wall into a soft glow, and they ease the jump between a bright screen and a dark room.
That contrast is what tires eyes during a long movie, so the light does real work as well as looking good.
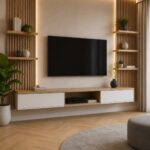
Warm yellow LED strip suits slatted wood, since the glow picks up the grain and keeps the wall from looking flat.
Fix the strip to the back edge of the set so the light lands on the wall, not in your eyes.
2. Entertainment Center Shelf Lights
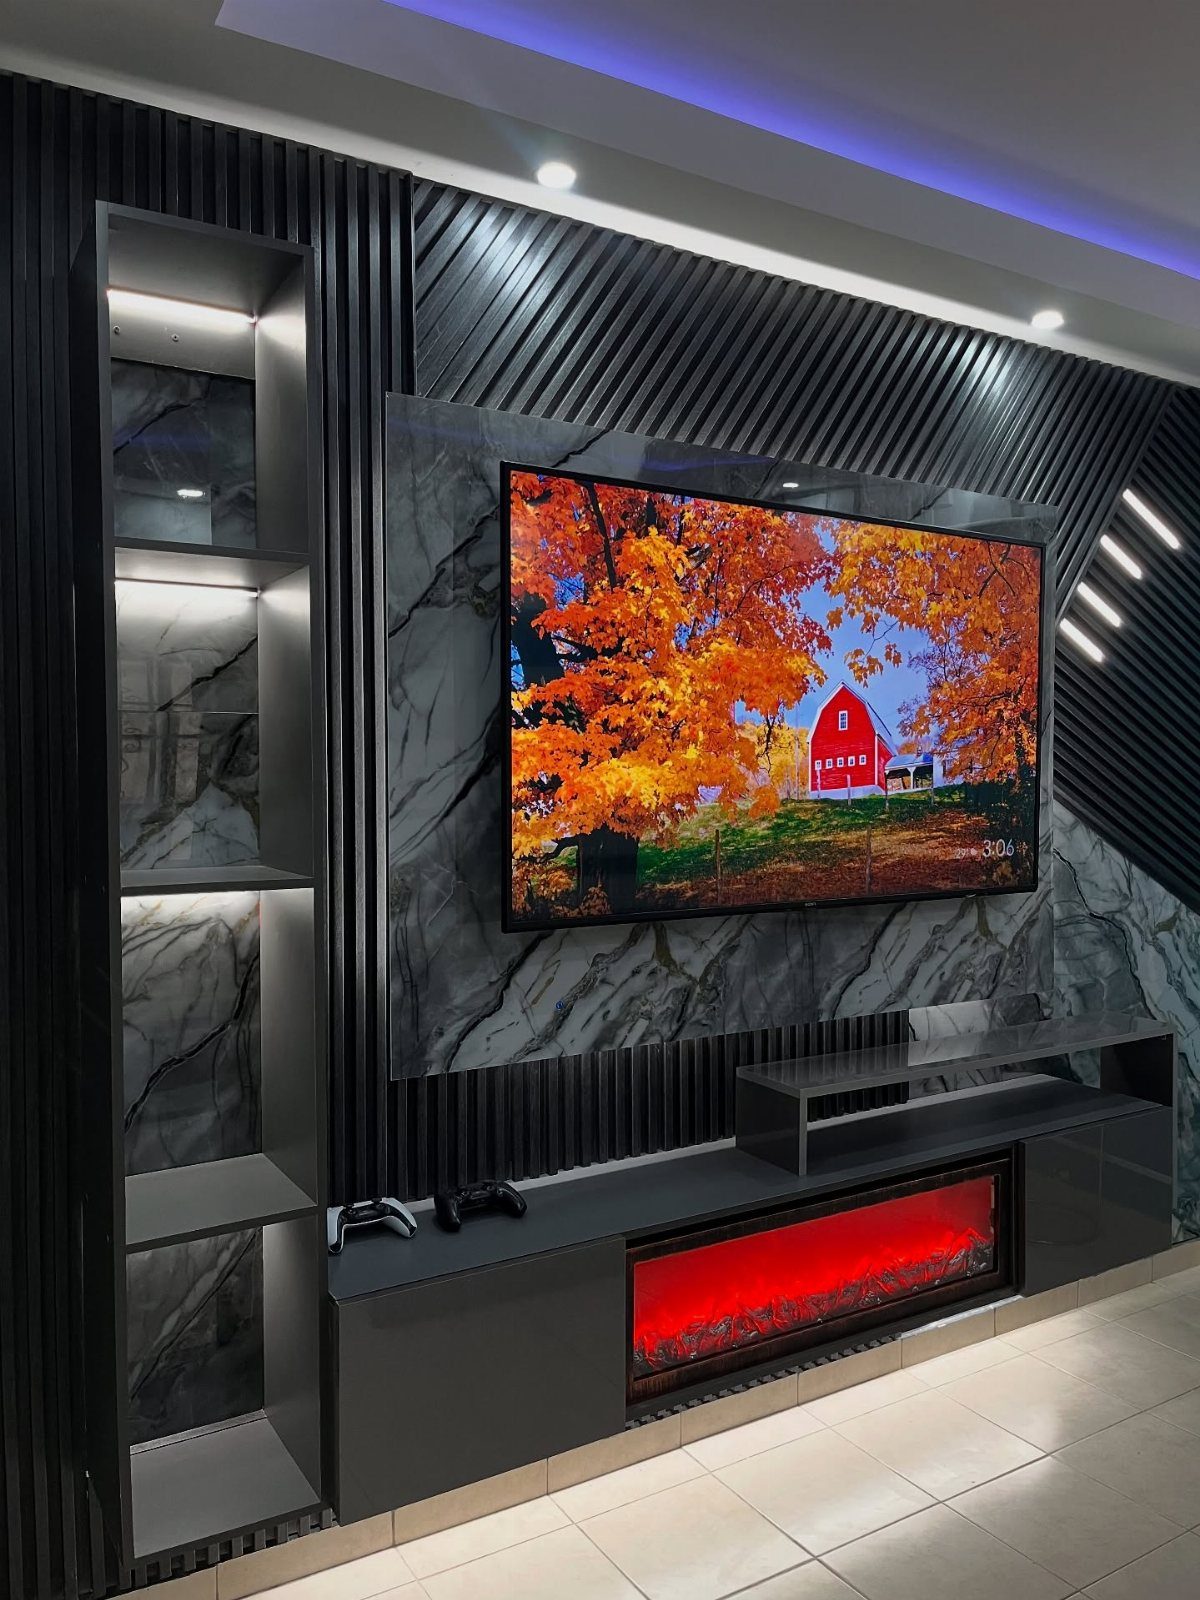
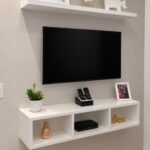
Shelves and cubbies already form little boxes, which makes an entertainment center one of the easiest places to hide a light strip.
Run a strip along the front inside edge of each shelf so the light washes down over whatever sits there.
Short strips suit narrow cubbies, and one continuous run suits a tall vertical unit.
White light keeps books and decor looking true to color, while a warmer tone feels cozier. I would pick one temperature and use it on every shelf.
3. Under-Bed Lighting
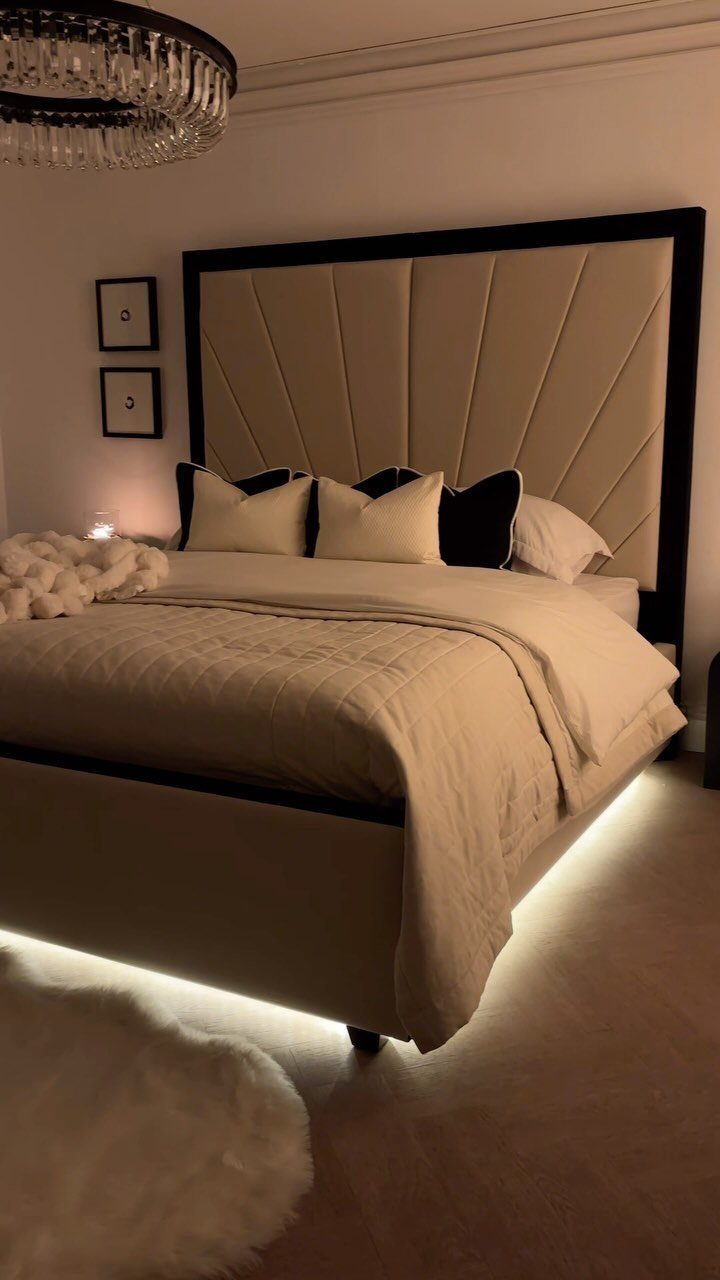
A strip under the bed frame gives a bedroom a floating look and a night light you never have to reach for.
Stick it along the underside of the rail, set back from the edge, so you see the glow on the floor and not the individual diodes.
Warm white is my pick for a bedroom, and it flatters wood flooring.
Plug it into the outlet nearest the headboard so the cord stays out of sight. This is an evening project with a tape measure and scissors.
4. Mirrors with Backlighting
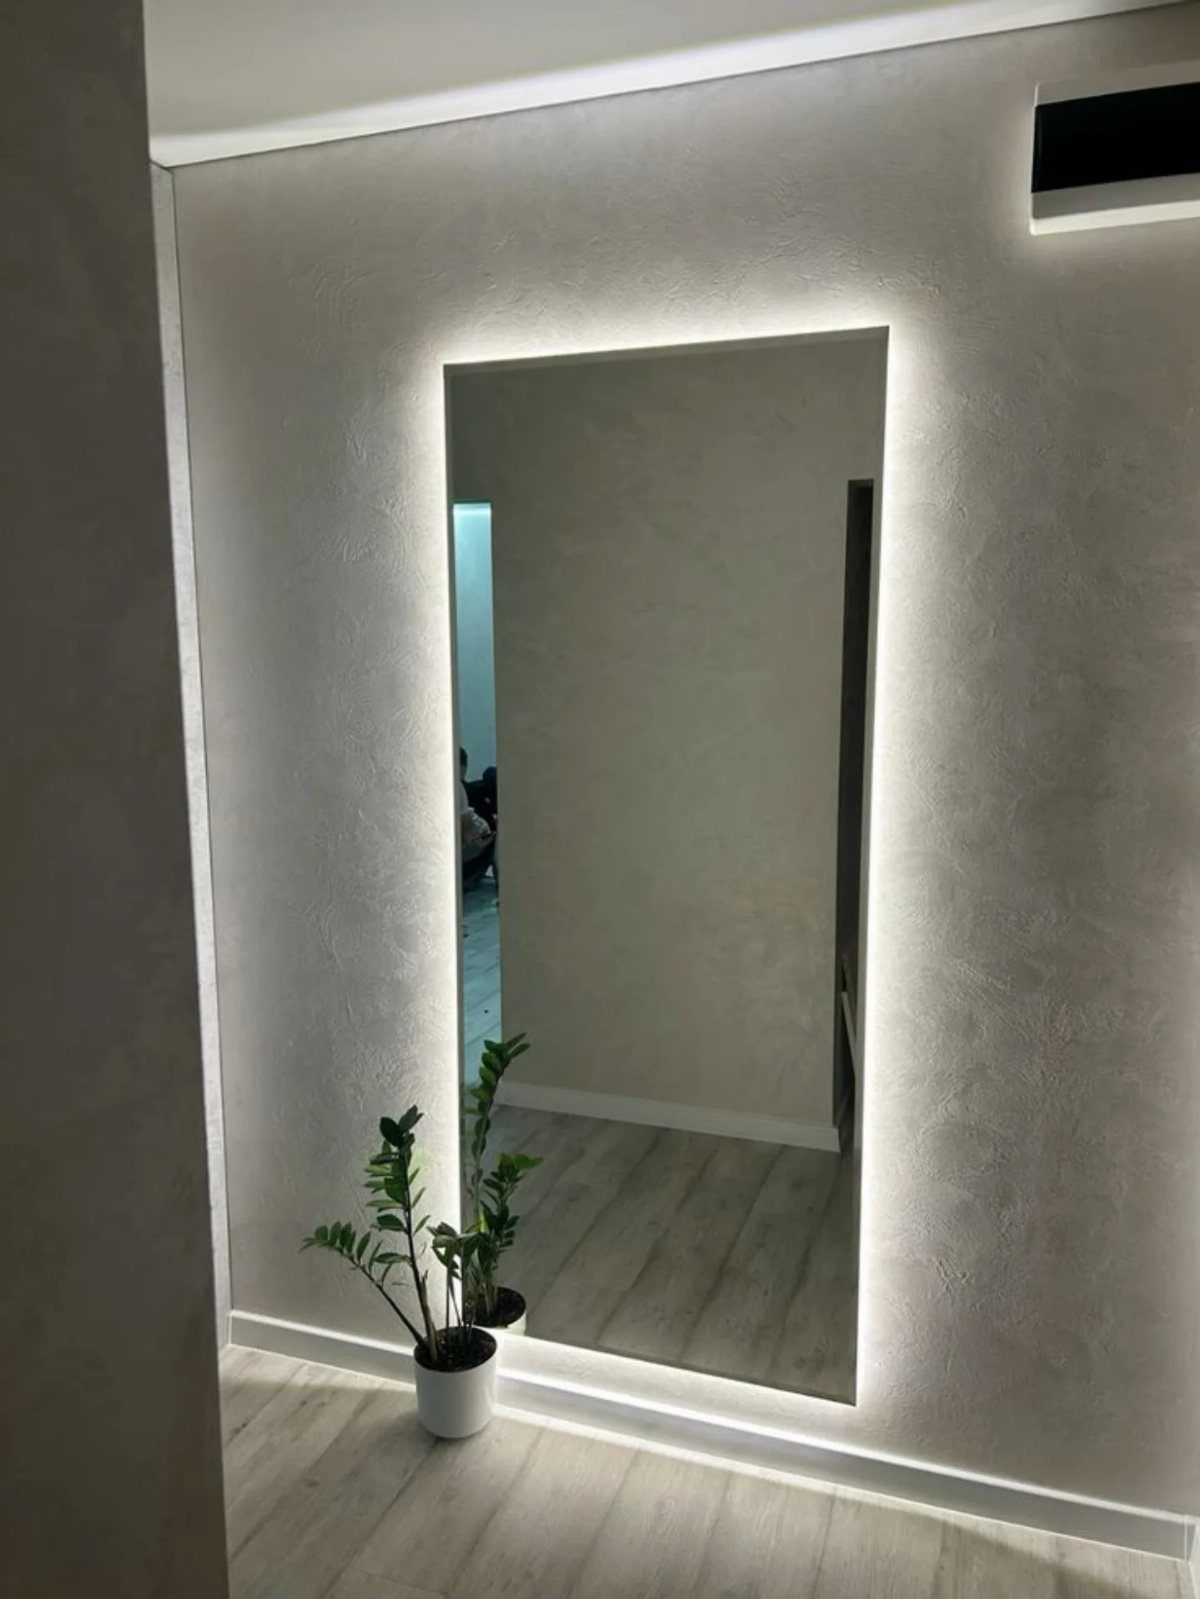
Backlighting a mirror puts a halo of light on the wall around it, and a full-length rectangle is the easiest shape to wrap.
Stick the strip around the back perimeter, facing the wall, and mount the mirror a little off the surface so the glow has room to spread.
Bright white light reads clean and modern around a mirror, and it gives the most even light for shaving or makeup. Texture on the wall catches the light nicely, so a plain painted wall will look flatter by comparison.
5. Closet Lights
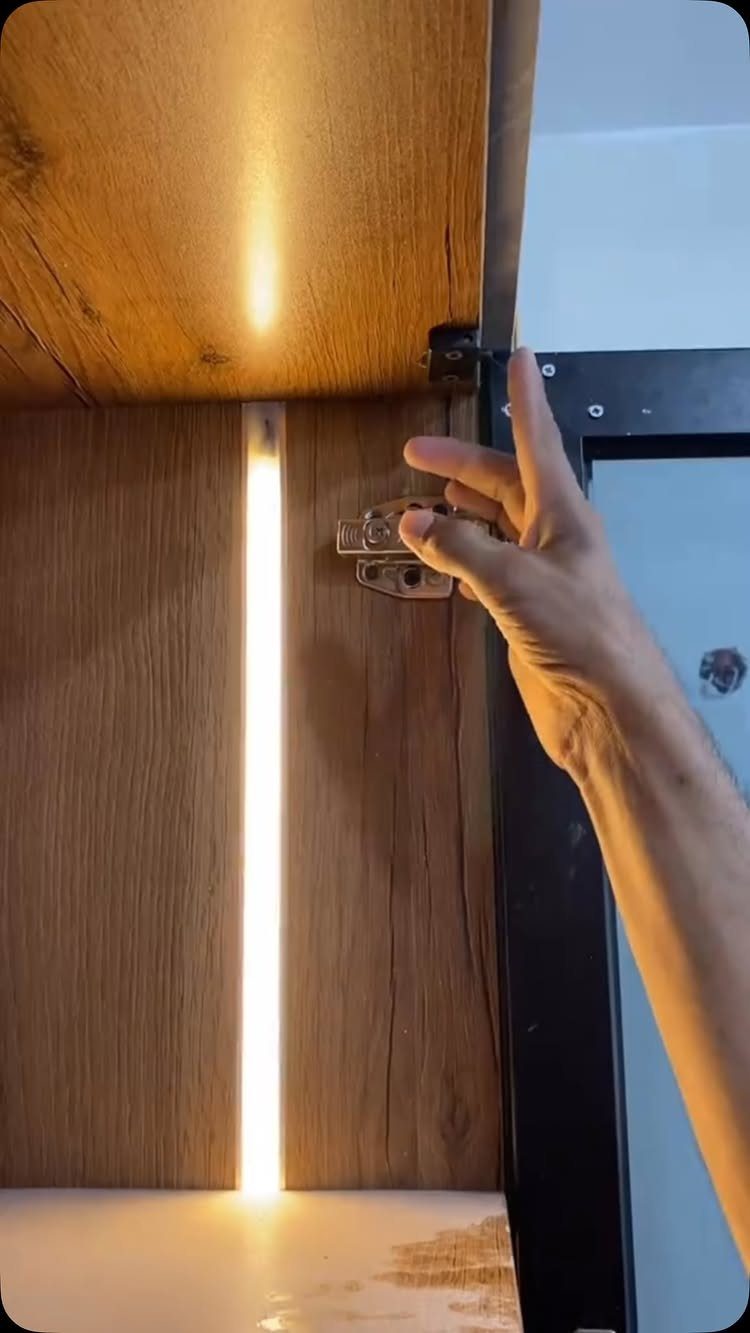
Inside a closet, one vertical strip down the door edge lights every hanger at once. Mount it where the light falls across the clothes, not behind them, and the dark back corner stops swallowing your shirts.
A wooden door like this one gives plenty of flat surface for adhesive backing. If you want hands-free, a motion sensor is an add-on worth considering, so the light comes on when the door opens.
Cheap, quick, and about as simple as an LED project gets.
6. Wooden LED Lamp
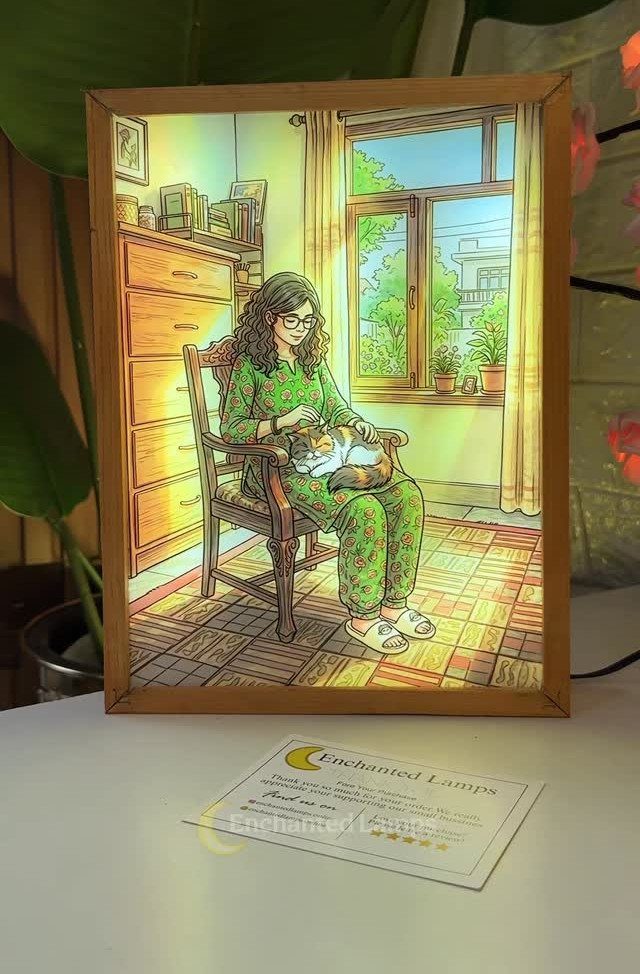
A wooden frame does a lot for a DIY lamp: it hides the strip and wiring, gives the piece some weight, and makes printed artwork look finished.
Print your illustration on translucent paper and mount it as a panel with the LEDs behind it.
Leave a couple of inches between strip and panel so the glow spreads evenly instead of showing bright stripes. Choose a wood you can cut and sand with basic tools, and make the frame deep enough for that gap.
7. Color Changing LED Lamp
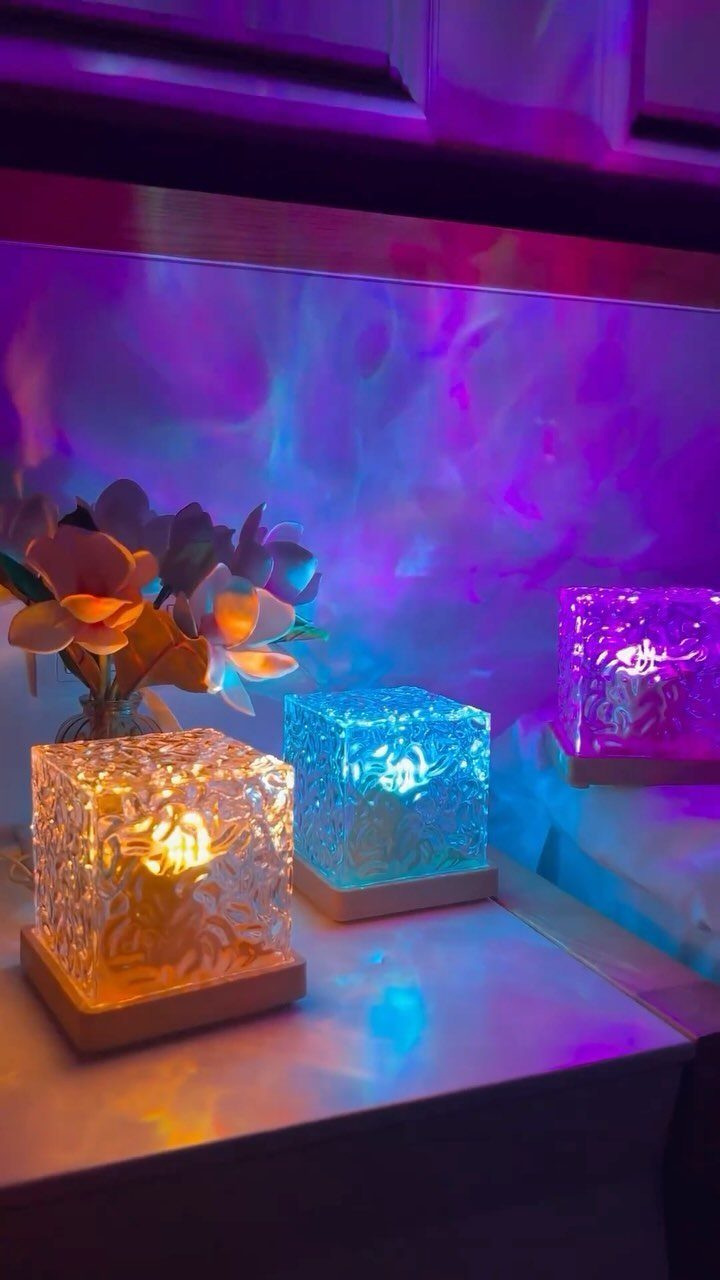
Color changing is the right call when one lamp has to serve a reading evening, a party and a night light.
A square lamp with a textured cover on a wooden base works because the cover scatters the glow, so the color looks soft instead of harsh.
I would stick to a few colors you actually like and skip the full rainbow cycle. A steady yellow, blue or purple looks better on a shelf than a constant fade.
Keep it near plants or flowers, which pick up colored light well.
8. LED Lamp with Lampshade
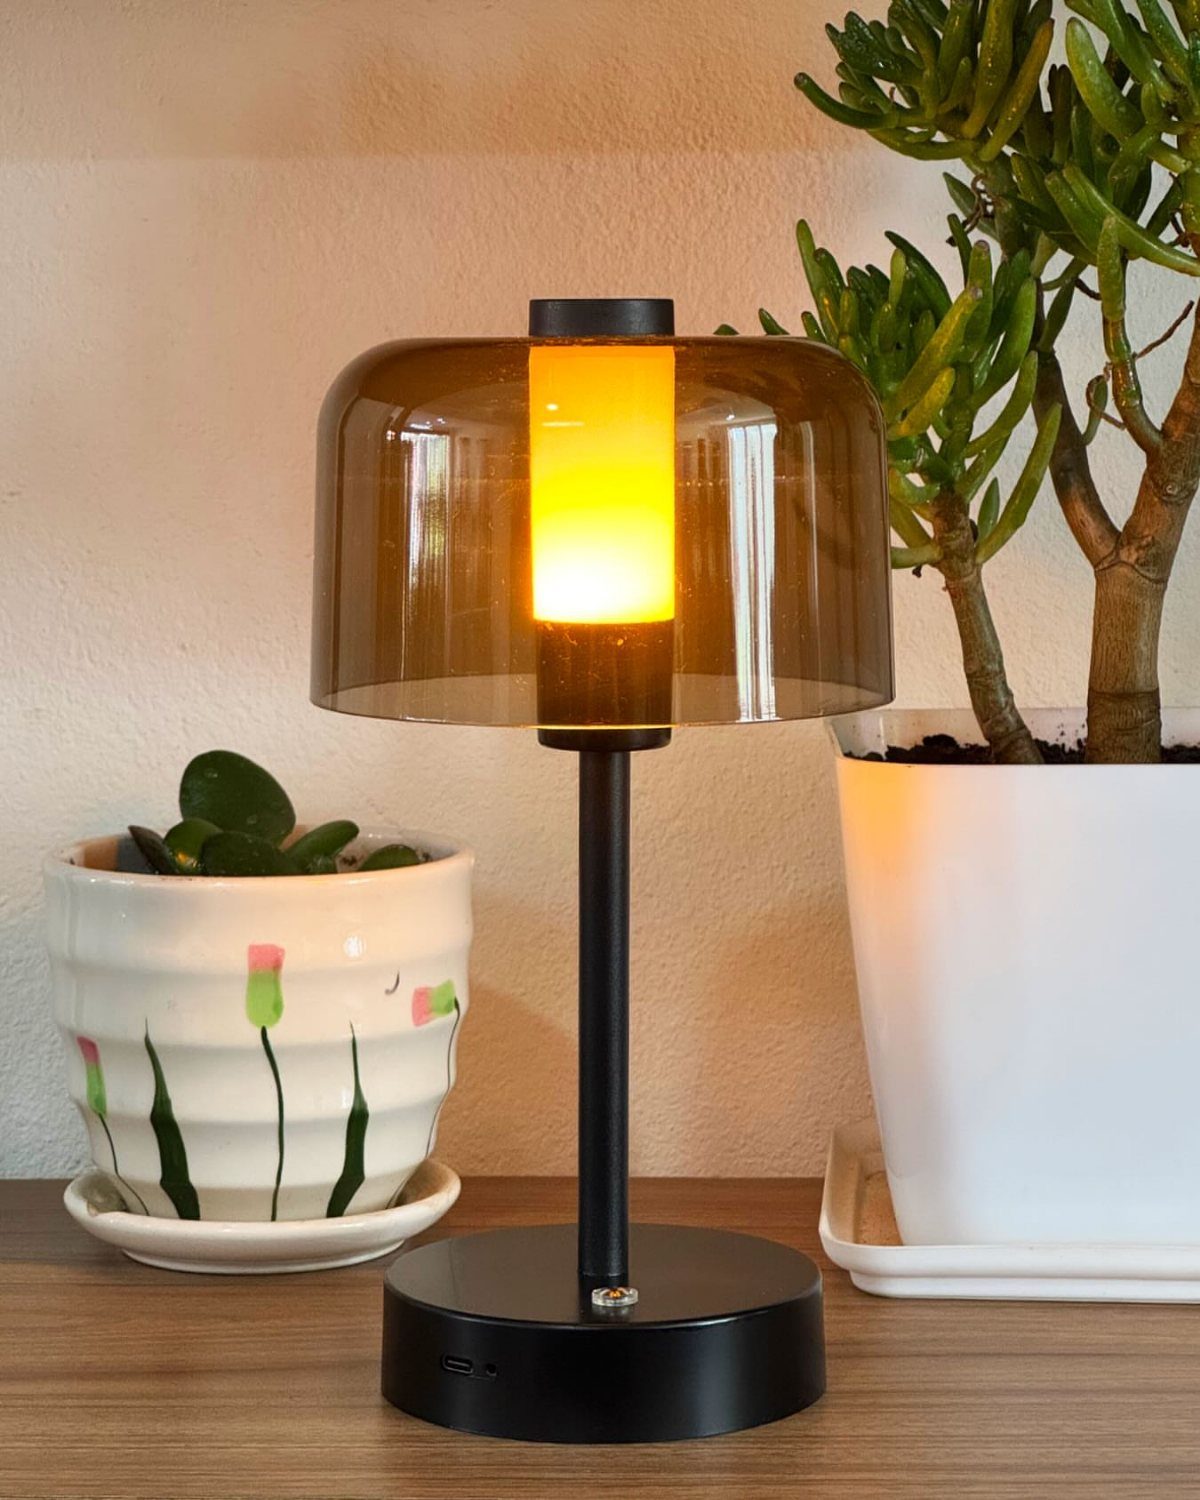
A shade turns a bare LED glare into something you can sit beside. Brown glass on the shade cuts the harshness and warms a yellow light even further.
Pick a shade that fully covers the light source, because a visible bulb or diode defeats the purpose.
Translucent glass or fabric both work; I lean toward glass when the lamp sits on a wooden surface, since the tone echoes the grain.
Warm light plus a tinted shade suits a reading corner or a plant shelf. A clear shade with cool light will look sterile by comparison.
9. Large LED Lamp
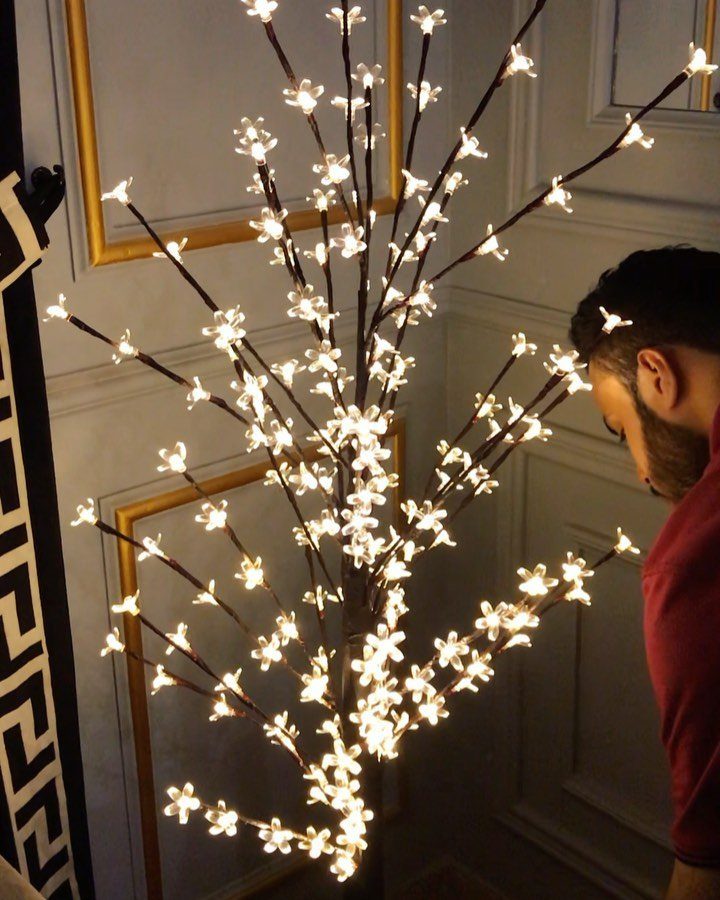
Scale does the work in a large lamp: shape it like a tree tall enough to stand next to a person, and cluster small white lights on the branches as blossoms.
At that size it works as a piece of furniture that happens to light the room.
Small white lights are the right choice for blossoms, since they read as points of light and not a flood. Plan the build around a sturdy base, because a tall branching form tips easily.
This one is a bigger project than a strip behind a TV, so give it more than a weekend evening and expect some trial and error.
10. Square LED Lamp
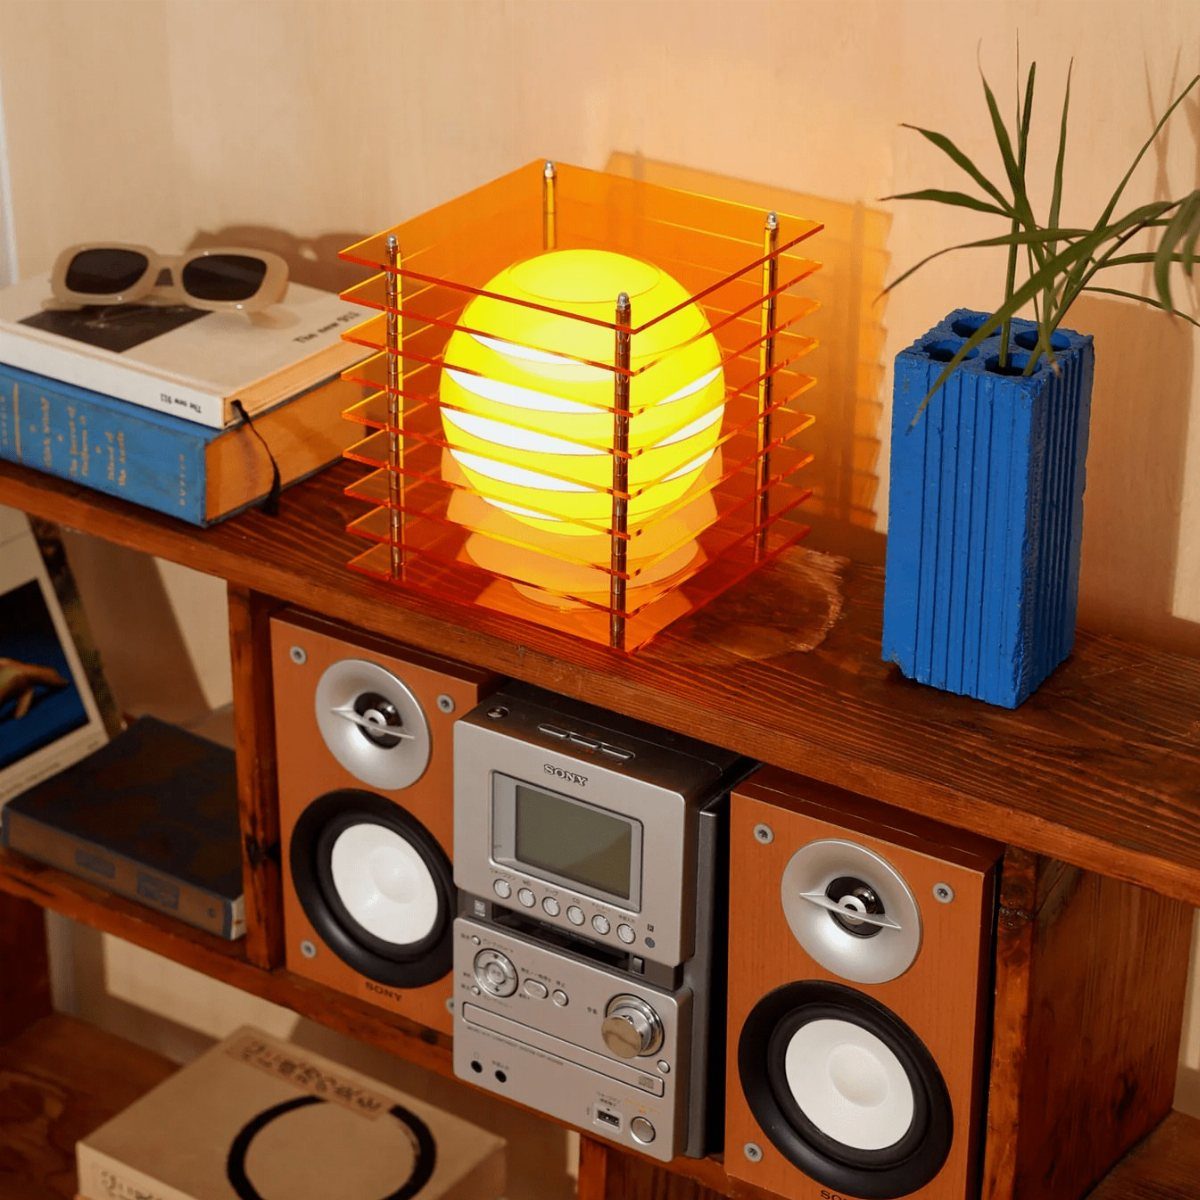
A glowing sphere set inside a square frame gives a lamp 2 shapes at once, and the contrast is what makes it interesting.
Orange acrylic around a yellow ball keeps the colors in the same warm family, so the frame glows without competing with the light.
Color acrylic is easy to cut into a square, and a flat-sided frame sits stable on a shelf. I would keep the sphere smaller than the frame so the light has a clear gap to fill.
This size suits a shelf next to books and a vase.
11. LED Sign Backlighting
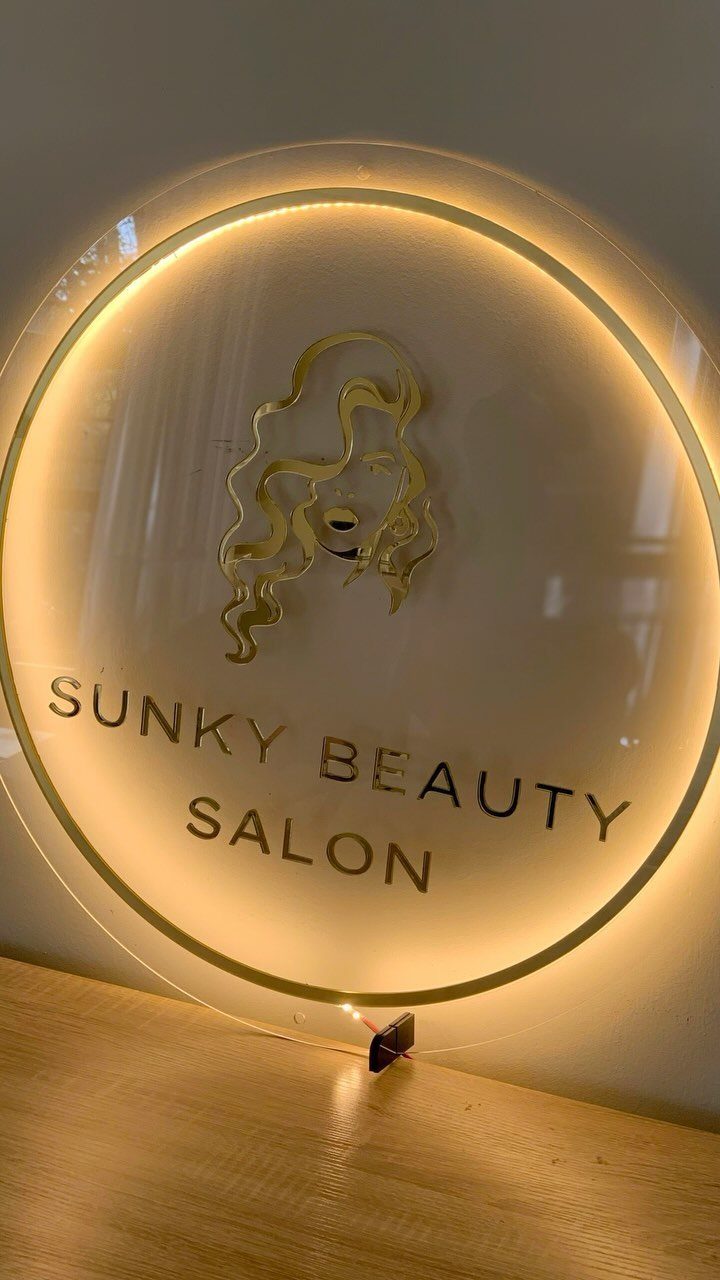
A ring of warm LEDs behind a clear acrylic disc lights the engraved or printed logo from the edge, which makes a salon sign look professional at a small budget.
A profile logo like this one reads well because the shape stays clear even when the light is soft.
Keep the LED ring hidden behind the disc so only the glow shows. Warm yellow flatters skin tones, which is why I would pick it for a beauty business.
Rest it on a wooden surface against a plain wall, and the sign becomes the only thing the eye lands on.
For replicating accurate skin tones it recorded -27.5 for R9 (red), 69.4 for R13 (closest to caucasian skin tones), and 64.7 for R15 (closest to Asian skin tones).
12. Custom Photo LED Lamp
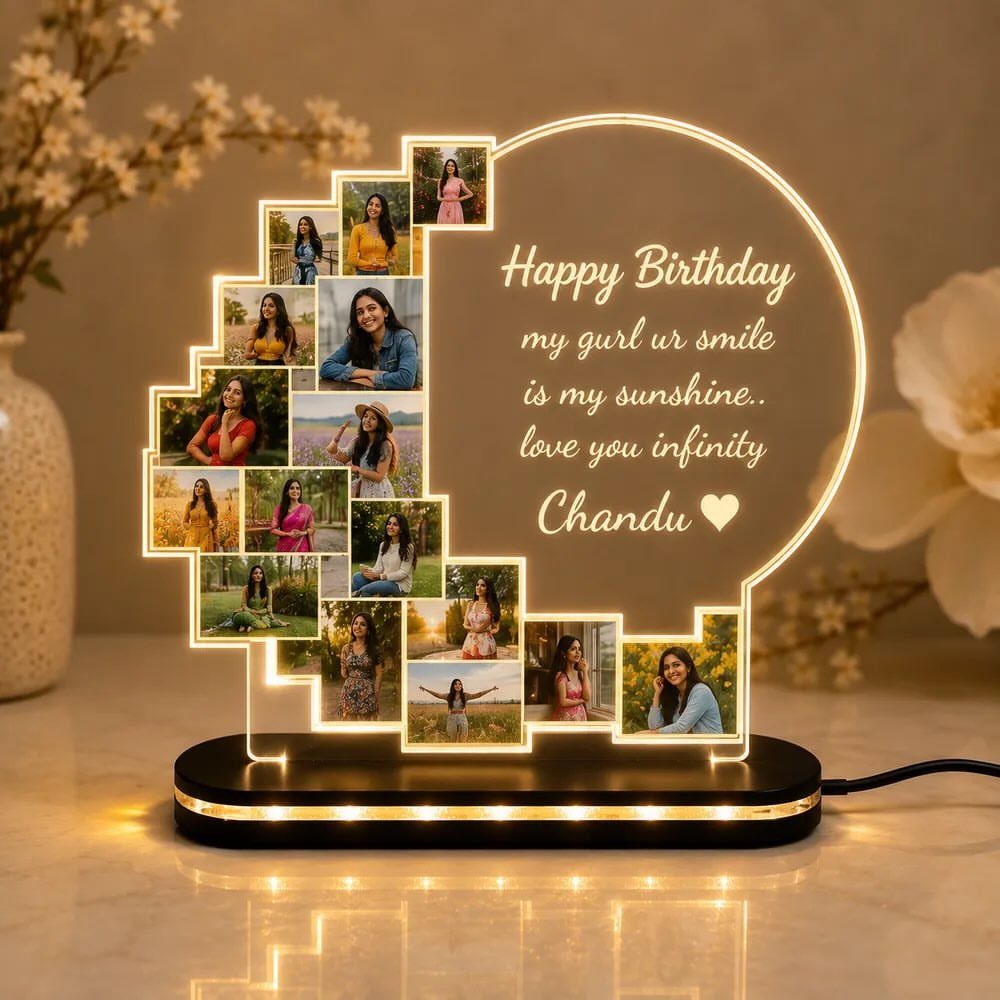
A photo collage on an acrylic plaque, dropped into a light-up circular base, makes a gift people keep out on a dresser.
The light shines through the plaque so the pictures glow, and a name or birthday message across the top finishes it.
Choose photos with good contrast and crop them tight, since faces get lost in a small collage. Print on clear material rather than paper if you want the light to pass through cleanly.
Set a photo lamp on a plain white surface and keep anything beside it small, like a vase of flowers, so attention stays on the plaque.
For a birthday, the personal touch costs little and means more than a store-bought lamp.
13. Flower-Filled Wall Lamp
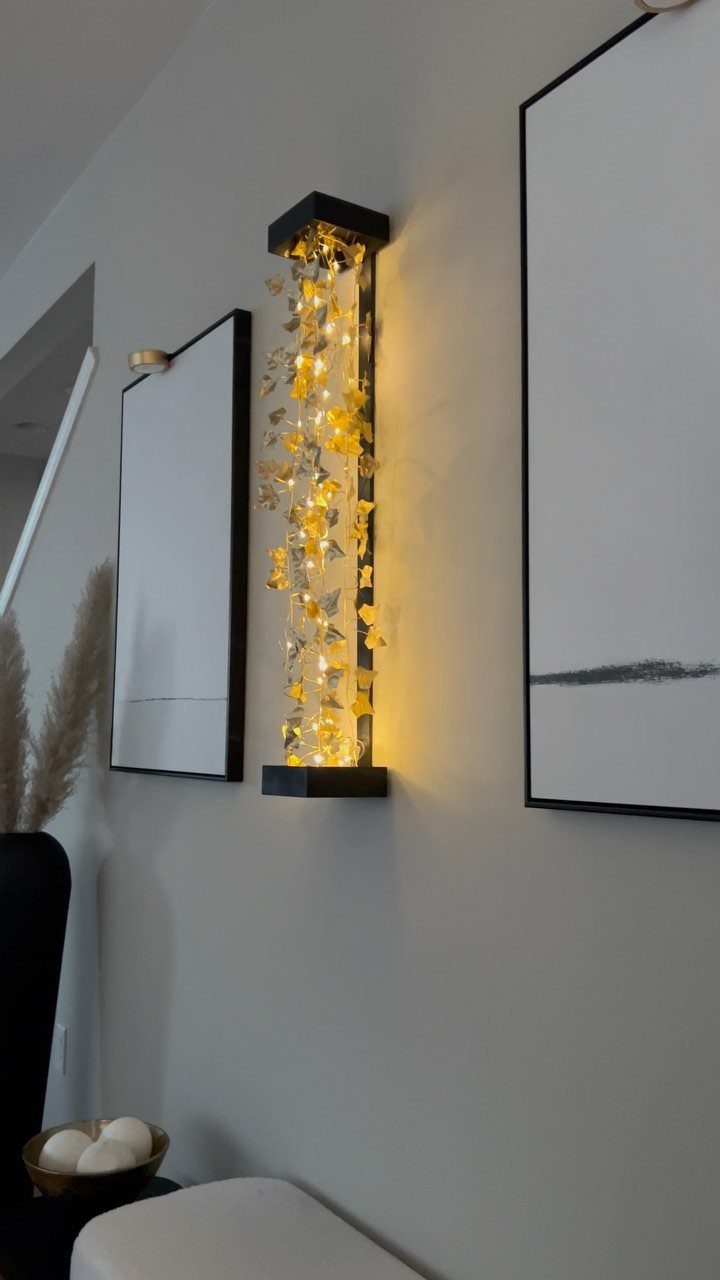
Small yellow flowers hide the wiring and soften fairy lights, which on their own can look like leftover holiday decor.
Weave the lights loosely through the blooms and leave some gaps, so the glow shows between the petals instead of getting buried.
A black frame gives the cluster a hard edge against a white wall.
Hang it at the same height as the art beside it, and the tall, narrow shape lines up with the rest of the wall. Warm white lights keep the yellow looking sunny.
14. LED Pylon Lamp
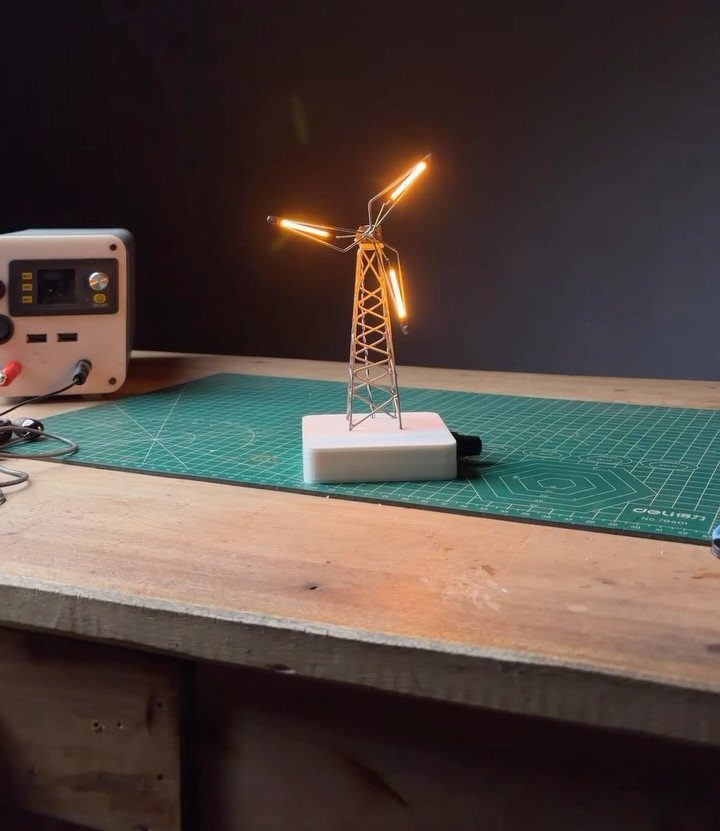
Thin orange strips bent into a pylon shape make a lamp that reads as a small sculpture even when it is switched off.
A white base keeps the glow clean, and a desk or shelf is the right place, where the shape can be seen from a few feet away.
Expect some trial and error with the bending and the joins.
Keep the power supply behind or beside the lamp so it doesn’t distract from the form. This is a bigger build than a strip behind a TV.
15. Layered Landscape Lamp
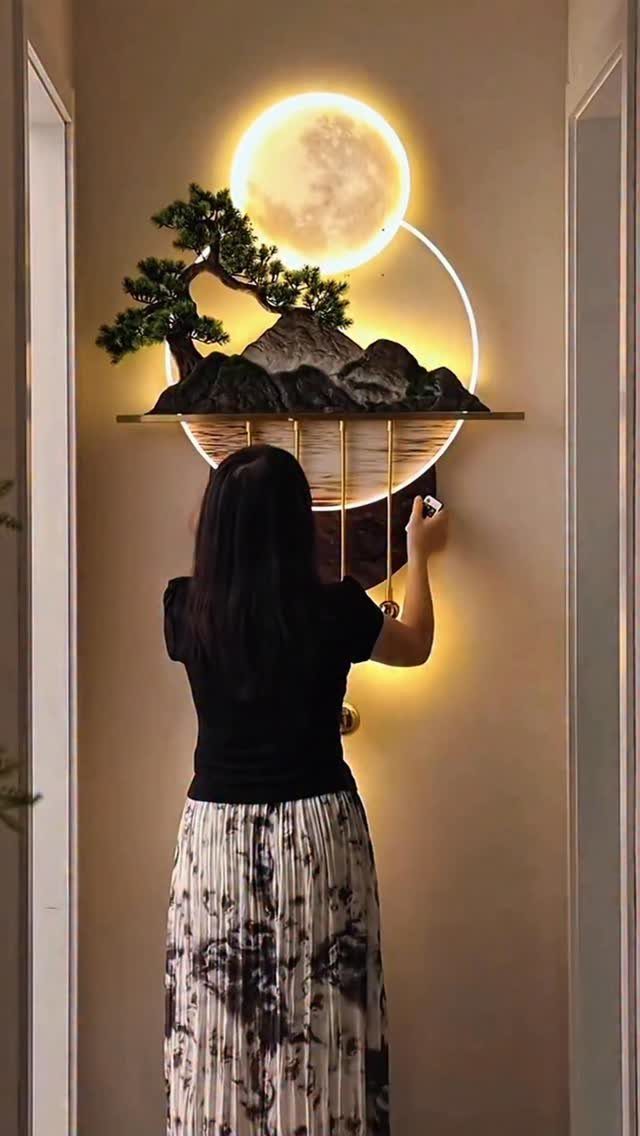
Depth is what makes a landscape lamp read as a scene. Put the moon at the back, the rocks in the middle and the bonsai in front, so each layer sits against the glow behind it.
A small shelf on a hallway wall keeps the scene at eye level, where the detail can be seen.
I would keep the scenery sparse: a moon, one tree and a few rocks. Extra pieces crowd the silhouette.
16. Jellyfish LED Lamp
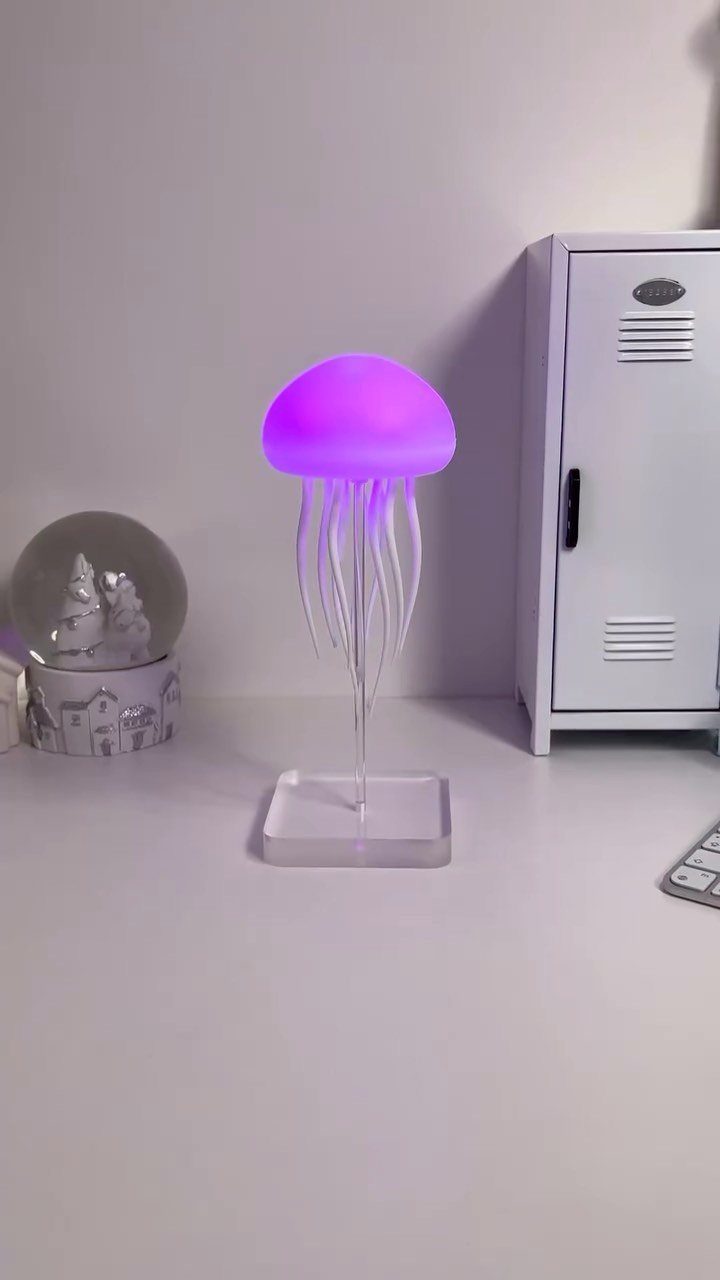
Purple suits a jellyfish better than plain white would, because the color feels deep and underwater. I would stick to that one color and skip any cycling through shades.
A small square base keeps the lamp steady and leaves the whole body of the jellyfish for the glow.
A desk is the right scale for it. Keep the objects around it small so the lamp stays the focal point.
17. Backlit Tile Art
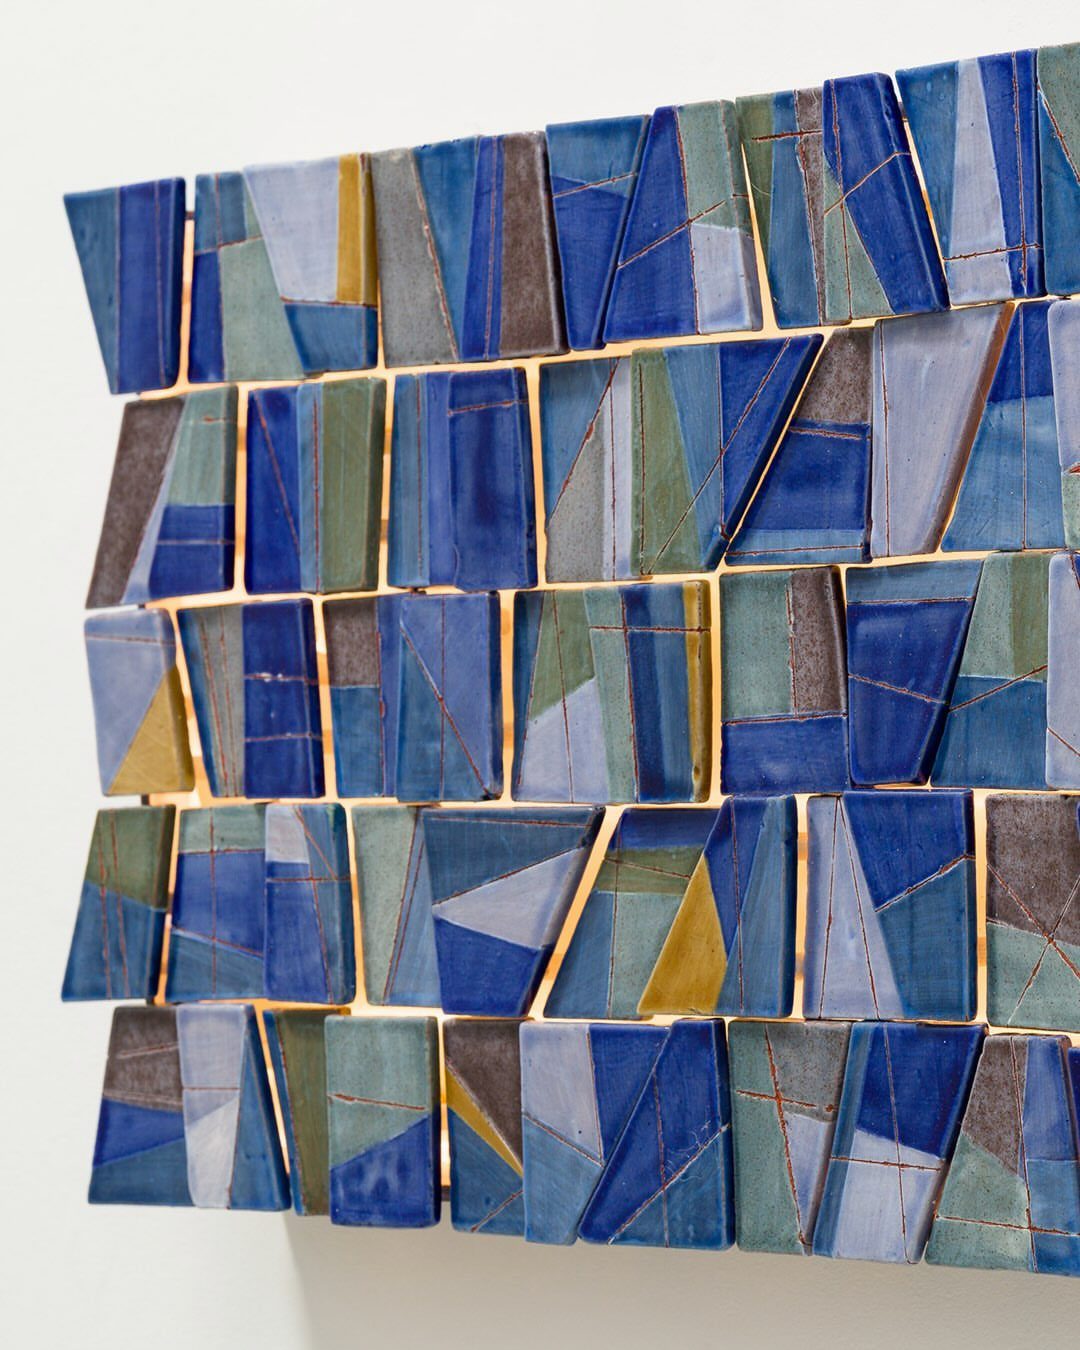
Glazed tiles catch light along their edges, so a warm glow from behind makes each one look outlined.
Mount the tiles with a small gap off the wall, and the light spreads around them instead of hitting the back of a single tile.
Mixing blues and greys in different sizes and finishes gives the wall more interest than a uniform grid. Warm light against cool glaze is the contrast I would choose here, since it keeps the cool colors from feeling cold.
18. LED Strip Wall Accents
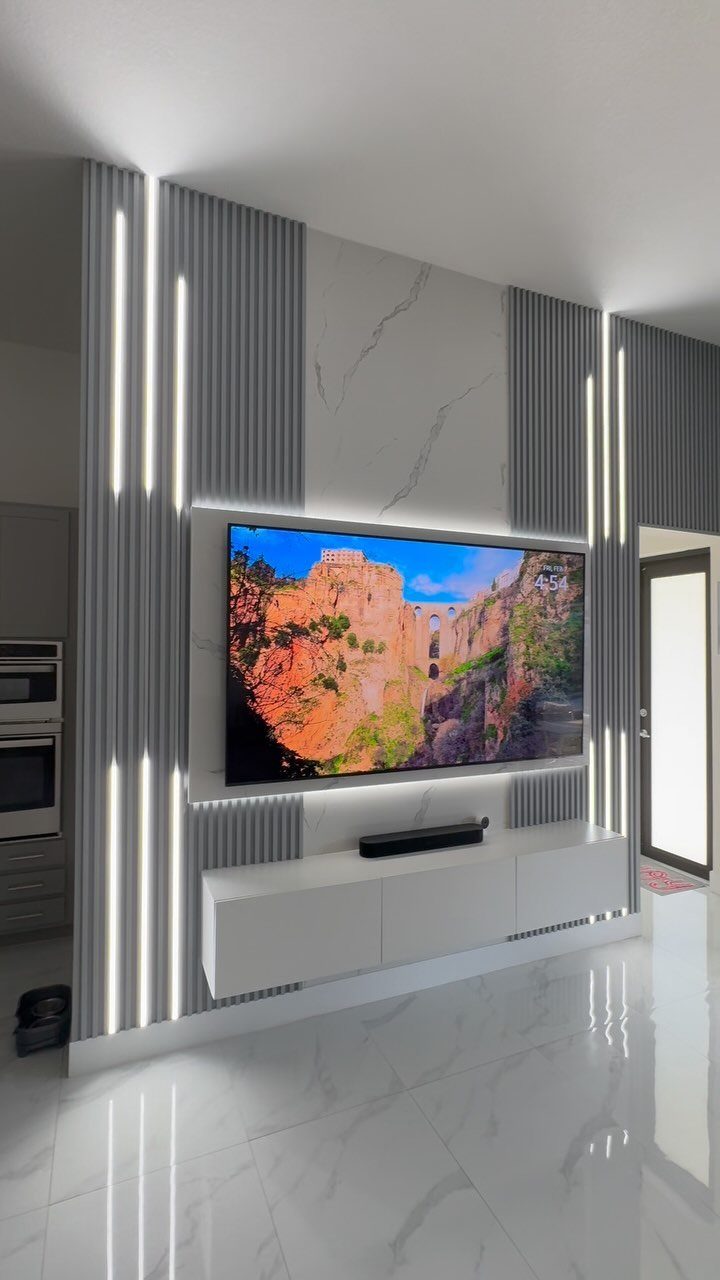
Slatted wall panels already have gaps, so a vertical LED strip can sit in one without extra framing. Recessing the strip deep in the channel hides the individual dots, so the light washes across the slats as one soft line.
Run each strip the full height of the panel.
Paired vertical lines beside a TV pull the eye upward and make the wall look taller, and unlike a strip behind the set, they stay lit as part of the wall itself.
19. Patina Copper Pendant
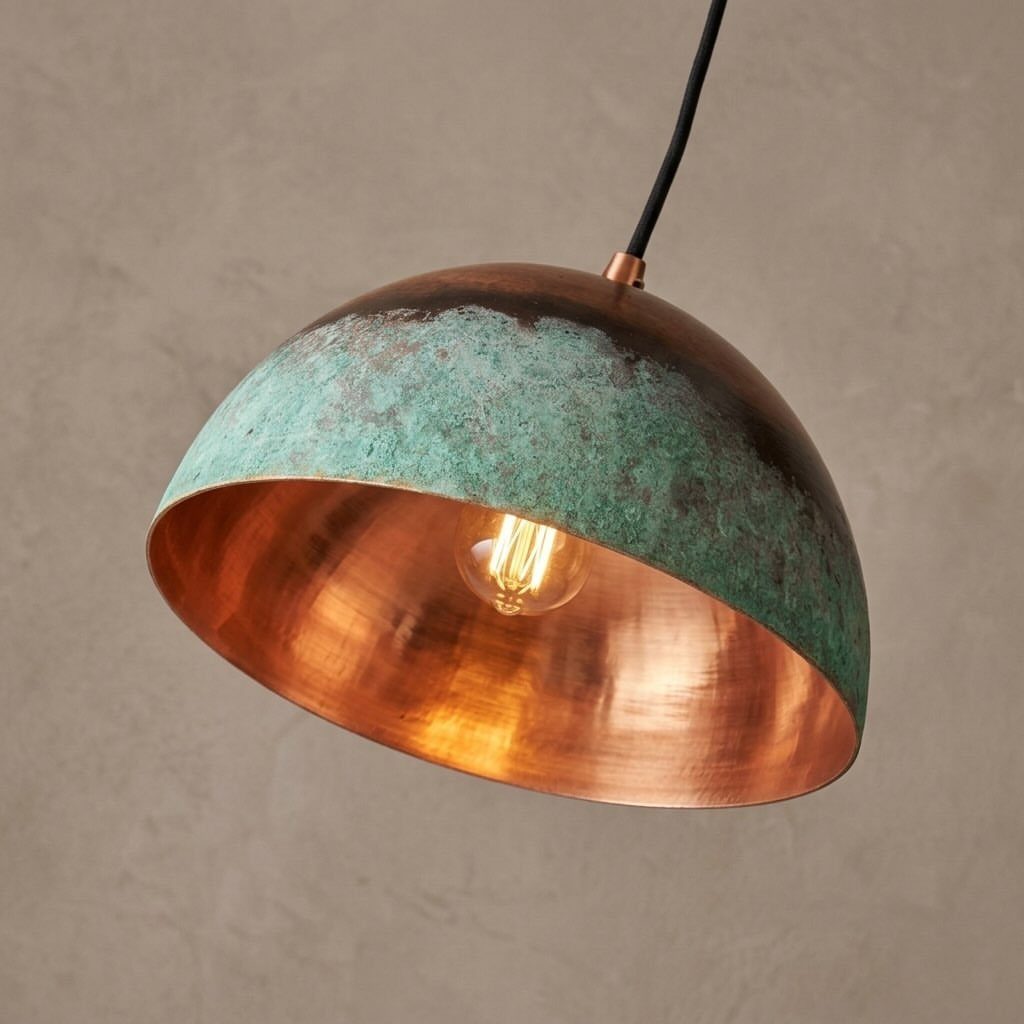
Green outside, glowing copper inside: that contrast is what the dome is built on. The patina gives the outer surface an aged look, and the polished interior keeps the bulb’s light warm.
I would use a warm white bulb so the copper stays golden.
Hang it against a plain wall like this beige one so nothing competes with the shape. One pendant is enough.
20. Flower Glass Pendants
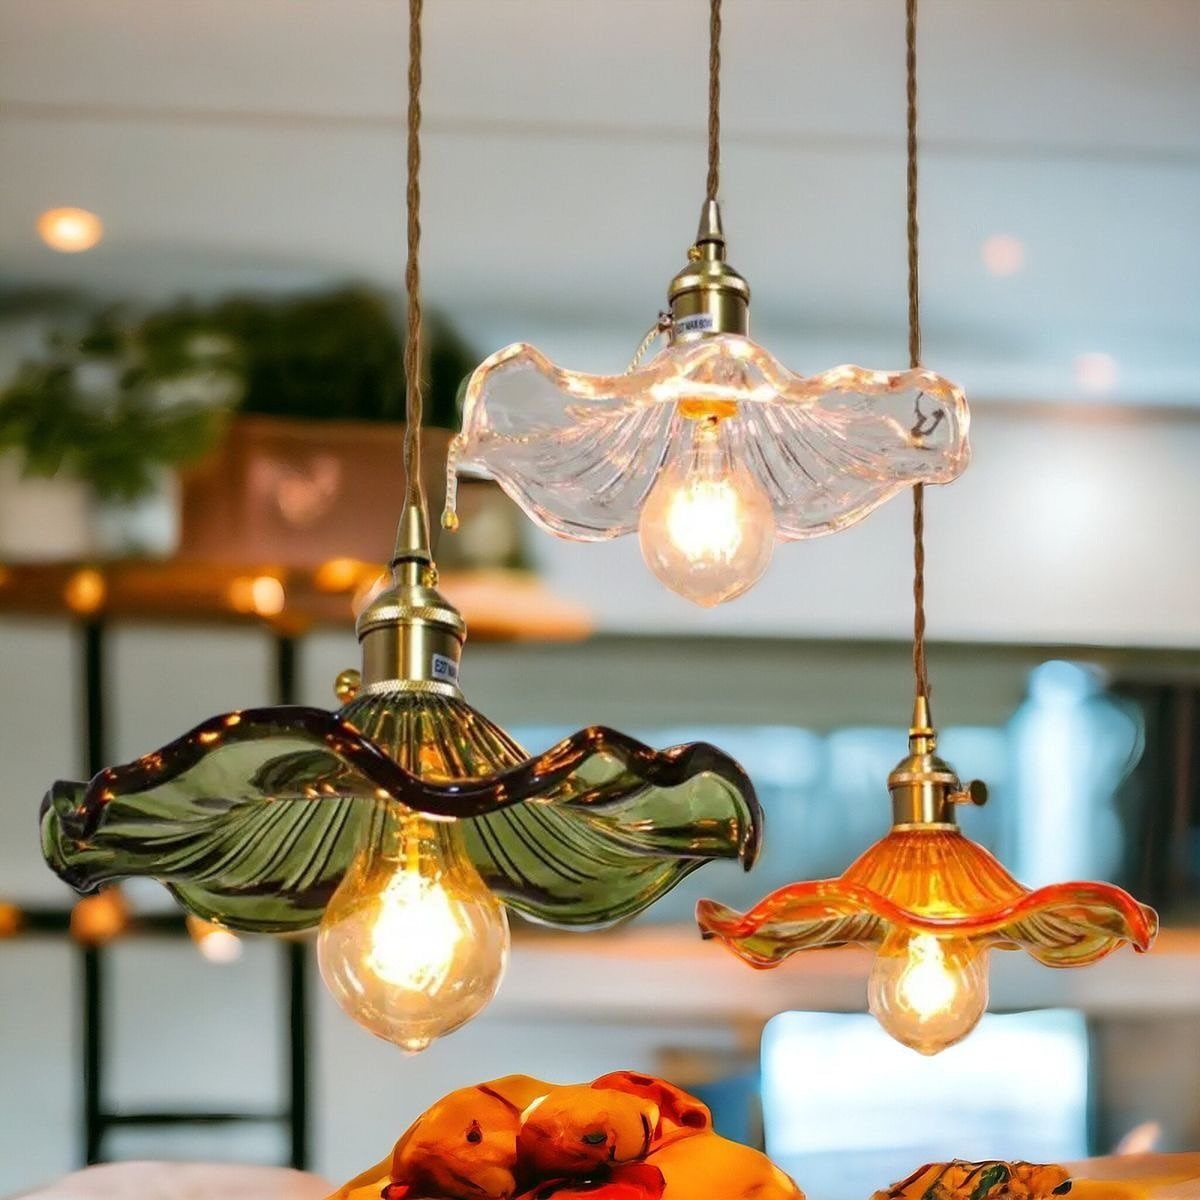
Repeating one flower shape in three colors makes green, clear and orange read as a set instead of a random mix. Put the same warm bulb in all three so the glass does the talking.
The clear shade shows the bulb itself, so choose a bulb you like looking at. Over a dining table or kitchen counter, a trio like this works as a row.
21. Pleated Paper Lamp
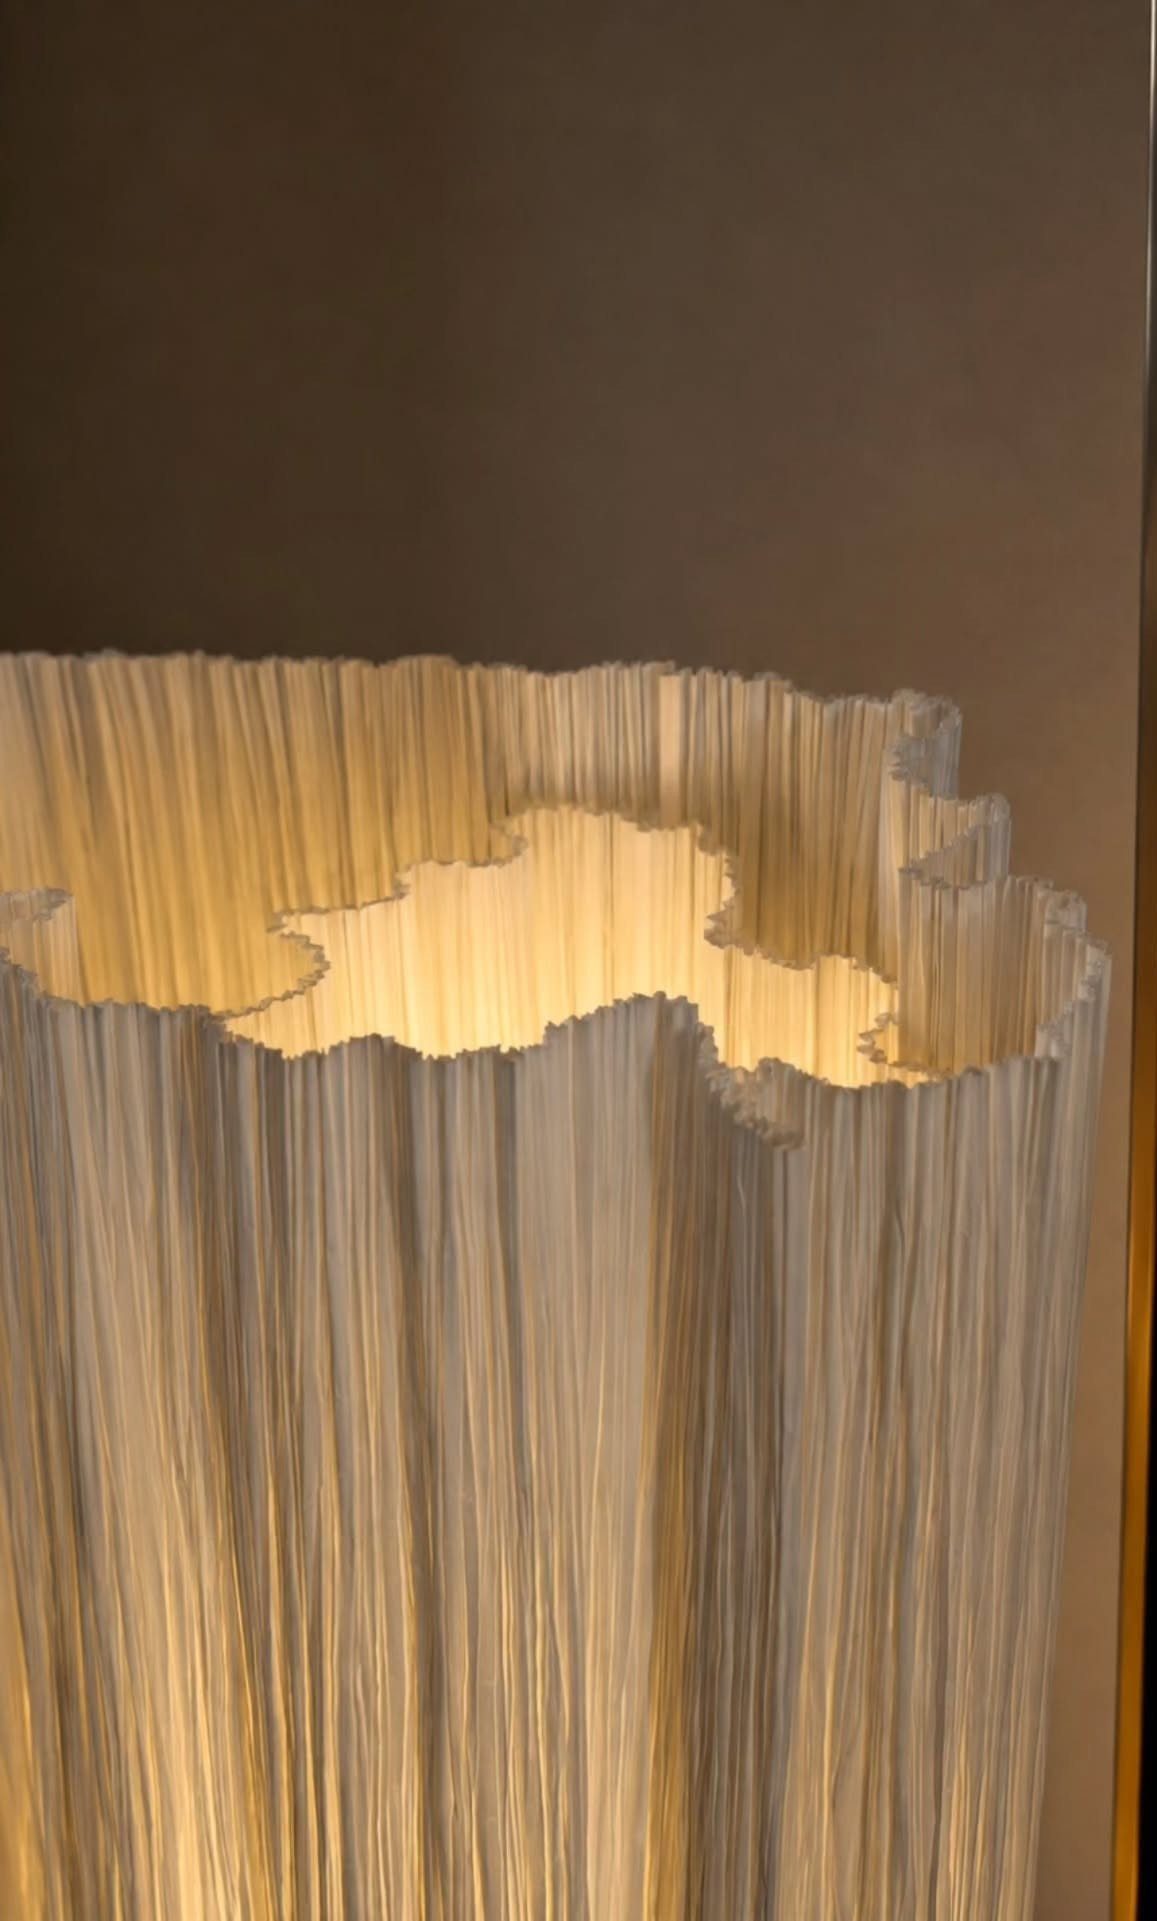
Pleats do what flat paper can’t: each fold catches shadow, so a warm yellow glow looks layered instead of flat. Keep the folds crisp and the widths even, because any uneven pleat shows the moment the light goes on.
White paper lets the light color come through unchanged, which is why I would keep the shade plain. Put it against a neutral wall and the glow is the only decoration it needs.
22. Cloud Rain Lamp
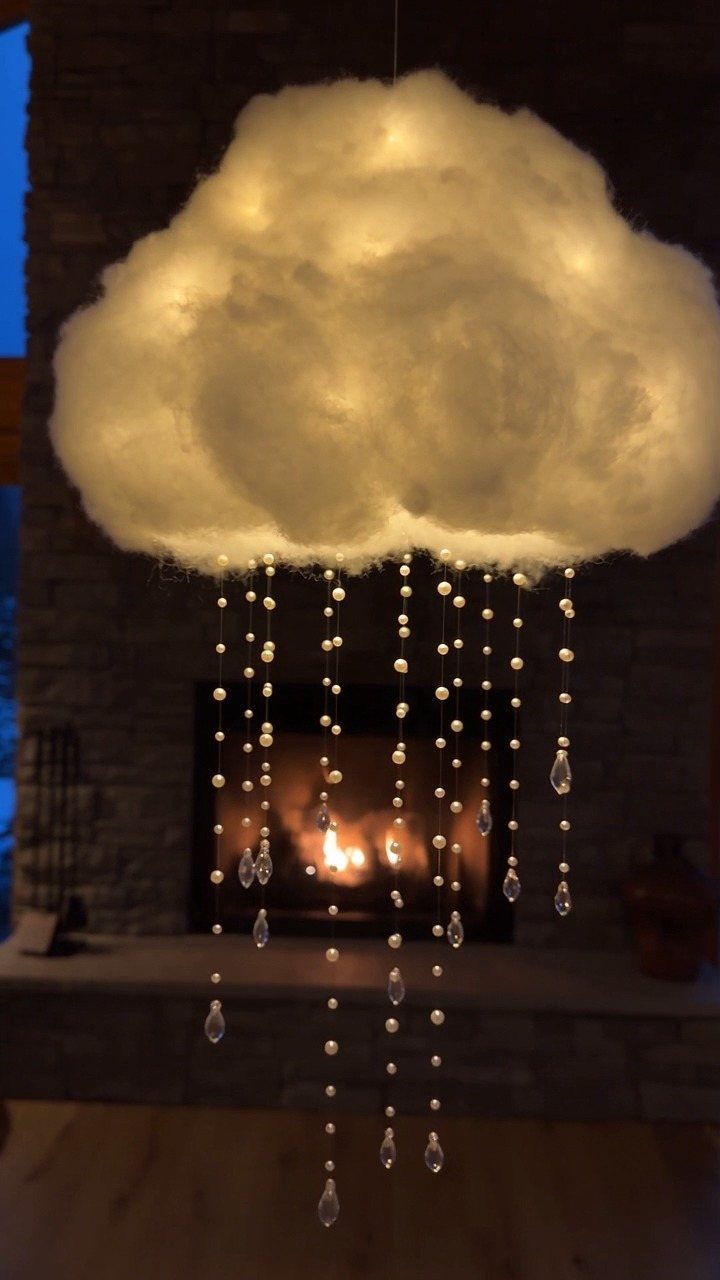
Crystal strands are what turn a glowing cloud into rain. Cut them at different lengths so the drops look natural instead of hanging like a curtain.
I would keep the cloud itself warm white and let the crystals scatter the light. A spot beside a fireplace works because the 2 warm glows agree, but any quiet corner where the lamp can hang clear will do.
23. Glowing Can Lamps
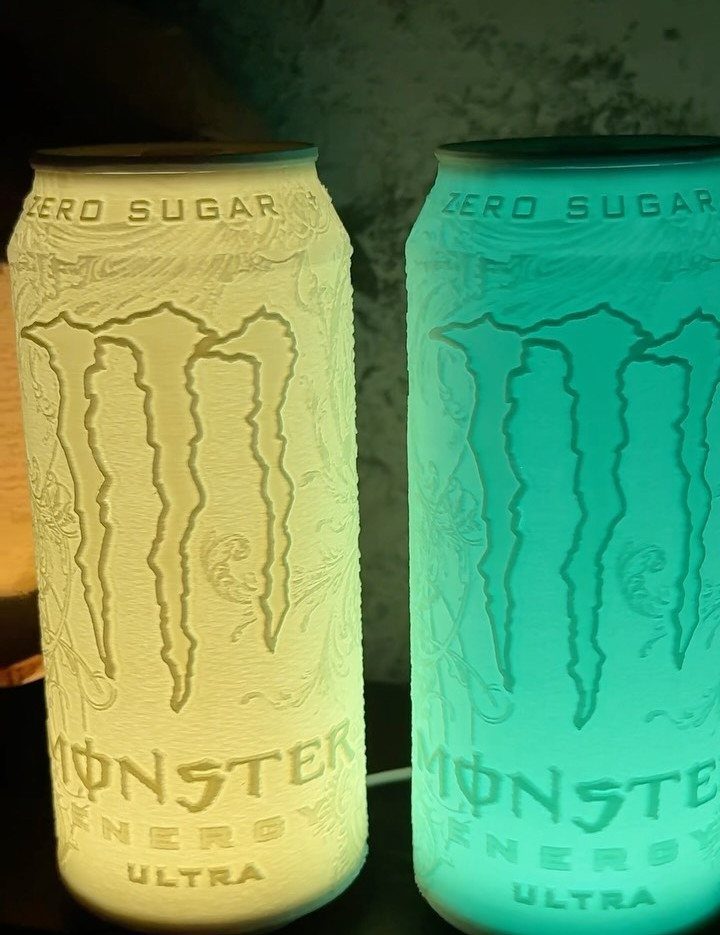
Empty cans are nearly free material, which makes this one of the cheapest lamps on the list. Pick two contrasting light colors, like the yellow and teal here, so the pair looks planned.
Rinse the cans thoroughly before building. A dark shelf or desk shows the glow best, and the printed graphics on the can give you a design without any painting.
24. Tree Silhouette Wall Lamp
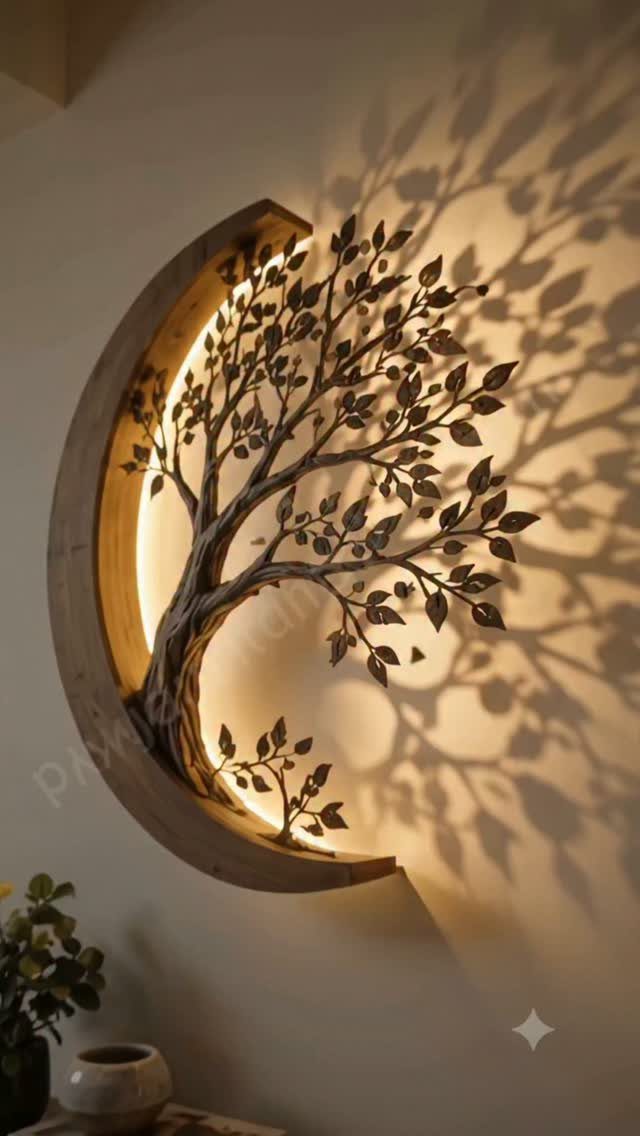
A plain wall matters as much as the lamp here, because the shadows are half the effect. Choose a silhouette with fine branches, since thin detail casts the most interesting shadow.
The crescent wood frame holds the light behind the metal, so the tree stays dark against the glow. I like a small plant nearby, which echoes the tree without crowding the wall.
25. Miniature Village Lamp
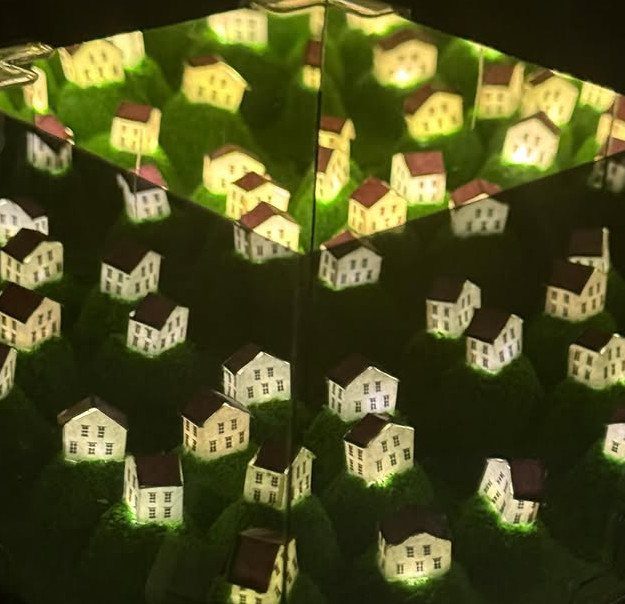
Mirrored walls double a handful of tiny houses into what looks like a whole hillside town.
That reflection is why a small box with only a few houses still feels full, so I would not add more than the box can hold.
Put the light inside each house and keep it warm, so the windows glow against the green mounds. Hide the wiring behind the hills.
A shelf at eye level suits this lamp, since the detail is small and needs to be seen up close.
26. Perforated Cardboard Lamp
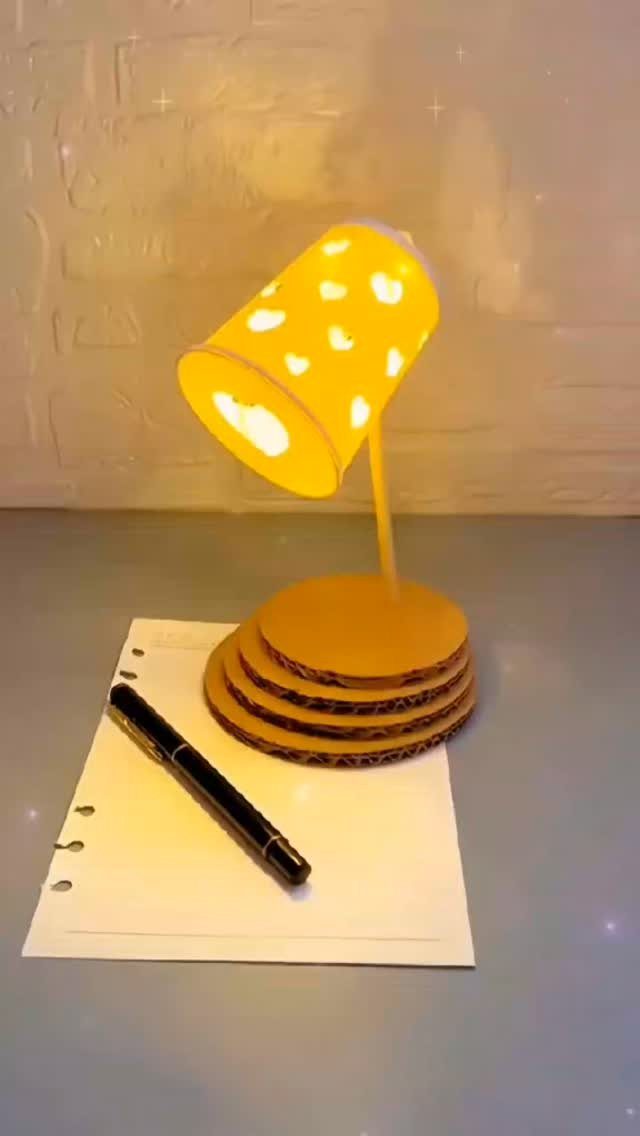
Stacking cardboard circles into a base is the cheapest part of this lamp, and the layered edges give it a texture a plain block would lack. Cut every circle the same size so the stack stays straight.
A perforated shade scatters the light as dots, which is why I would pick yellow here: the holes glow like small suns. Space the holes evenly, because clustered ones show as a bright patch.
On a desk next to a notebook, it works as a task lamp with some character.
27. Oval Shade Table Lamp
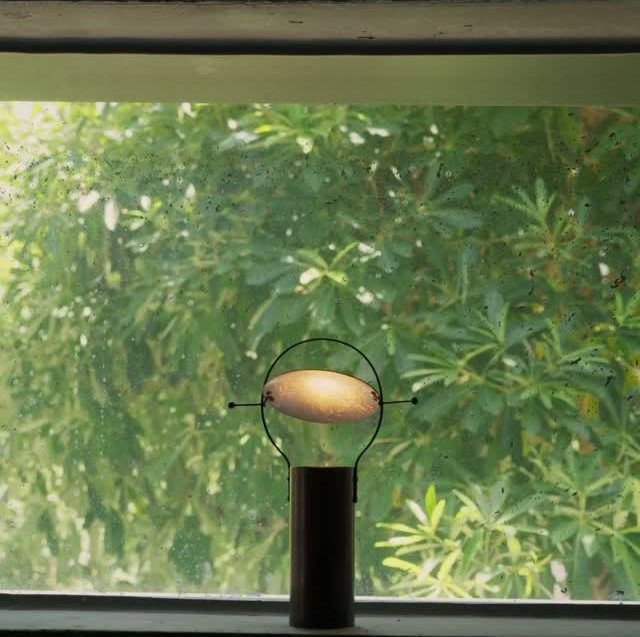
A thin black frame holding a white oval shade gives this lamp a lighter look than a solid drum. Keep the shade evenly stretched, since wrinkles show the moment the light comes on.
The dark cylindrical base balances the shade and keeps the lamp from tipping.
A white oval shade does its best work with a warm white LED, around 2700K, tucked fully inside so the shade shows soft glow and never a bright dot.
A windowsill is a good spot, though this lamp looks just as good on a bedside table.
Frequently Asked Questions
What are the main advantages of making your own LED lamp?
You pick the shape, size, and light color, so the lamp fits your room instead of whatever a store happens to stock.
The materials can also cost almost nothing: empty cans, stacked cardboard circles, and a basic wood frame all make good lamp bodies.
Scale is wide open here: one build might be a small pleated paper shade on a nightstand, another a floor-standing LED tree that rises as high as a grown adult.
What are some design ideas for making an LED lamp?
A wooden frame with a translucent paper panel in front of the LEDs is one of the simplest, and it hides the wiring too.
Colored acrylic around a glowing ball, a glass or fabric shade over a warm light, and a pleated paper shade are other good options.
Even recycled cans work, with their printed graphics serving as the design. Wood, metal, glass, and repurposed objects all make workable bodies.
What basic parts do I need to make an LED lamp?
You need a light source such as an LED strip, ring, or small string of lights, plus a power source: a plug-in cord and power supply, or batteries.
Add a body to hold it all, like a wood frame or base, and basic wiring to connect everything. A shade, panel, or cover is worth adding, since it hides the individual diodes and spreads the glow.
How can I make a homemade LED lamp look professional?
Hide the light source: use a shade, panel, or cover so no bare bulb or diode shows, and tuck wiring and the power supply behind the frame.
Spacing does most of the work, so hold the strip 2–3 inches back from a paper or acrylic panel; that distance blurs the individual LEDs into one even glow instead of visible bright bands.
A taut, flat shade and pleats folded to the same width matter more than any fancy part, since creases and uneven folds jump out the second the bulb or strip turns on.
Using one light color or temperature throughout also keeps the lamp looking planned.