
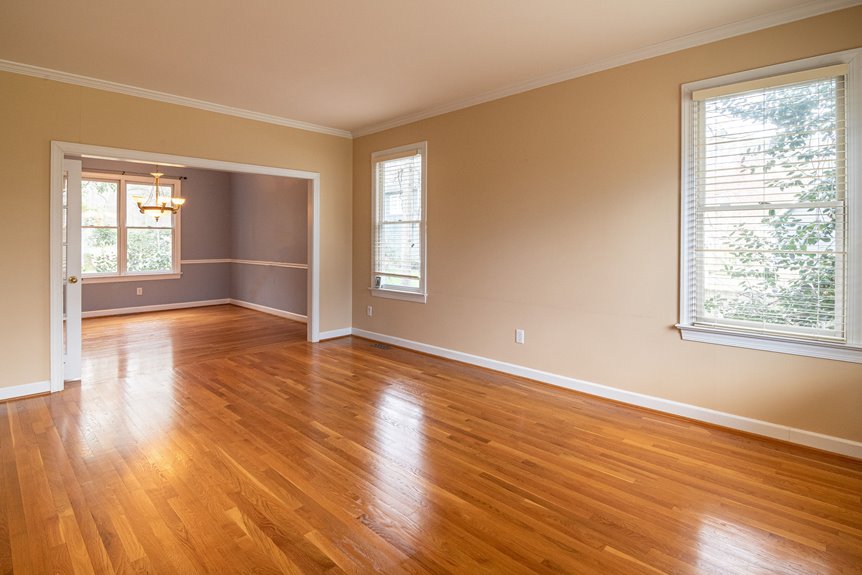
I stain hardwood floors by sanding bare wood from coarse to fine grit, vacuuming thoroughly, then dragging a pigment-soaked rag with the grain in tight sections, such as 3-foot squares rather than marathon strokes. Maple requires extra attention due to blotchy absorption, so I test hidden corners first, and I always wipe excess before it pools into sticky residue. After the rich, chocolatey color sets into the grain, I seal with thin polyurethane coats, then wait while drying occurs. The process delivers floors that become a focal point in any room.
Decide Whether to Stain or Use a Clear Finish
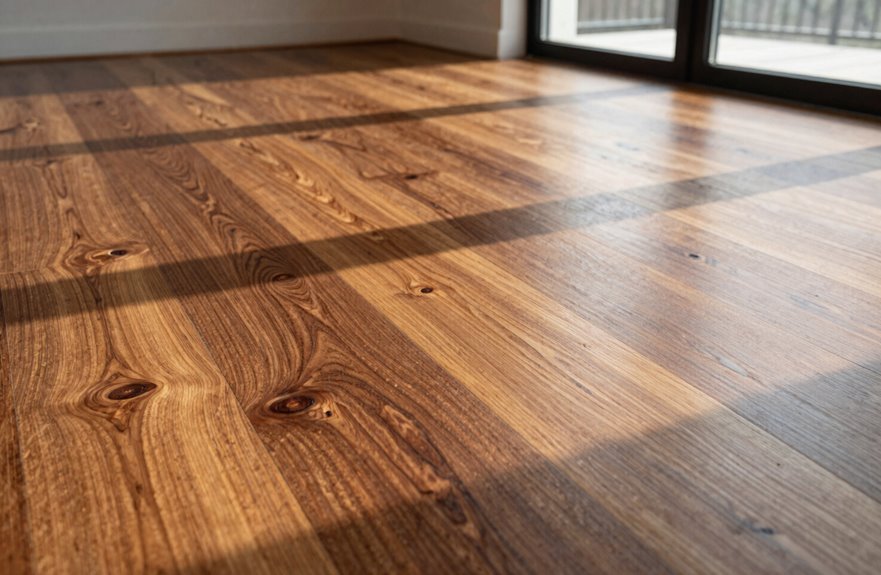
Why stain your floors in the first place? The choice comes down to this: do you want transformation or authenticity? Staining sinks pigment deep into the grain, bringing drama and richness, but blotching risk is a real concern. Some wood species, like maple and birch, are unpredictable, absorbing stain unevenly like a bad watercolor.
Pre-testing is essential. Skipping this step results in patchy, embarrassing finishes. Testing hidden corners before committing to the full project helps you achieve perfect color depth without surprises. Clear finishes keep things honest, protecting what nature made without masks or drama, just wood in its natural state.
Identify Your Floor Type and Refinishing Limits
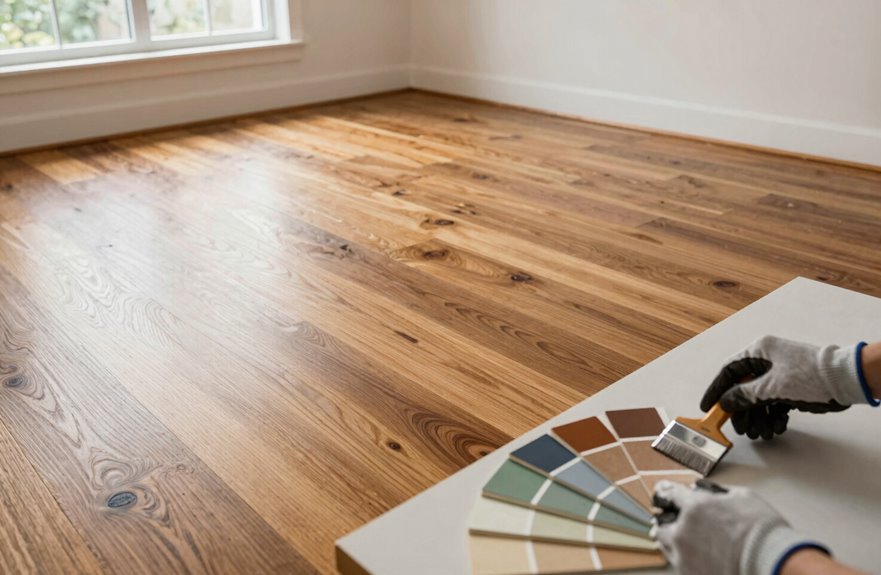
How do I even know what I’m standing on? Let’s figure this out together, because not all hardwood floors are created equal.
Not all hardwood floors are created equal—knowing what you’re standing on changes everything.
First, I check if I’ve got solid hardwood or engineered wood. Solid is a chunky piece of timber through-and-through, while engineered hides a whisper-thin veneer over plywood layers. I can’t sand engineered floors endlessly; that veneer eventually wears away completely. Sanding limits are real.
Here’s the critical difference: engineered versus solid changes my entire staining game. Solid offers endless refinishing potential, but engineered allows maybe one or two refinishes before the veneer deteriorates. I also scope out parquet patterns or wide planks since quirks affect my stain application.
I’ve made mistakes before, but now I always identify my floor type first. It prevents costly damage and failed refinishing attempts.
Choose the Right Stain for Your Wood Species
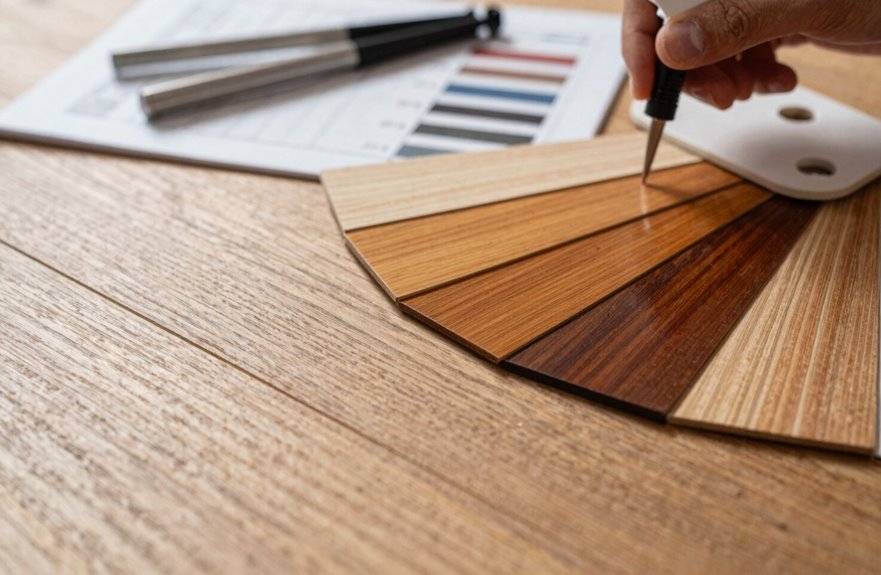
The stain I choose can make or break everything I’ve done so far, so let’s get this right. First, I need to know my wood species. Maple has tight pores that react poorly with regular stains, while oak absorbs color readily.
Stain type matters significantly. Water-based stains dry fast and clean easily, but they can cause grain to raise like goosebumps. Oil-based stains provide that rich, deep glow, though they require extended drying time and emit mineral spirit odors. Gel stains work well for blotchy woods since they sit on top rather than soaking in unevenly.
A pre-stain conditioner on tricky species prevents blotching before it occurs.
Pre-testing on scrap pieces reveals exactly how the wood reacts and prevents mistakes on the final surface.
Get the Tools and Materials for Your Staining Project
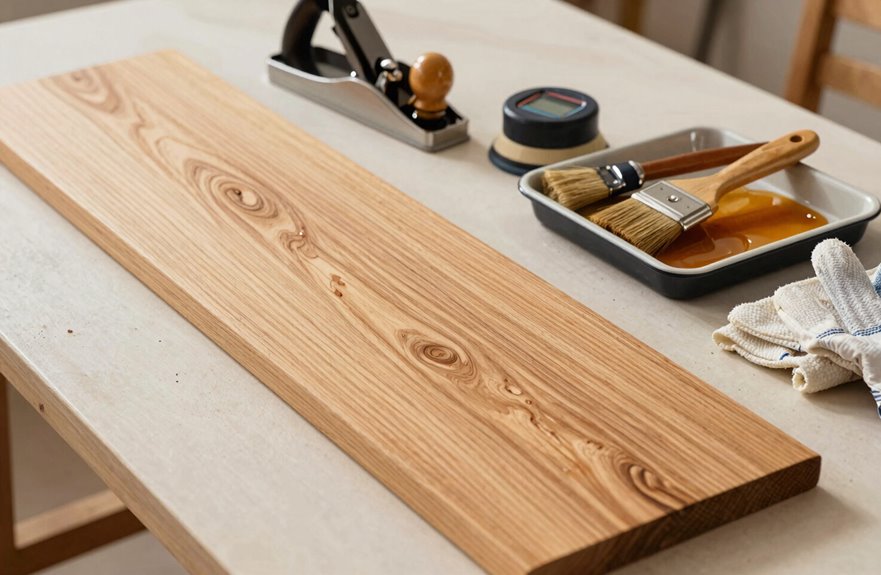
Now that I’ve got my stain picked out, it’s time to gear up. I’ve learned the hard way that skipping supplies mid-project kills my momentum, so here’s what you’ll need.
| What I’m Grabbing | Why I Need It | The Vibe |
|---|---|---|
| Sandpaper, multiple grits + orbital sander | Sanding smooths everything, no shortcuts! | Dust everywhere, worth it |
| Wood stain (oil or water-based) + brushes, rollers, trays | Stain application along the grain, wet edge always! | That rich color payoff, *chef’s kiss* |
| Polyurethane finish + protective gear | Seals the deal, drying time varies so check the can! | Victory lap, we did this |
Oil-based wood stain gives deeper penetration; water-based means faster drying time and easier cleanup. Either way, that polyurethane finish protects your hard work.
Prep the Room and Protect Surrounding Surfaces
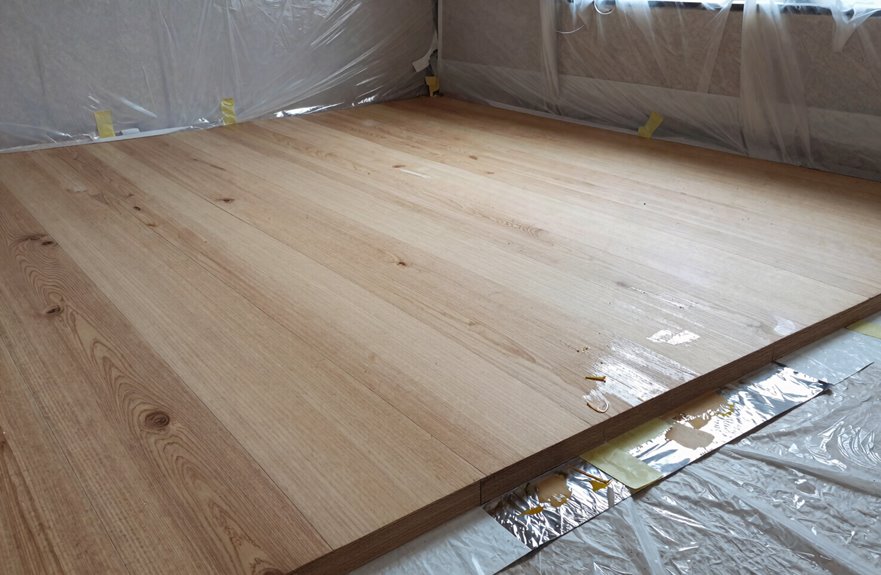
Where do I even start when the room looks like a tornado of furniture and dust bunnies? I’ve been there, staring at chaos, wondering if I’ve bitten off more than I can chew. First, I clear everything out—furniture, rugs, anything that’ll slow me down. Then I prep like my floors depend on it, because they do. I cover vents with plastic and tape, protect baseboards from stray stain splashes, and sweep up every speck of dust. Vacuum, wipe with tack cloth, repeat. I open windows, set up fans for ventilation; your lungs will benefit from the air circulation. I countersink nails, gather my stain and materials, and suddenly I’m ready. You can complete this project.
Sand Your Hardwood Floors From Coarse to Fine
I can’t wait to walk you through my sanding routine because skipping grits is a recipe for disaster. I’ll show you exactly how I move from aggressive 40-grit papers, stripping away years of abuse, then stair-step up to butter-smooth 150-grit for that glass-like foundation stains crave. You’ve got to match your sander to the job; a drum sander devouring the wide open plains while a thumb-sized edge sander attacks those sneaky corners where baseboards meet their match.
Grit Progression Strategy
Because I learned this the hard way after turning my first floor into a cross-hatched disaster that looked like a cat went crazy with a rake, I can tell you exactly how grit progression actually works, and it significantly affects your results.
Start with coarse abrasive grits (40–60) to obliterate that old finish and level everything out, then climb the ladder: 80, 120, sometimes 150 if you’re feeling fancy. Always sand with the grain, never against it. For deep gouges, repeat the sanding sequence until the surface feels like glass under your palm.
Most folks skip dust removal, but it’s critical. Vacuum thoroughly, then use a tack cloth on every inch. Skip this step, and your stain absorption turns blotchy and uneven.
Floor Sander Selection
Now that you’ve got your grit sequence locked down, let’s talk about the actual machines that’ll save your back and your sanity. Picking the right floor sander matters significantly for your project outcomes.
For your grit progression, you’ll want a drum sander for the main expanse. Those wide, flat areas allow this machine to glide smoothly, stripping old finish with 40-grit ferocity before you climb to 100-grit silkiness. Always sand with the grain, never against it, unless cross-grain scratches are your desired aesthetic.
The edge sander handles where the drum can’t reach. Tight spots, board edges, and the zone where walls meet floor all require this specialized tool. Fill deep gouges first, or they’ll telegraph through your final finish like surface imperfections.
Finish with obsessive dust-free prep. Vacuum, use a tack cloth, and repeat. Your stain requires a pristine canvas for optimal results.
Edge and Corner Work
Where exactly do you think the drum sander gives up and leaves you hanging? Right against those baseboards, that’s where. I’ve been there, staring at that two-inch gap. That’s where edge sanding saves the day.
I grab my edge sander, this compact powerhouse, and get to work. I start coarse, maybe 40-grit, because that old finish fights back hard. Then I climb the ladder: 80, then 120. Always chase the wood grain, never against it, or you’ll see every ugly scratch later.
- Tight corners where the big machine just laughs at you
- That satisfying hum when you’re finally in control
- Dust removal isn’t optional; it’s necessary for a professional finish
Vacuum thoroughly, tack cloth those edges, and watch your stain absorption match perfectly across every inch. This approach ensures consistent results throughout the entire floor.
Remove Every Trace of Dust Before You Stain
I’ve learned the hard way that skipping dust prep turns your gorgeous stain into what looks like oatmeal cookie crumbs baked right into the finish. Use a shop vac with a brush attachment, those sticky tack cloths dragged in slow S-curves (think waxing a car, not scrubbing a pan), and a flashlight held low to catch every sneaky particle. That final inspection, kneeling down and running your hand across boards while holding your breath, separates adequate work from a genuinely professional-looking finish.
Dust Removal Tools
After sanding your heart out for hours, arms aching, hair gray with sawdust, questioning every life choice that led to this moment, you’d think the hard part’s over. It’s not. That fine dust is plotting against your stain, waiting to ruin everything.
What I’ve learned:
- Vacuum dust removal saves your sanity. Use a shop vac, wide nozzle, slow passes, covering every inch.
- Edge sanding with a detail sander hunts down sneaky corners where dust hides like a bad roommate.
- Ventilation keeps you breathing. Open windows wide, spin fans, because dust mask plus goggles equals survival.
Always follow vacuuming with a tack cloth, that sticky miracle, wiping until your arms scream again. Protective gear isn’t optional. It’s armor.
Tack Cloth Technique
How do you know when you’ve truly won the war on dust? When your tack cloth comes up clean. Even invisible particles sabotage your masterpiece, ruining stain absorption and leaving you with blotchy results.
Grab your tack cloth and follow the grain direction with slow, deliberate strokes. Never use circles or work against the pattern. The sticky surface grabs what vacuums miss, that fine dust hidden in open pores. Use three or four cloths if necessary. Each pass reveals a dust-free surface that’s genuinely ready.
Skipping this step means uneven color. Those floating specks create barriers your stain can’t penetrate. Test a hidden spot afterward and examine the results with your own eyes. A properly prepared surface absorbs stain evenly and delivers the finish you intended.
Final Inspection Steps
Three things stand between you and the floor of your dreams: dust, dust, and more dust. That final inspection isn’t optional; it’s everything.
Dust removal demands obsession. I vacuum twice, then attack with a tack cloth, chasing those sneaky specks that’ll ruin your stain. Skip this, and you’ll spot them forever as tiny bumps mocking your effort. I check corners, edges, under baseboards, everywhere.
Blotching terrifies me, so I hunt for leftover finish or sanding residue. That’s blotting control. One missed patch, and your floor looks like a Rorschach test.
- Run your hand across boards. Grit means keep cleaning.
- Check against raking light; those shadows don’t lie.
- Test your stain hidden first, always.
Ventilation matters too; it keeps dust from settling on wet stain. This prevents dust contamination during the critical staining phase.
Apply Stain With the Grain in Manageable Sections
Because I learned this the hard way after a spectacular lap-mark disaster in my own dining room that still haunts me, I always stain with the grain now, with no exceptions. I work in sections small enough that I can finish before my stain starts getting tacky.
Following those natural wood lines prevents the difference between professional results and visible mistakes. I stir my stain thoroughly first, since those pigments settle quickly. Then I grab a lint-free cloth and glide with the grain, never against it. Cross-grain strokes create visible defects.
I map out 3-4 foot squares, edge to edge, overlapping just slightly where they meet. This rhythm prevents lap marks, keeps my stain application consistent, and produces an even finish. Working in small sections prevents lap marks and maintains consistency across the entire surface.
Wipe Excess Stain and Blend Edges Immediately
I grab my clean rag the second that stain hits the floor because puddles aren’t just messy; they’re color disasters waiting to happen. I’ve learned this through experience. I work fast, wiping with the grain in small chunks, and I always overlap my wet edges like I’m feathering paint on a wall. That seamless blend is what separates a pro-looking job from something that screams “DIY weekend gone wrong.” You’ll feel the pressure, sure, but keep that edge wet and keep moving. Your floor will develop a gorgeous, uniform glow that makes the effort worthwhile.
Preventing Stain Puddles
Why does stain puddle in the first place? Gravity works against you here. Stain puddles happen when you apply too much product, letting pigment pool in low spots or grooves before you wipe excess away promptly.
What keeps you out of trouble:
- Work in small sections, maybe 3-4 feet, keeping that wet edge alive so nothing dries on you
- Grab a clean, lint-free rag, old t-shirts work, and wipe against the grain first, then with it
- Blend edges immediately where sections meet, or blotching will result
If you spot a puddle forming, blot gently with a dry cloth, then re-stain surrounding areas for even absorption. This technique prevents uneven color and surface damage.
Blending Wet Edges
How do you keep that gorgeous stain from looking like a patchwork quilt? Keeping a wet edge is essential.
During stain application, constantly overlap strokes just slightly, like painting a wall, so each section stays workable. Avoid stopping for distractions. Wipe excess stain immediately using a rag, blending edges while they’re still damp. This prevents blotching.
Work along the grain, always, and double back to catch those sneaky lighter patches before they set. Lap lines are the enemy.
The rhythm becomes meditative: roll, overlap, blend, repeat. Small sections yield significant results. This technique produces the flawless, professional finish that makes guests ask who you hired. The answer is you.
Fix Blotching or Uneven Color Before It Dries
The bane of every floor finisher’s existence isn’t the sanding marathon or the aching knees; it’s that heart-dropping moment when you step back and see dark, splotchy patches staring up like coffee spills on a wedding dress.
Fix this fast, together. Here’s my battle-tested rescue plan:
- Spot that rogue blotch immediately and wipe harder, faster. Your reputation depends on quick action.
- Grab wood conditioner now, not later. Blotching prevention beats dealing with dried mistakes.
- Always pre-test on scrap, because pine and maple respond differently to stain application.
I once panicked at midnight watching maple absorb stain like a thirsty sponge. Gel stains and thin, overlapping layers produce even color when standard stains fail. Follow this process for reliable results.
Seal Your Stained Floors With Polyurethane
lobby, too — no on-site purchase necessary the iconic Gate tried to. Skipping polyurethane after staining ruins the finish. After all that staining work, I seal my floors with a quality polyurethane finish for real protection. I grab a compatible formula: water-based for quick drying or oil-based for that amber glow. I start in the farthest corner, working toward the door so I don’t trap myself. Thin, even coats are essential; I wait for complete drying between layers without rushing. I lightly sand with fine-grit paper, vacuum and tack cloth away every speck of dust, then apply again. Dust particles create bumps in the finish if not removed properly. Wait 24 hours before walking, 48-72 hours for furniture, and a full week for the polyurethane to cure completely. Proper sealing protects your stained floors from wear, moisture, and damage.




