

Yes, you can tile over vinyl, but I’m begging you: don’t. I tried it once in my guest bathroom, spent a weekend roughening that glossy surface with sandpaper until my arms ached, and six months later heard the dreaded hollow thunk underfoot. Vinyl flexes and breathes like it’s alive, while ceramic demands a rock-solid stage that never budges, not even a millimeter. That mismatch cracks grout, pops tiles loose, and turns your floor into an expensive regret. Rip it out, slap cement board over it, or proceed with extreme caution. The full story of what could go wrong, and occasionally miraculously go right, is absolutely worth your next few minutes.
Can You Tile Over Vinyl?
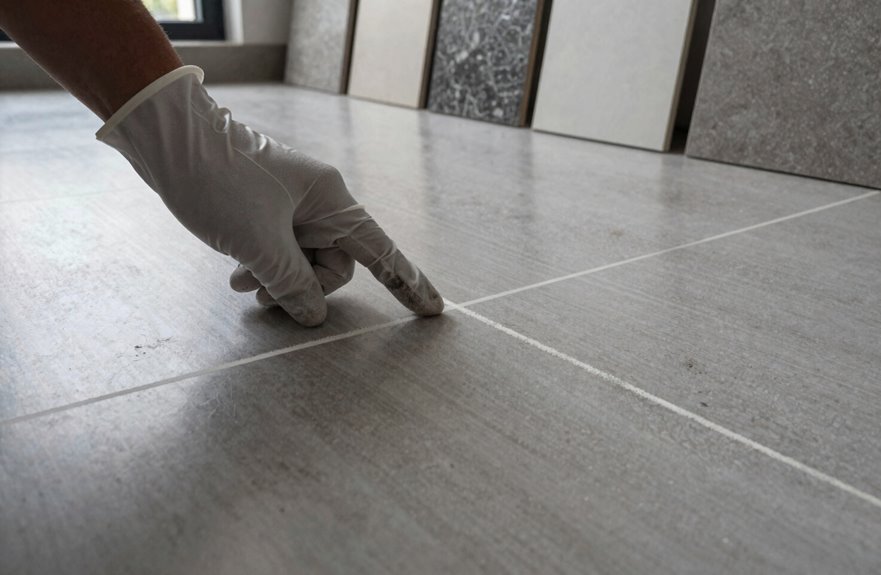
Although tiling over vinyl is possible, it comes with significant complications. I’ve seen gorgeous mosaic sheets buckle six months later, grout cracking like dried mud, all because that vinyl underneath shifted just a hair.
If your vinyl’s glued down tight on solid cement, you might pull this off. I roughed up my cousin’s kitchen vinyl with 80-grit sandpaper, slapped on bonding primer, and two years later, those subway tiles still look sharp. However, I’ve also watched pros prime religiously and still lose tiles to delamination.
If your vinyl’s squishy, bubbled, or floating, don’t attempt this project. Remove that vinyl, or grab cement board, maybe Schluter Ditra if you want a premium option. You’ll avoid costly failures down the road.
Why Pros Say Don’t Tile Over Vinyl
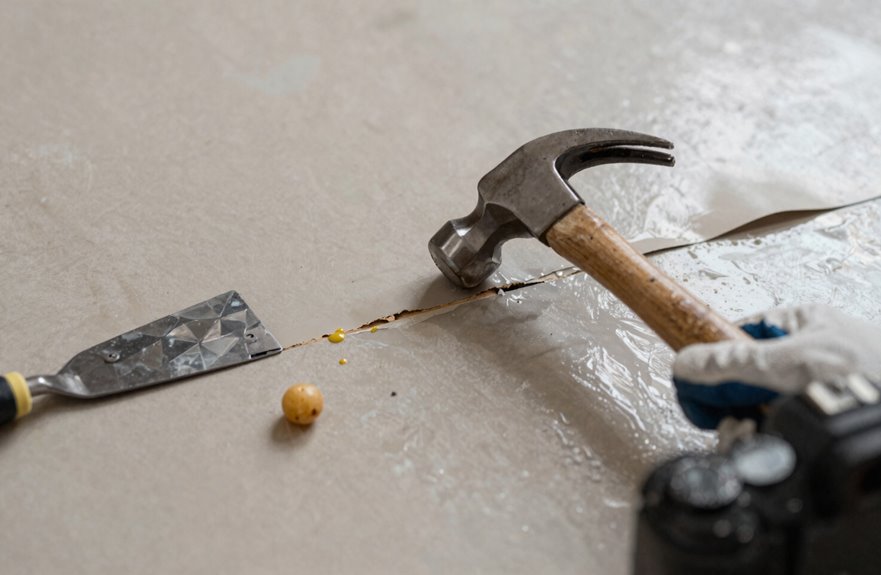
I’ve tried the shortcut myself, and it backfires. Vinyl flexes, shifts, and breathes underneath your beautiful tile, creating sneaky movement that cracks grout lines and pops tiles loose, sometimes months later when you’re already telling friends about your DIY project. Even with fancy primers and bonding agents, installations fail because that cushy vinyl layer simply cannot handle the rigid demands of tile, especially those gorgeous large-format pieces everyone’s installing now. Pros recommend you rip it out or add cement backer board instead. This prevents the floor from literally falling apart while you’re still making payments on the tile.
Adhesion Failure Risks
Why do so many tilers cringe when I mention slapping tile right over vinyl? I’ve seen the aftermath: grout joints gaping like missing teeth, tiles spiderwebbed with cracks, all within a year. The problem isn’t just the vinyl flooring itself, it’s what hides beneath. That thin, flexible layer shifts, slides, and makes promises it can’t keep. Even when I prime thoroughly, scrub till my arms ache, that stubborn vinyl glue residue resists the thinset. I’ve watched case studies split right down the middle. Some installations survive decades, while others crumble embarrassingly fast. It’s a coin toss I hate taking. For bigger-format tiles, that lack of rigidity spells disaster. Ripping out that vinyl flooring now prevents failure later.
Movement and Deflection
So I finally got that vinyl up in my guest bathroom, and what I found underneath explained everything. That vinyl surface had been shimmering and creeping, doing a slow dance I couldn’t even see. Vinyl moves. It flexes, it breathes, it lives its own life separate from your concrete subfloor underneath. Tile hates drama. Large-format tiles especially are basically divas demanding a rock-solid stage. I thought etching and priming would save me, but pros see grout joints crack within a year anyway. The vinyl-subfloor system keeps flexing, keeps creeping, undermining every bit of thinset love you poured on top. Remove it, or add cement board. Your tile deserves stability, not a wobbly foundation.
Long-Term Durability Concerns
How long do I really expect this floor to last, anyway. I used to think tile over vinyl flooring was genius, until my buddy’s kitchen told a different story: grout cracking like dry riverbeds, tiles shifting, all within eleven months. Even with fancy primers, that vinyl beneath can shift, betraying your beautiful large-format dreams. I’ve seen the slow-motion disaster of delamination. Some folks boast decades of success, but they’re gambling on perfect adhesion between layers you can’t even see. Professionals recommend removing it entirely and starting with a solid substrate. Tripping over shortcuts during a renovation is a costly mistake, and the crumbling that follows requires expensive repairs.
When Tiling Over Vinyl Actually Works
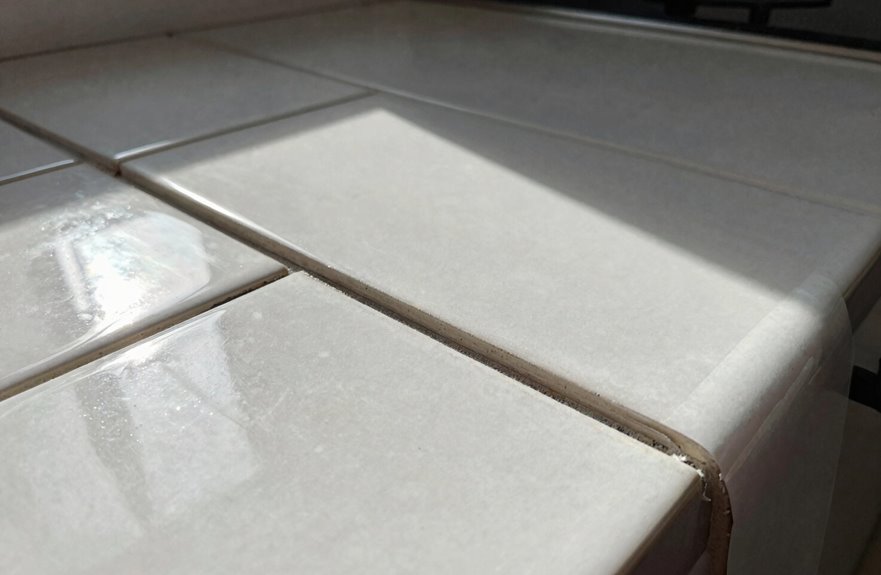
I’ll start by checking if your vinyl is actually stuck down tight, because one loose corner means you’re asking for cracked grout later. Once I’ve confirmed it’s solid, I grab my sandpaper and scuff that shiny surface until it looks like a well-loved cutting board, then roll on a primer that’s specifically made for this vinyl-to-tile application. This combination has produced reliable results in kitchen renovations. The key is not rushing the prep work, as skipping steps leads to adhesion failure and tile failure down the line.
Vinyl Adhesion Assessment
Where exactly do we draw the line between “yeah, this vinyl’s going nowhere” and “rip it out before I regret it”? It all comes down to adhesion: pure, stubborn, complete bonding to a solid subfloor. No loose spots, no curling corners like a bad sunburn, no mysterious squish zones that make you wince.
I press down hard with my palm, I rock, I pry with a putty knife. If that vinyl lifts even slightly, removal is necessary. But if it fights back, we might have something workable.
I’ll roughen the surface, clean thoroughly, and maybe test a patch first. Thinset on vinyl requires waiting and verification. Manufacturer data sheets provide essential information. Some pros insist removal is the only option; documented results show both successes and failures. Test small samples and never skip this verification step.
Primer Performance Factors
So when does primer actually save the day, and when am I just throwing expensive liquid hope onto a sinking ship? Primer works when that vinyl’s locked down tight, zero bubbles, zero give, scrubbed raw like I’m prepping for surgery on a budget. Adhesive film modifiers, or AFMs, can bridge the gap between slick vinyl and hungry thinset, but I’ve seen gorgeous tile jobs crack anyway when the floor beneath flexes like a bad yoga instructor.
Roughen that surface, banish every glue ghost, and check your substrate rigidity twice. Then the primer can earn its keep. Some manufacturers say “don’t,” others cheer us on with proper prep. Different substrates require different approaches, because we’ve all got that quirky vintage vinyl we can’t bear to destroy.
Test Your Vinyl Before You Tile Over It
Why jump straight into tiling when your vinyl flooring might betray you halfway through.
First, I press every inch, hunting for loose spots, lifted corners, and tears. Anything that suggests future problems needs attention. Found glue residue. I’m scraping and abrading because thinset doesn’t bond well to smooth vinyl.
I roughen that surface thoroughly. The project’s success depends on proper preparation. I use heat, solvent, and elbow grease, keeping windows wide open for ventilation.
Here’s my contingency plan: I grab a vinyl scrap, apply some thinset, wait, and check if it sticks. No lift means the surface is ready. However, vinyl flexes and moves. Grout cracks, tiles pop, and the process may need to restart.
Smarter Options Than Tiling Directly Over Vinyl
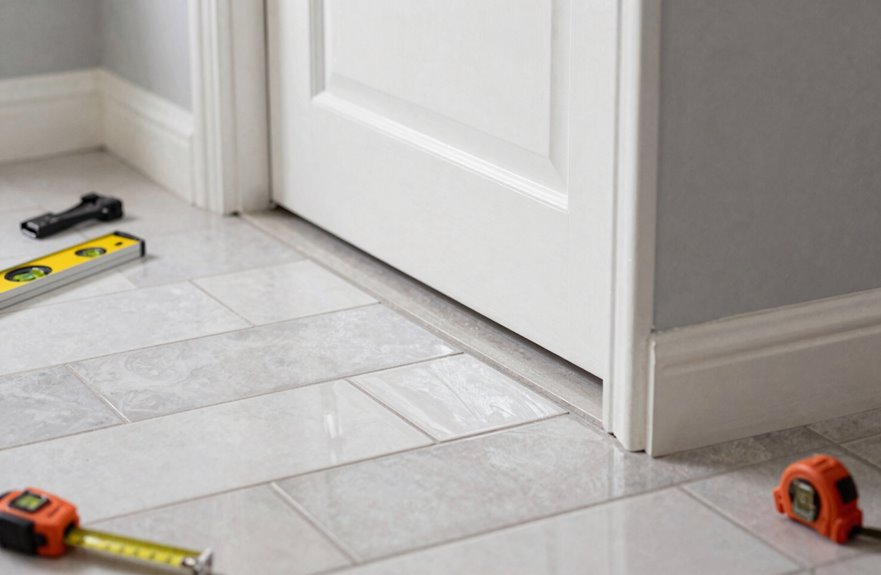
I used to think skirting prep work made me clever, like I’d outsmarted the project somehow. Then I watched my grout crack like a dry riverbed, and that taught me otherwise.
Removing that vinyl down to solid subfloor is the gold standard, no contest. You eliminate every wiggle, every glue ghost that could sabotage your bond. I know it sounds brutal, scraping and sweating with that floor scraper. Heat guns help with this step.
Scrape deep, sweat hard, and banish every glue ghost before that new tile goes down.
But there’s a middle path worth considering: slap a rigid underlayment, such as cement backer board or Schluter Ditra, right over firmly-attached vinyl. It builds a load-bearing bed without the demo nightmare.
Just weigh the costs and measure your doorways first. Nothing’s worse than a door that suddenly won’t close.
Prep for Tile Over Vinyl: Step by Step
How do you actually pull this off without your tile job becoming a cautionary tale? Vinyl flooring prep isn’t glamorous, but it’s everything.
First, inspect every inch. Peeling corners, bubbles, or spongy spots mean you’re ripping it out. The vinyl must hug that cement underlayment completely. Then attack with cleaner, scrubbing until your arms burn, because that waxy buildup from 1987 will kill your bond.
Scuff the surface next, sanding until it has texture like fine-grit sandpaper. It won’t look pretty, but it will accept mortar. Stubborn glue spots get heat gun treatment; scrape until you’re sweating through your shirt.
Some pros say this is madness. When your prep is solid, this method works. A properly prepared surface accepts mortar adhesive at maximum strength, which is what determines whether your tile stays in place for decades.
Skip the Primer (Unless You See This)
I’ll cut to the chase on primer because I’ve learned this the hard way. When your vinyl’s glued down tight with zero give at the seams and no bubbles catching the light, I’ve skipped primer and crossed my fingers. That “unless you see this” part is everything.
Edge curls, that spongy spot by the fridge, or glue residue gumming up your trowel are my personal red flags. Bonding agents aren’t magic wands; they’re more like that friend who means well but flakes under pressure. I always do a test patch now because nothing’s worse than watching your gorgeous grout lines pop loose six months later. A properly bonded tile job will hold for years, while skipping this step leads to costly repairs and reinstallation.
When Primer Helps
Because I’ve seen both disasters and decades-old successes, priming works when your vinyl’s locked down tight. No bubbles, no loose corners, no spongy spots underneath. Your vinyl needs to be so stuck to the subfloor it hurts to pry up. In those cases, primer acts like glue’s best wingman, modifying that surface so your thinset actually bites.
| Vinyl Condition | Prime It? | What Happens |
|---|---|---|
| Rock-solid, fully adhered | Yes | Decades of happy tile |
| Lifting, spongy, or gappy | Skip it, rip it out | Grout cracks, tiles pop |
| Mystery glue underneath | Test first | Could still fail |
If your vinyl’s gasping at the seams, priming is just lipstick on a disaster waiting to happen.
Bonding Agent Risks
Why do I still flinch when someone mentions bonding agents. Because I’ve seen the carnage, friends. Gorgeous herringbone patterns lifted like bad wallpaper, grout lines turned into fault lines within months. Those AFM-style bonding agents promise miracles, sure, but adhesion failures don’t send refunds. I’ve watched primed vinyl installations crater spectacularly, delaminated joints mocking every hopeful “this’ll work” whisper. The manufacturers hedge their bets too. TEC and MAPEI give conditional nods while their competitors wave red flags. It’s maddening. Even when your vinyl hugs cement like a desperate ex, even when prep looks textbook-perfect, that sneaky subfloor movement lurks, waiting to betray you. Bonding agents aren’t magic spells, they’re expensive gambles, and I’ve learned the hard way. Sometimes skipping the shortcut prevents costly failures down the line.
Surface Prep Essentials
The real work happens before you even think about troweling thinset, and this preparation separates weekend warriors from folks who actually sleep at night. I’ve learned this through experience.
First, I check every inch of that vinyl for loose spots, tears, and anything that wiggles. Anything that moves gets fixed or I walk away. Then I scrub thoroughly, because grease, wax, and grit prevent thinset from bonding. Old adhesive from previous flooring is your enemy. I strip it completely, usually with TileLab stripper, because nothing bonds to gummy leftovers. I’ll scuff the surface too, giving that vinyl some texture to grab onto.
Skip the primer unless your vinyl’s lifting from the subfloor or moisture’s creeping in. Then I’m reaching for one. Level, clean, mean, that’s my motto.
Fix the Height Problem: Doors, Toilets, Baseboards
How much height are we really adding here? I grab my tape measure, stack up my vinyl tiles, mortar, and new tile, and suddenly I’m staring at nearly an inch of rise. That’s significant.
| Problem Spot | What I Check | My Fix |
|---|---|---|
| Doors | Swing clearance, binding | Thinner mortar, trim bottom |
| Toilets | Rim height, seal contact | Swap wax ring, verify stability |
| Baseboards | Gap coverage, expansion | Remove, reinstall higher |
| Thresholds | Step-over height, trip risk | Grind down or replace entirely |
I’ve learned the hard way. Doors that thunk instead of swing, toilets that rock like carnival rides, baseboards floating in space. These problems stem from skipping the height calculation. Measure twice, plan the height, or plan to redo it. Your quirky old house deserves proper execution, not a hack job.
What Tile-Over-Vinyl Failure Looks Like
Ever wonder what my first tile-over-vinyl disaster looked like. I’ve lived through every cringe-worthy moment of tile installation over vinyl failure modes. Picture this: pristine grout lines turning into spiderwebs of cracks within eight months, tiles sounding hollow when you tap them, pop, pop, pop like bad bubble wrap. I’d primed everything, thought I followed the rules.
The vinyl glue residue I didn’t fully strip. It mocked me later. Tiles lifted at the edges, grout crumbling like stale crackers. Some folks get lucky for years, sure. But my kitchen floor looked like a topographical map of regret. Hairline fractures spread from the stove area first, then everywhere. If I’d used rigid underlayment from the start, I would have avoided the cost of replacement, the structural damage, and the difficult conversation with my partner.
Choose: Remove It, Cover It, or Risk It
My kitchen floor disaster taught me one thing: you’ve got three paths here, and none of them come with a money-back guarantee.
First, rip that vinyl out. Vinyl shifts, breathes, and lives its own little life, and your gorgeous tile ends up cracked like my ego after that failed soufflé. Professionals swear by this route.
Second, cover it. Slap down cement backer board and build yourself a solid stage. This approach provides a stable foundation for your tile installation.
Third, risk it. Clean that vinyl thoroughly, rough it up, and apply thinset carefully. Some folks get decades of performance; others watch grout joints pop like cheap fireworks.
Pick your adventure.




