
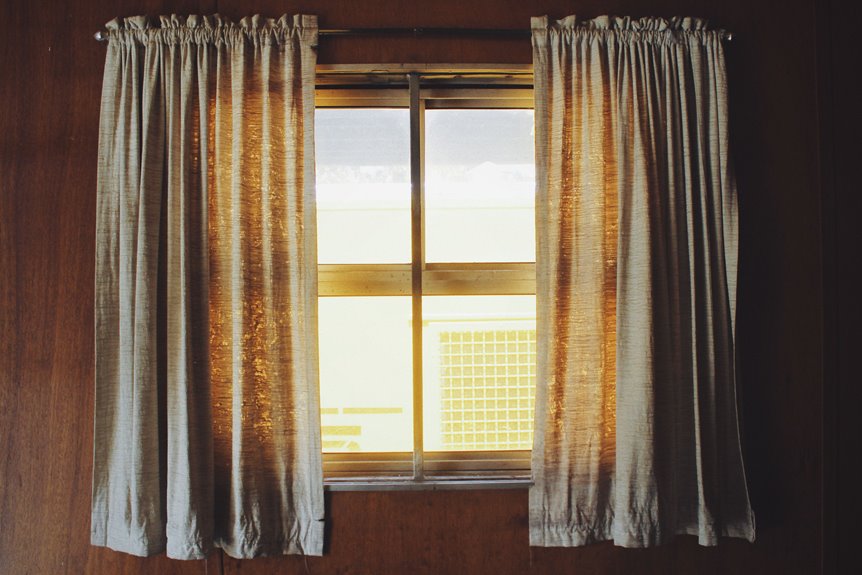
I always extend my curtain rods 6 to 12 inches past each side of the window frame. Seven to 10 inches is the ideal measurement for creating an “expensive designer” look. Wider rods create the visual illusion of larger windows and more wall space, while narrow rods make even beautiful windows appear cramped.
For tiny windows, I extend to 10 or 12 inches; for large windows, 12 inches minimum maintains proper proportions. In rental situations where ceiling-height adjustments aren’t possible, extra rod width becomes the most effective way to maximize the sense of spaciousness in a room.
What’s the Right Width for Curtain Rods? (The 7–10 Inch Rule)
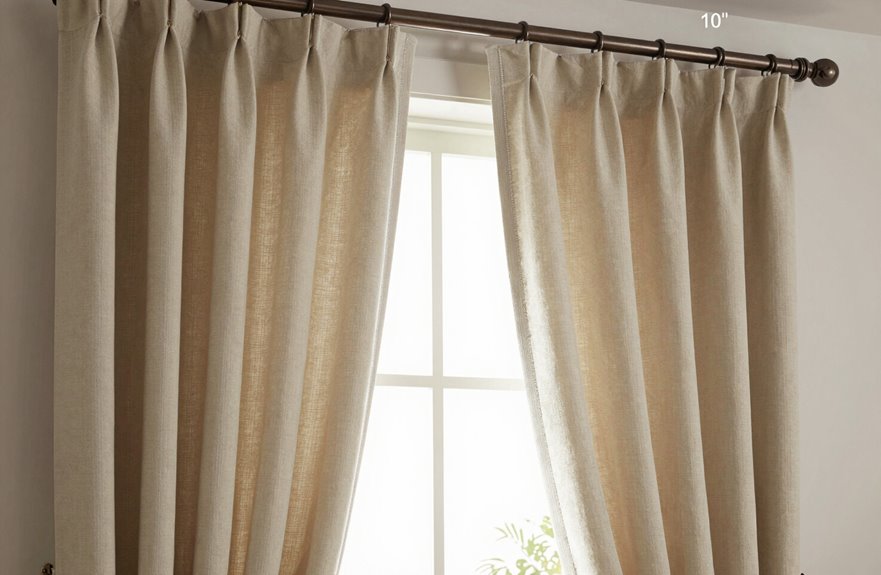
Why do so many windows look cramped and sad? Hung the rod right on the frame like a nervous hug, and the room felt stuffy.
The solution is simple: extend your curtain rod width 6 to 10 inches past each side of the window span. A wider rod tricks your eye into seeing a grander opening, and your panels stack cleanly off the glass. Light visibility improves dramatically, making your room feel more spacious.
For tiny windows, go bolder with 8 to 12 inches on each side to balance the scale. Avoid skinny rods that fight your window span; they shrink everything. A properly proportioned rod makes your space feel open and welcoming.
How Much Does Rod Width Really Matter?
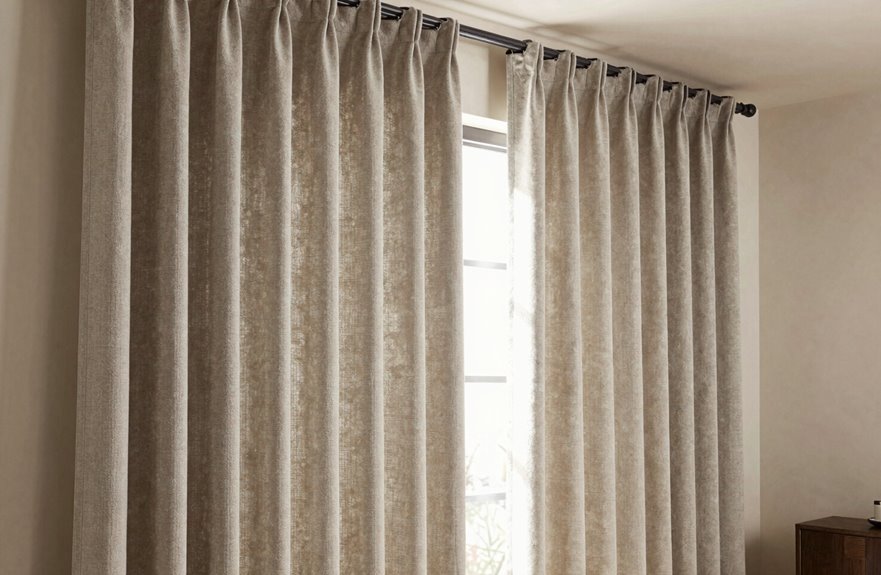
Rod width isn’t just some nitpicky detail designers argue about at brunch. It’s the foundational element that determines the overall aesthetic of your room.
I used to position my curtain rod width right against the frame, and my windows looked like tiny postage stamps in a shoebox apartment. Extending the rod 6 to 12 inches per side on each side transforms the space. Suddenly your window balance shifts, the glass breathes, light floods in, and your space feels bigger without knocking down a single wall.
Skimping on rod width kills your fullness and drape, leaving panels bunched and sad. Go wider, let those panels stack properly, and you’ll get that lush, intentional look. This detail belongs in your home.
How Wide Should Rods Extend Past Small Windows?
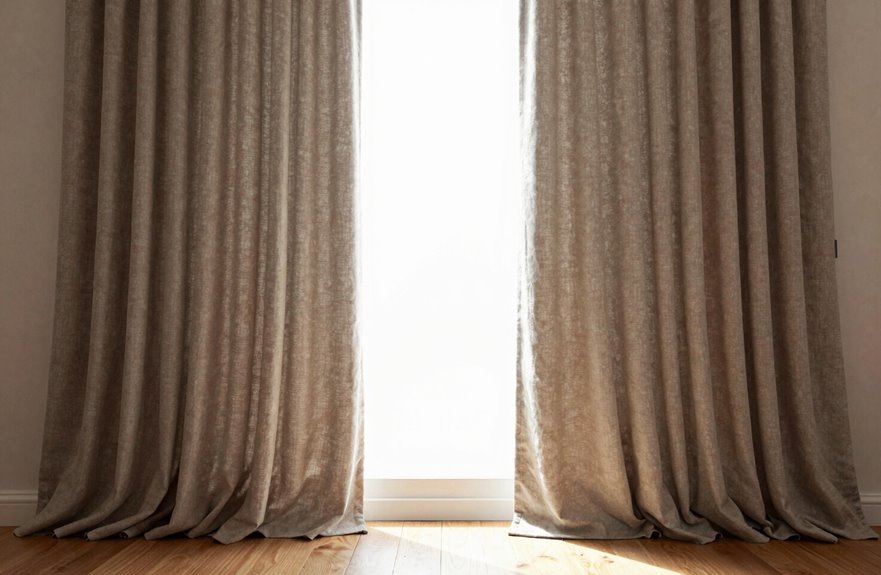
Small windows often present design challenges. Extending curtain rods 8–12 inches past each side of the window frame creates the illusion of greater width without requiring renovation. When panels are pulled back, they stack completely off the glass, allowing maximum light to enter.
The general rule is that wider extension produces more significant visual impact. A minimum of 6 inches works adequately, though 7–10 inches provides optimal results. This approach maximizes light and creates an open, intentional appearance that makes small bedrooms feel more spacious and finished.
How Wide Should Rods Extend Past Large Windows?

For large windows, extend rods six to twelve inches minimum past the frame on each side, though thirteen inches is possible when you want maximum coverage. This extra width requires serious anchoring with a stud finder and proper hardware installation, as the additional weight and leverage can cause the rod to fall if inadequately supported. The benefit is substantial; curtains will clear the glass completely, allowing unobstructed light into the room.
Recommended Extension Range
How far should that rod stretch? Extension transforms everything, making any window feel grander, airier, and more vibrant.
For most windows, extend 6–10 inches past each frame. This creates openness and allows the room to feel larger. Small windows benefit from 8–12 inches of extension, which visually expands the proportions. Massive windows deserve up to 12 inches of extension per side, maximizing natural light.
| Window Type | Extension Per Side | The Vibe |
|---|---|---|
| Standard | 6–10 inches | Balanced, classic |
| Small | 8–12 inches | Proportional, full |
| Very wide | 10–12 inches | Maximum openness |
| Minimum always | 4 inches | Panels clear the glass |
That extra width separates adequate curtains from a polished, professionally designed interior.
Structural Support Needs
Why do we obsess over the pretty fabric and totally ignore the poor rod holding everything up? I’ve learned this lesson the hard way, and I can help you avoid my sagging mistakes.
When I’m planning curtain extensions for large windows, I always push that rod width further than feels safe, up to 12 inches past each frame. It feels bold, yes, but the payoff is significant.
What matters for structural integrity:
- Thicker rods for wide spans, because nobody wants that embarrassing dip in the middle
- Dual-support wall mounting hardware that actually carries the weight I’m throwing at it
- Center support brackets, which I once skipped; never again
- Longer curtain extensions that trick the eye, making your window feel practically architectural
Solid structural support is where the real performance gains happen.
Curtain Rod Width With Baseboard Heaters Below
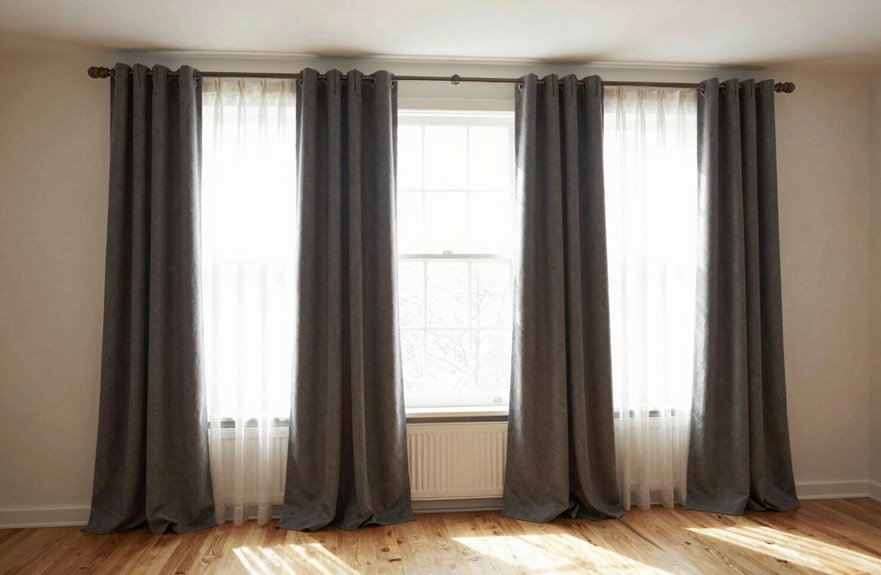
Where do you even start when there’s a baseboard heater lurking right under your window? I’ve been there, staring at that metal strip, wondering if my curtain dreams were doomed.
Your curtain rod width matters more than ever with baseboard heaters below. Extend beyond window frames by 6–12 inches on each side. This keeps panels completely clear of that heater when you hang curtains open. No more trapped heat, no more scorched fabric worries.
Go high and wide, letting those panels float past the heater zone entirely. The air circulates, your room stays cozy, and the look feels intentional, not apologetic. That extra width transforms the whole vibe. Functional design can absolutely be gorgeous.
How Many Panels for Your Curtain Rod Width?
I finally got my rod placement sorted, and then I faced the challenge of selecting curtain panels in the store.
Here’s what I figured out about determining your curtain rod width without complications:
- Measure your window width first, then extend that rod 4–10 inches past each side. This makes a significant visual difference.
- For standard setups, double panels (one each side) usually do the trick.
- Hit a really wide window? Go four panels, two per side, or you’ll get that sad, skimpy look nobody wants.
- Aim for a fullness ratio of 1.5–2 times your window width total. More fabric creates more volume and visual interest.
I learned the hard way: skimp on panels, and your windows look undersized for the space.
Panel Width vs. Rod Width: Getting the Ratio Right
How do you know if you’ve gone too wide—or not wide enough? I’ve stared at my own windows, second-guessing every inch, and here’s what I’ve learned: your curtain rod width and panel fullness need to work together effectively.
Extend rods 4–10 inches past each window width minimum so panels stack on the wall, not the glass. Fabric blocking daylight defeats the purpose of having windows. For more visual impact, place rods 6–12 inches on each side, which makes your window appear larger and more intentionally designed.
Panel fullness should be 1.5–2 times your window width, or you’ll get a flat, thin appearance. For large windows, double up panels per side. The ratio between rod width and panel fullness directly affects the final result.
3 Ways Narrow Rods Make Your Room Feel Smaller
I’ve learned the hard way that skimpy rods are basically room-shrinking traps. When your hardware hugs the window frame too tightly, you’re not just blocking precious daylight. You’re literally drawing a tight little box around your glass, making the whole wall feel claustrophobic. An extension of 4–6 inches sounded excessive to me at first, but that breathing room transforms everything.
Light Blockage Problems
Why do we do this to ourselves? We cram narrow rods right up against the frame, then wonder why our rooms feel like shoeboxes.
When I finally let my rods extend beyond window edges by even six inches, my window opening perception completely shifted. Curtain rod width isn’t just hardware. It determines light blockage and how much sunshine we’re actually blocking.
Here’s what narrow rods do to us:
- They trap curtains on the glass, blocking precious daylight
- They force extra panels, crowding the frame like a cluttered closet
- They shrink the glass visually, making walls feel like they’re closing in
- They waste wall space we could’ve used for that airy, expansive feel
Extend beyond window frames. Your room will feel larger and brighter.
Visual Shrinking Effects
Where do I even start with the optical illusion we’re accidentally pulling on ourselves. I learned this through experience in my tiny bedroom.
Bad curtain rod placement creates instant visual shrinking. When I hung my rod right against the window frame, hugging it, I basically put my walls on a diet. The window treatment width was so stingy that my room felt like a shoebox.
Narrow rods cover more glass and less wall, and suddenly you’re trapped in a cube. I remember thinking, why does this feel so claustrophobic. The wall space illusion completely collapsed. My curtains bunched flat with zero depth, making everything feel tighter than my jeans after Thanksgiving.
Wider rods fake bigger windows, expand boundaries, and give you breathing room. Cramped living spaces create psychological strain that affects how you experience your home daily.
How to Measure Curtain Rod Width Step by Step
A steel tape measure in my hand gives me project-day excitement, like I’m about to crack a code that’ll transform my whole wall. Let’s nail these measurements together.
First, I mark my window frame width. This is my baseline and truth. Then I add rod extension on each side, typically 6–12 inches (though I’ve squeaked by with 4 when my wall space got stingy). This curtain rod width lets me push panels completely clear, flooding the room with light.
- Measure your window frame precisely, no guessing.
- Add 6–12 inches per side for that gorgeous, wide illusion.
- For monster windows, I’m talking four panels and wider spans.
- Don’t skip center support brackets on long rods. Sagging is not the look you want.
This approach gives you proper measurements for your curtain installation.
How Close Should Rods Get to Walls and Ceilings?
I’ve learned through experience that rod placement significantly affects a room’s appearance. Mounting a rod just two inches above the frame can make windows appear squat and diminished. Proper ceiling clearance, wall edge spacing, and corner proximity rules prevent cramped, cluttered looks and keep drapes from conflicting with molding. Strategic rod placement ensures windows appear well-proportioned, intentional, and polished. Achieving this requires only a measuring tape and basic installation skills, no design background necessary.
Ceiling Clearance Guidelines
How high should I really hang this thing? I used to slap rods right above the frame like everyone else, and I was selling my windows short. Curtain rod placement changed everything once I learned ceiling clearance tricks.
For standard 8-foot ceilings, I go 2 to 4 inches below the ceiling line. This prevents windows from appearing short and cramped.
- A high hang, 4 to 6 inches minimum above the frame, instantly stretches your window height
- Cathedral ceilings need the rod about two feet up, keeping that gorgeous elongated proportion
- I never mount mid-wall anymore. Near-ceiling placement wins every single time
- When choosing between higher or wider, prioritize height for maximum visual impact
Your room will feel noticeably grander with proper ceiling clearance.
Wall Edge Spacing
Where exactly should that rod end, anyway? I’ve stared at walls too long, tape measure in hand, wondering if I’m crowding the corner or cheating the window.
For standard windows, I extend 6–12 inches past the frame. This keeps that glass visible and lets panels stack without blocking light. When pushing toward the wall edge for dramatic effect, I stretch 7–10 inches beyond the window width. Very large windows can accommodate up to 12 inches. The key is balancing fullness without looking cramped against that wall edge.
| Window Size | Rod Extension | My Go-To Move |
|---|---|---|
| Small (24–36″) | 6–8 inches | Keep it cozy, not crowded |
| Medium (48–60″) | 8–10 inches | Sweet spot for most rooms |
| Large (72″+) | 10–12 inches | Maximize that wall edge |
| Rental/limited install | Prioritize width over height | Fake spaciousness effectively |
Renters should choose wider extension over ceiling tricks when drilling isn’t an option. The wider rod placement creates perceived space without requiring landlord approval.
Corner Proximity Rules
Getting that extension right feels like a win, but then you eye the corner and wonder if you’re about to crash into it. I’ve been there, measuring twice and still paranoid. Let’s nail this curtain rod placement together.
- Window extension sweet spot: Stick to 6–12 inches past each frame. This keeps that glass fully exposed when panels fly open.
- Corner proximity reality check: Leave enough breathing room so brackets don’t scrape drywall. Hearing that screech is a real problem.
- Mounting height magic: Place rods 4–6 inches above the frame minimum, or mount higher to the ceiling for a dramatic effect that stretches your walls sky-high.
- Rental hack: When you can’t touch the ceiling, max out that width extension instead. Nobody’s judging your workaround.
Figure this out, one awkward corner at a time.
How Rod Width Changes With Different Curtain Types
Why does the same rod width rule suddenly feel like a betrayal the second you swap linen for velvet? I’ve been there, standing in my living room, wondering why my lush panels looked so skimpy.
Curtain rod width isn’t one-size-fits-all across curtain types. I always extend my rod beyond frame: 4 to 10 inches each side, 8 to 12 for big windows. The real magic happens in how you adapt that space for what you’re hanging.
Sheer panels float and breathe, but they still need that wide-and-wide treatment to keep windows looking expansive and airy. Heavy fabrics like velvet or thick linen blends demand double-wide panels to maintain curtain fullness across the span. Without this adjustment, you’ll get a sad, stretched-out look that signals poor planning. Insufficient panel width leaves heavy fabrics looking thin and defeated against the window.
How to Fix a Rod You Hung Too Narrow
How badly did I mess up my first curtain rod? I mounted it flush to the frame, a rookie mistake. The curtains blocked half the light, and my room felt like a cave.
Here’s what fixed my curtain rod disaster:
- I swapped in a longer rod so it’d extend beyond the window by 6–12 inches on each side. The result was significantly more sunlight.
- I repositioned the hardware higher and wider, which made the window appear larger.
- I added a third panel for extra fullness, hiding that narrow mounting completely.
- I made sure my panels kissed the floor with a tiny break, polished and intentional.
My rod width now functions properly. The curtains stack off the glass, the room feels balanced, and extending the rod beyond the window frame makes a measurable difference in how much light enters the space.
Wide Rod Placement for Tricky Window Layouts
Where do you even start when your window is smack against a corner, or you’ve got that wall of glass that eats up an entire wall?
Corner windows and full glass walls demand creative solutions—start by maximizing every inch of available space.
Prioritize curtain rod extension before adjusting height. Extend 6–12 inches past the frame, even when space is limited, so panels stack completely off the glass. Light floods in and visibility remains unobstructed.
For monster window width, use multiple panels instead of single undersized ones. Four panels work well, with two positioned on each side. Wide rod placement creates the visual impression of a more spacious room.
Grab thicker rods and add a center support bracket to prevent sagging. Pair these with floor-length panels. Your tricky layout will look intentional and expansive.




