
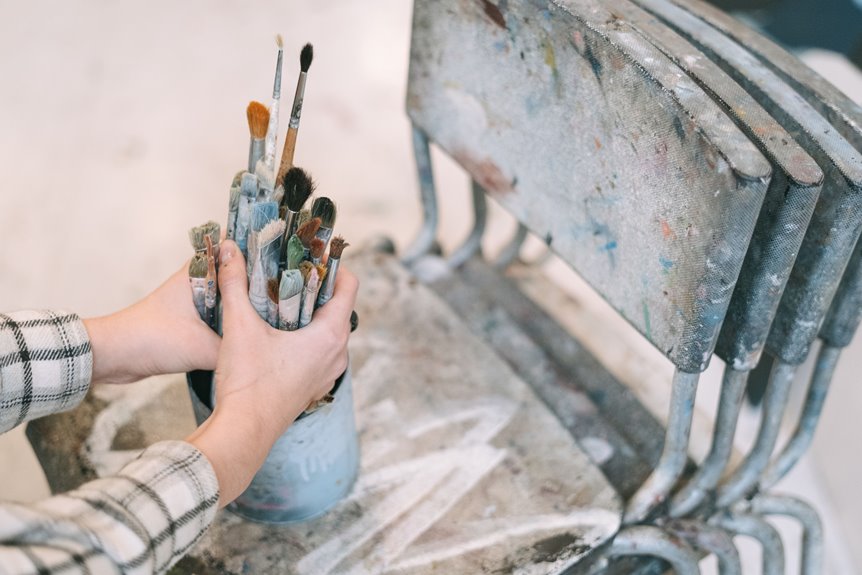
I’ve painted enough chairs to know a beat-up thrift find can become your dining room’s star. First, I clean every surface; those arms are always grimy. Then sand and patch until it’s structurally sound.
Next, I shellac-prime everything, sanding between coats until it feels like glass. I spray whisper-thin color layers from every angle, sanding again with 220-grit so the finish stays flawless.
Finally, I wax in circles, buff until it glows, and add Rub N Buff on piping for extra detail. The result is a piece so well-finished that it will withstand years of use without showing wear.
Prep Your Chair: Clean, Sand, and Fix Imperfections

A chair with good bones is basically a blank canvas begging for paint. Skipping prep turns your masterpiece into a peeling nightmare, so let’s do this right.
First, inspect your chair carefully. Check that fabric for rips, thin spots, and suspicious stains. Arms collect oils and grime. Remove cushions, drag that chair onto plastic tarps to protect your floor, and get cleaning.
Grab degreaser; TSP or Krud Kutter work well. Wipe every surface twice. Residue kills primer. Then sand with 80 to 220 grit blocks, smoothing repairs and giving primer something to grip. Use a microfiber cloth to remove dust.
Tuck loose upholstery, patch small tears, and confirm the chair is structurally sound. Once imperfections are fixed, you’re ready to prime and paint.
Prime and Sand for a Smooth Base

Once your chair is squeaky-clean and sanded smooth, lock in that foundation with primer. This step is where impatient DIYers really mess things up.
Grab your shellac-based primer and hit every angle of those chair surfaces, because missed spots prevent even coverage. Primer dry time matters: thirty to forty-five minutes with no shortcuts. Then flip and repeat. Once fully primed, sand again with 220-grit sandpaper to achieve that glass-smooth finish.
Light sanding between coats improves paint adhesion significantly. Dust removal comes next with a microfiber cloth; wipe thoroughly. Repeat priming and sanding until you’ve got full, even coverage. When that topcoat goes on, it will glide smoothly on a properly prepared surface.
Paint Your Chair With a Sprayer or Brush
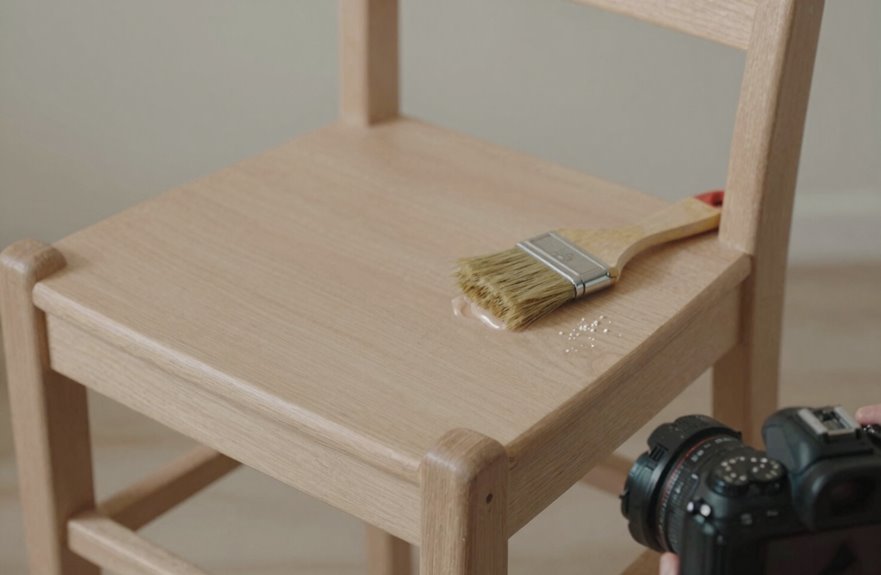
Why settle for brush marks when you can get that factory-finish smoothness. I grab my spray sprayer and go to town on my fabric chair, and it’s a game-changer. First, I mist the surface. Damp fabric helps that chalk paint sink in like a dream, no splotches. I start upside down, flip it, hit every angle, and achieve even coverage without the brush struggle.
I’m talking light coats here, people; whisper-thin, because nobody wants drips ruining their Saturday. Two coats minimum, sometimes more if I’m covering burgundy with pale blue. Between those coats, I sand with 220–320 grit, just a quick swipe for baby-soft results. Humidity kills my drying time, so I wait it out. Finally, I wax seal the whole thing and buff it shiny.
Sand Between Coats for Full Coverage

Between those whisper-thin coats, I grab my sandpaper and get to work. This is where adhesion improves and smoothness develops. I’m using 220-grit, maybe 320 if I want a finer finish, just enough to knock down the grit without eating through my primer or turning edges into rounded mush.
I used to skip sanding between coats, which was a mistake. Gentle, even passes build adhesion and smoothness effectively. I catch drips before they become visible defects, wipe dust with my trusty microfiber, and watch each layer bond into the next. No stain bleeding through, no texture betraying my effort. After my final coat, I’ll hit it with 400-grit for that glassy, furniture-store finish.
Seal With Wax for Lasting Protection

The final layer’s dry, and this is where everything comes together. After all that fabric paint work, sealing transforms your chair from crafty project to heirloom-worthy piece.
I grab my Easy Peasy Wax. Work it in circles over every painted surface, including the legs. The drying time’s brief, then buff until your arms ache. That sealant layer provides protection. No more worrying about coffee damage.
For extra coverage, the spray version reaches tricky spots beautifully. Wax doubles as conditioner, softening that painted fabric so your chair stays comfy, not cardboard-stiff. For additional durability, hit the piping with Rub N Buff after sealing. Your chair will have both protection and refined detailing.




